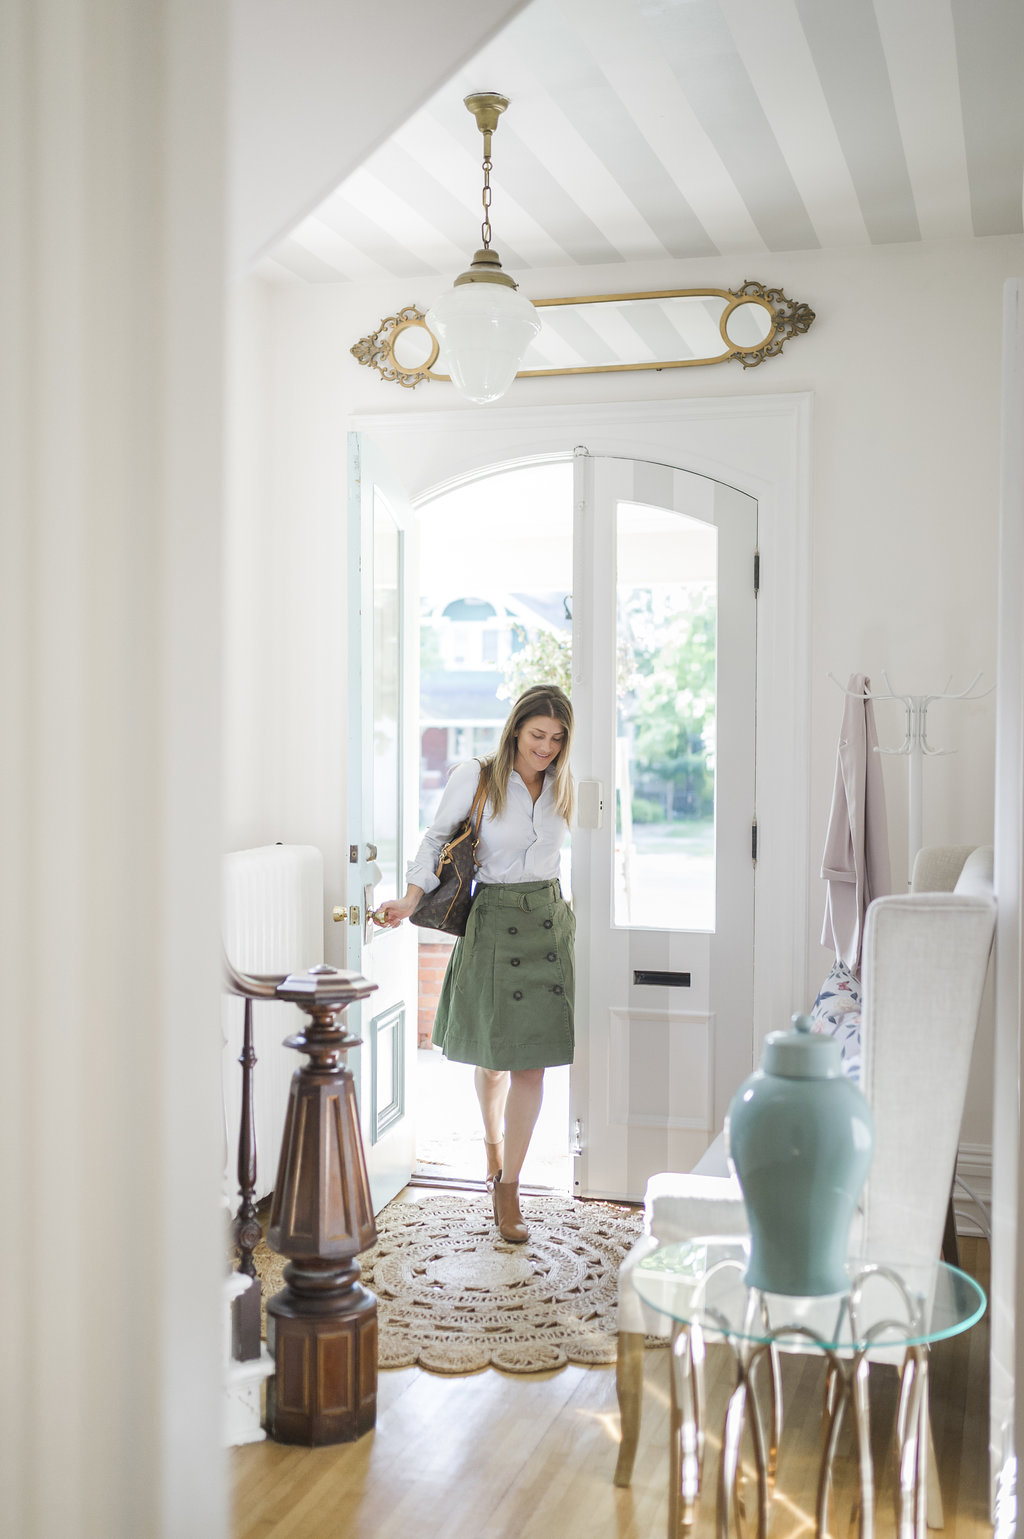
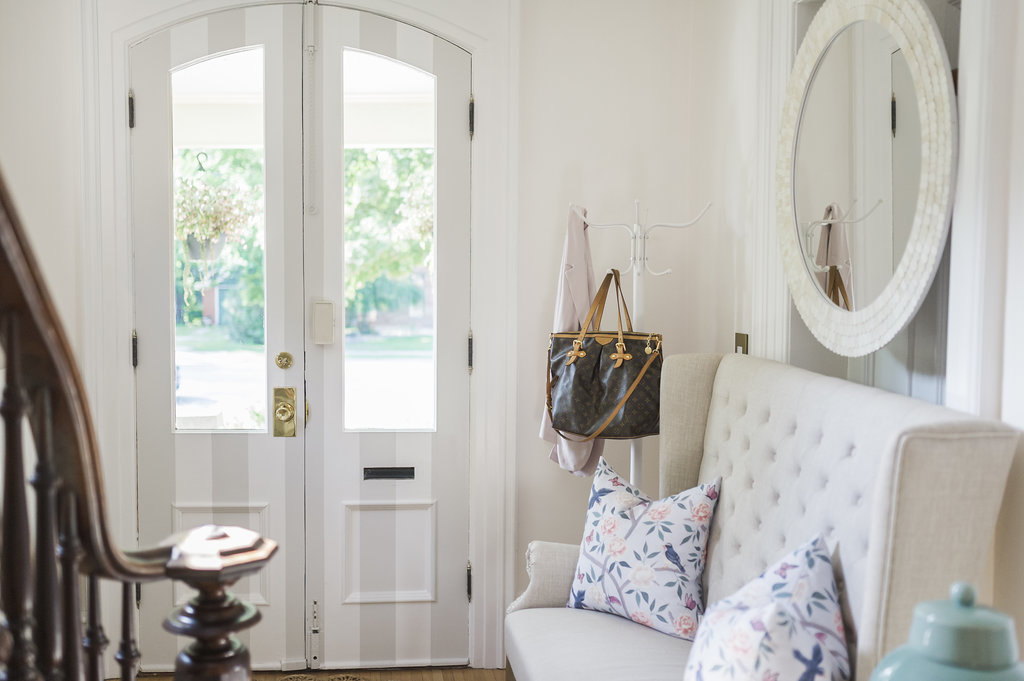
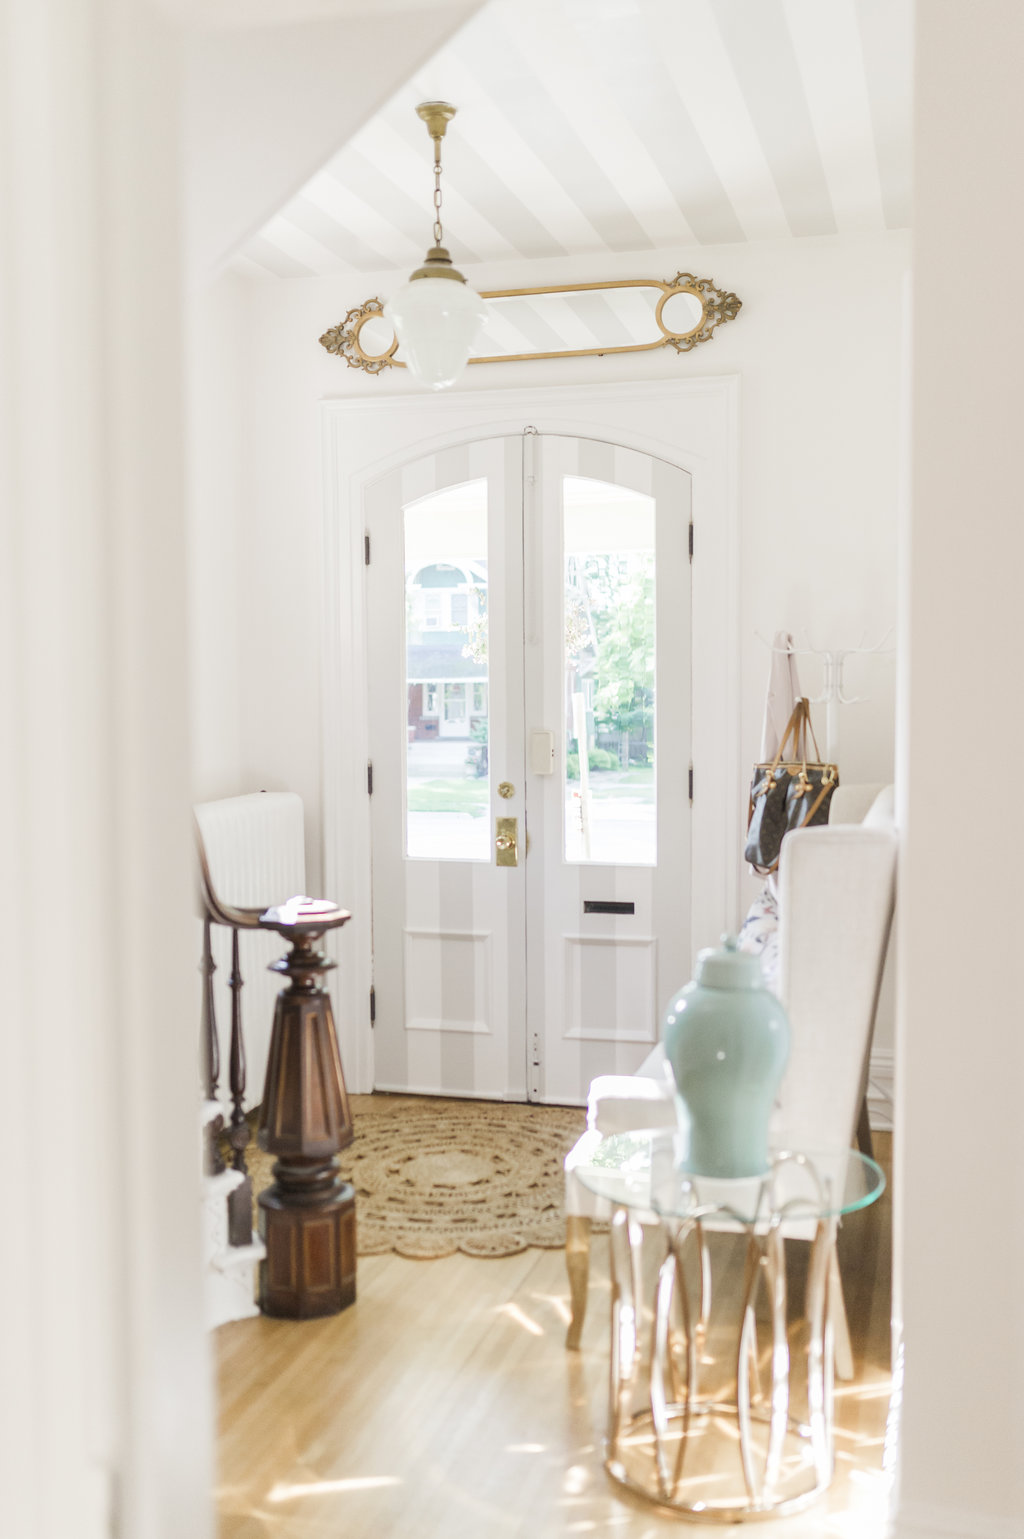
 This summer, we shined up our entryway with a few touches that make it feel super polished. We painted our ceiling and front doors, as well as added some beautiful furniture and accessories to the space! I hope you like our striped entryway reveal, because it’s super easy and affordable to get this look! Let me show you how!
Disclosure: This post is sponsored by The Brick. As always, all of the opinions here are my own.
The Story Behind the Stripes!
I knew that I wanted this space to be neutral, but I also wanted it to feel polished and stylish. Kind of like how you want your hair to be easy to maintain, but still look like it has a style so you get a super cute non-Mom bob. (Which reminds me….I need to do something with my hair! lol!)
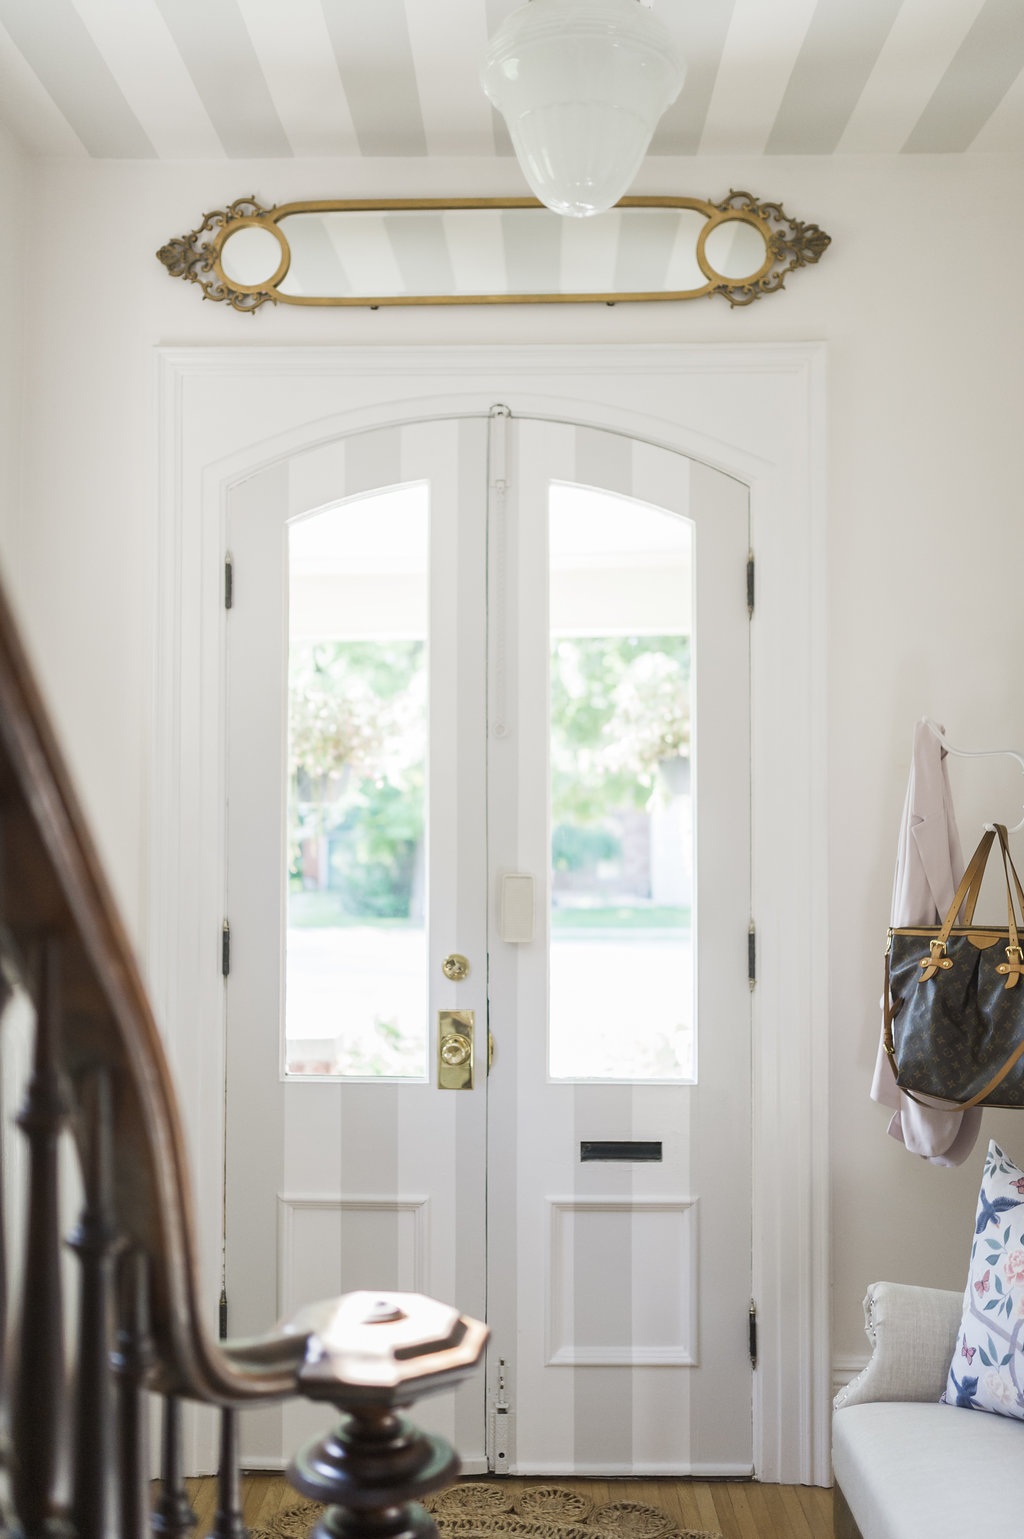
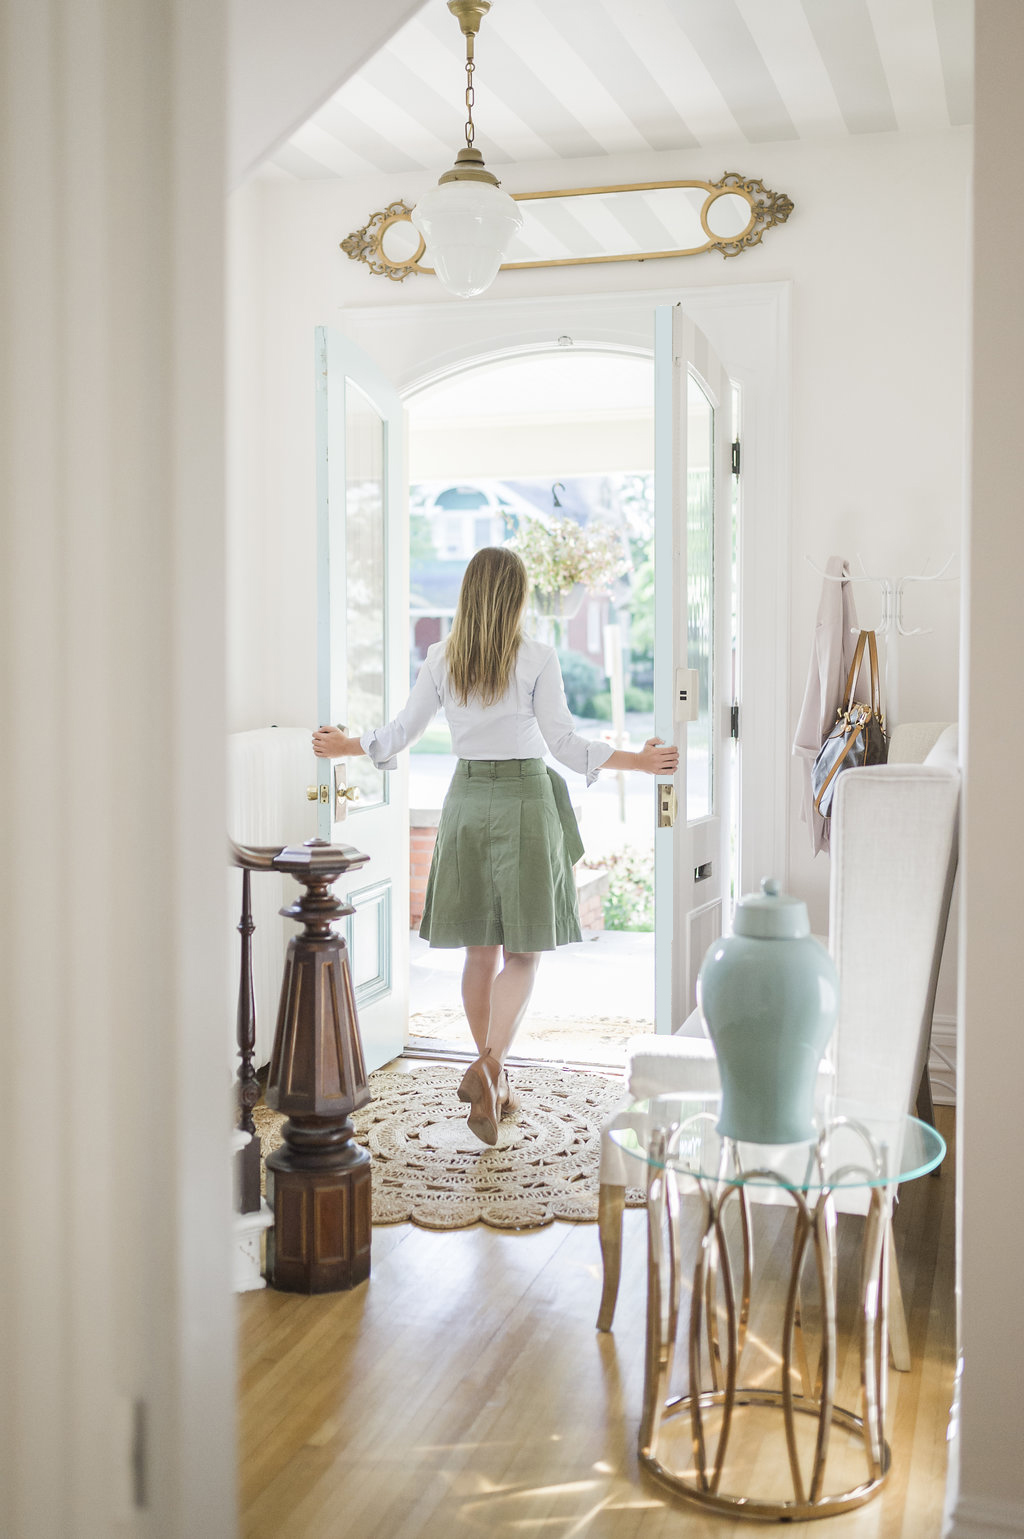
In this case the non-Mom bob of the room is the striped ceiling AND striped door! The stripes are super bold and sassy, but with the light greige shade I chose they soften right into the space. I had originally wanted pink stripes and then I thought…nope…neutral, so I can change with my moods however I want in here. Now that it’s done, I love the choice!
I’m really proud of the striped doors in particular because I’ve never seen them anywhere and I love when I can do something all my own. Not to mention, the striped door makes the space feel like an Ice Cream parlour, which is a pretty good vibe to have! At the end of the post, you’ll find tips and tricks for how to measure and tape to paint your stripes.
Tricky Design Challenge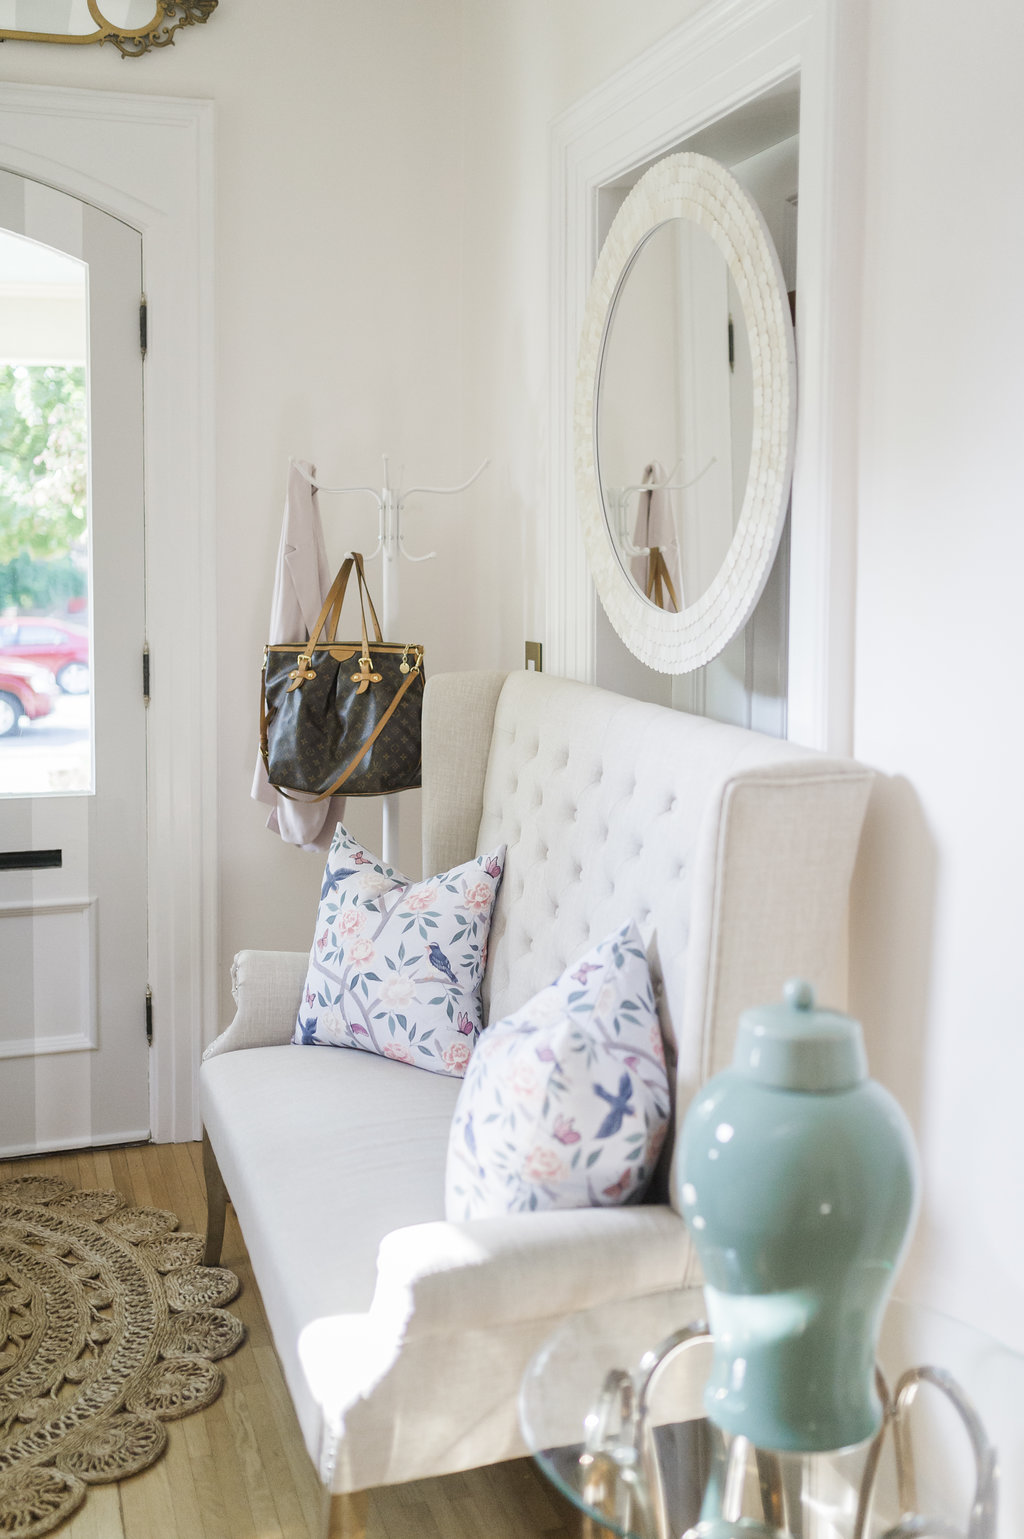
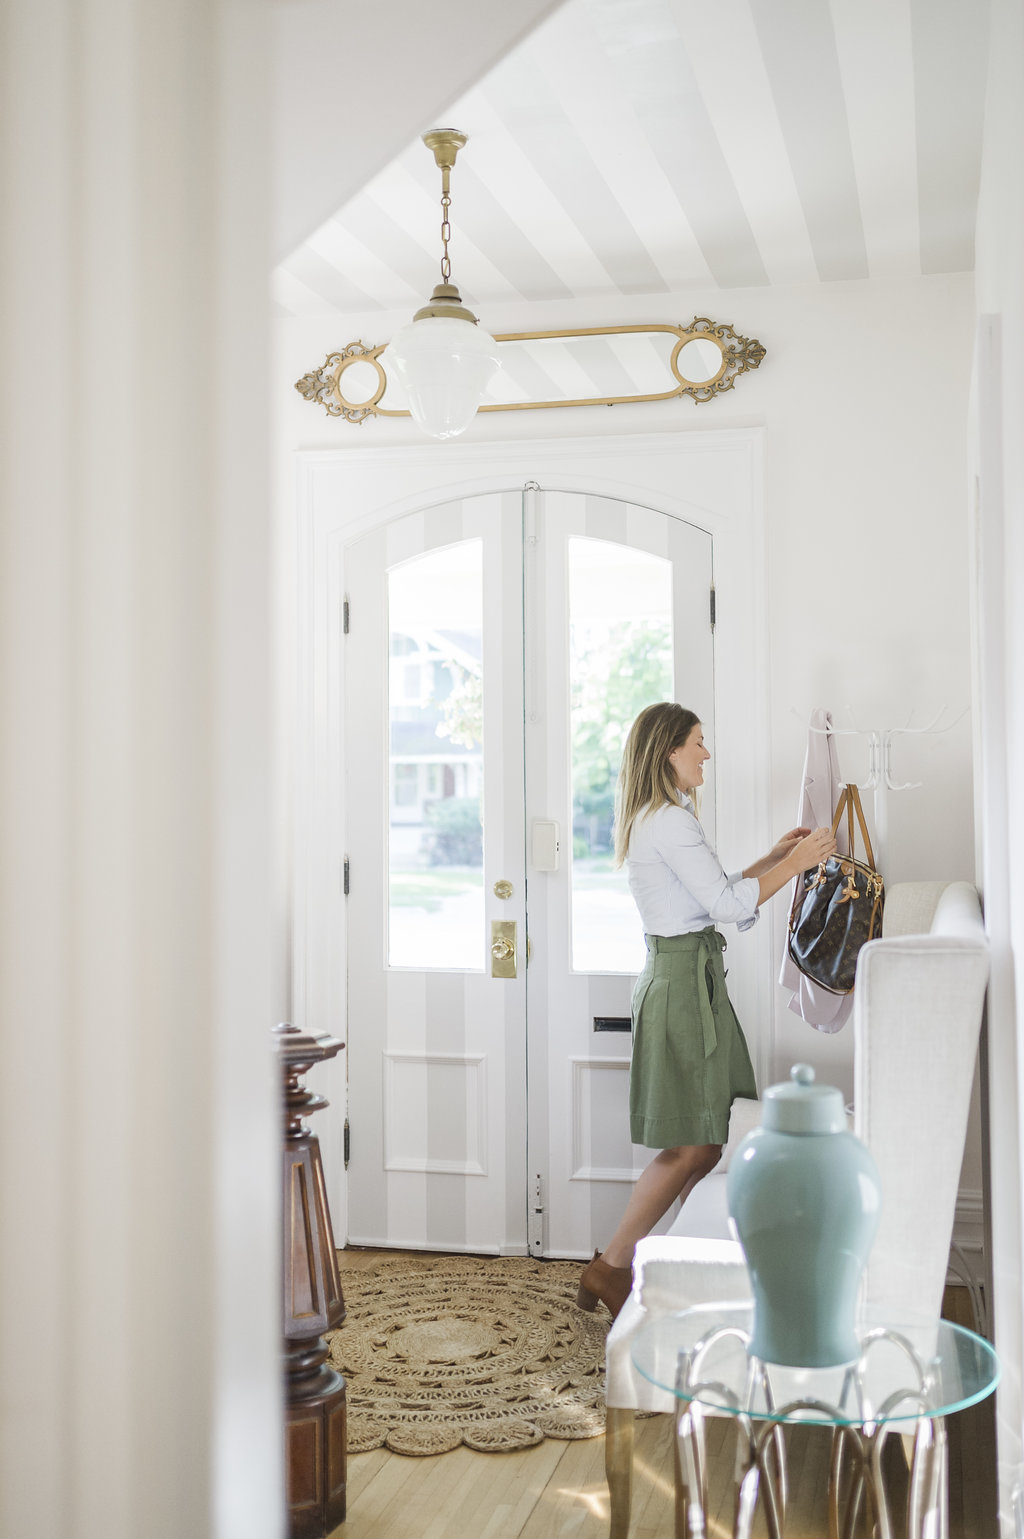
The trickiest part about the entryway is that there is a door right on the only wall. The door leads to the living room and we don’t use it. I wish I could just make it disappear but this is a heritage home and well you need to embrace it all, so I needed to find a way to still make that wall usable.
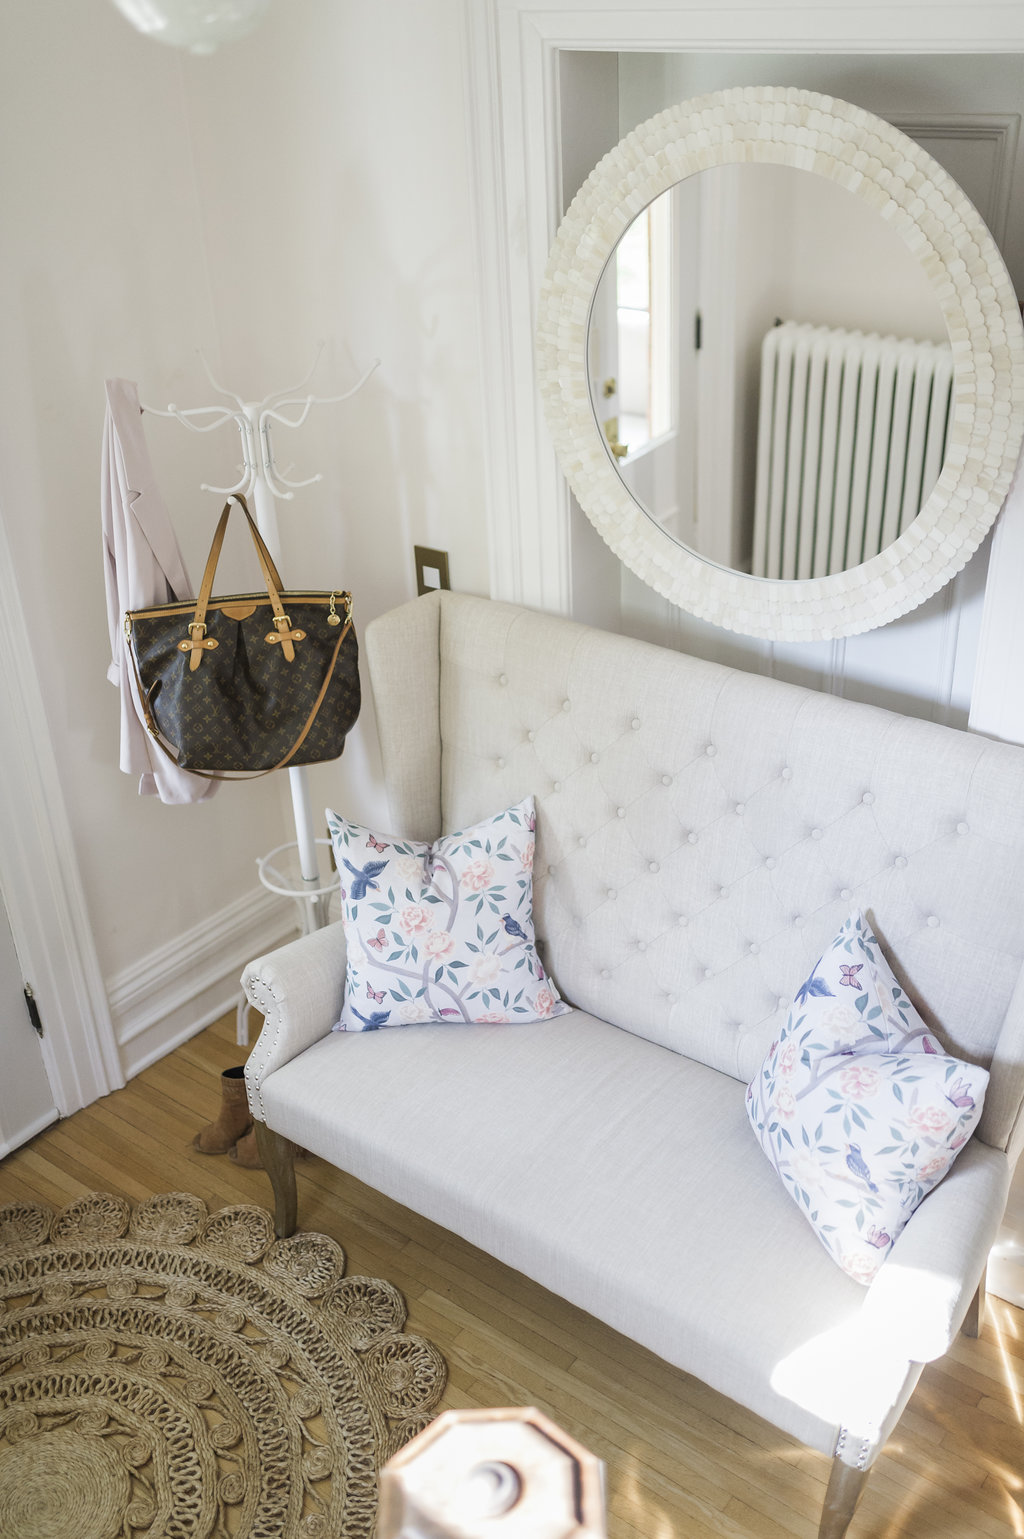
My solution was to centre the settee on the door and then to magically hang a mirror in the doorway. (By magically I mean by having a piece of wood installed in the doorframe to hang the mirror on;) )What do you think? With basically no wall space, I made room for the entryway essentials.
Entryway Essentials
With help from my friends at The Brick, I was able to find all the pieces that I needed to make this space feel super polished!
Wingback Settee
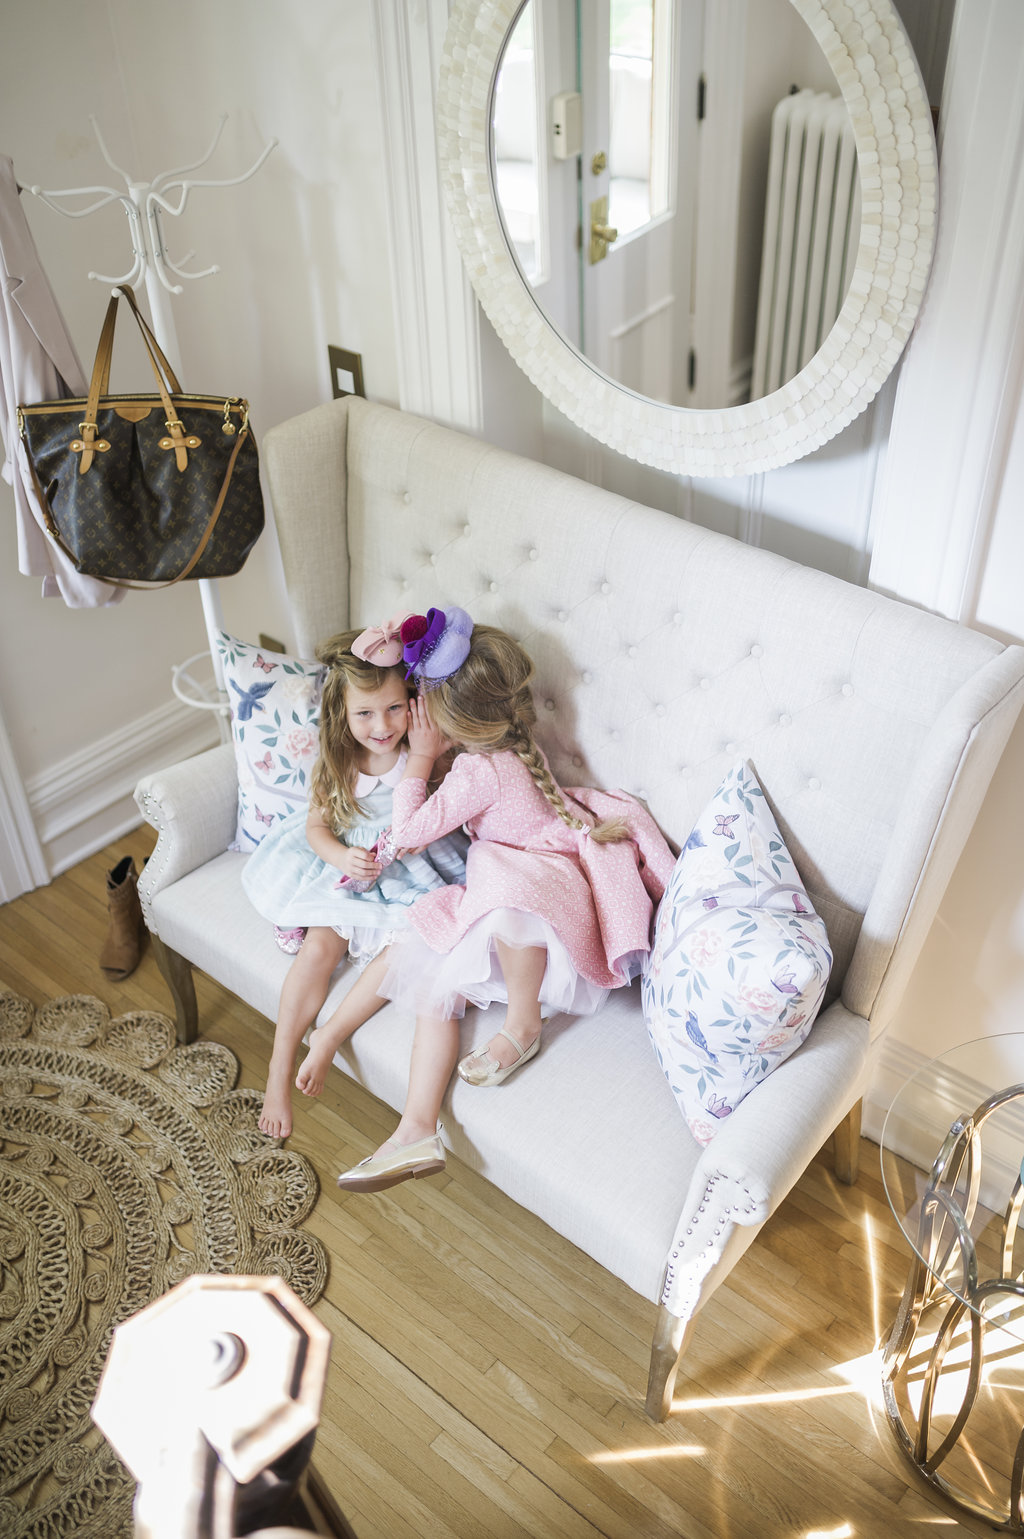
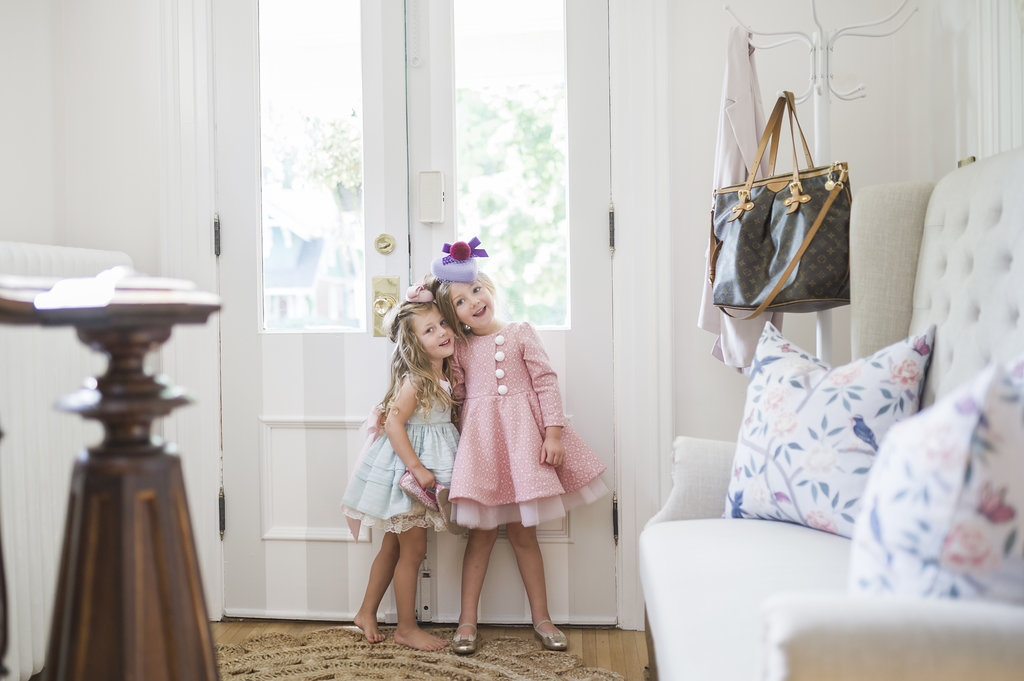
I chose the Lottie Wing-Back Hall Bench from The Brick for our entry.The tufting and nail head details feel really tailored. You might recognize this piece from our dining room that we did with The Brick! I used this bench on one side of the dining room table. For a change, I brought the bench into the entryway. I love this piece because you can style it in so many ways. 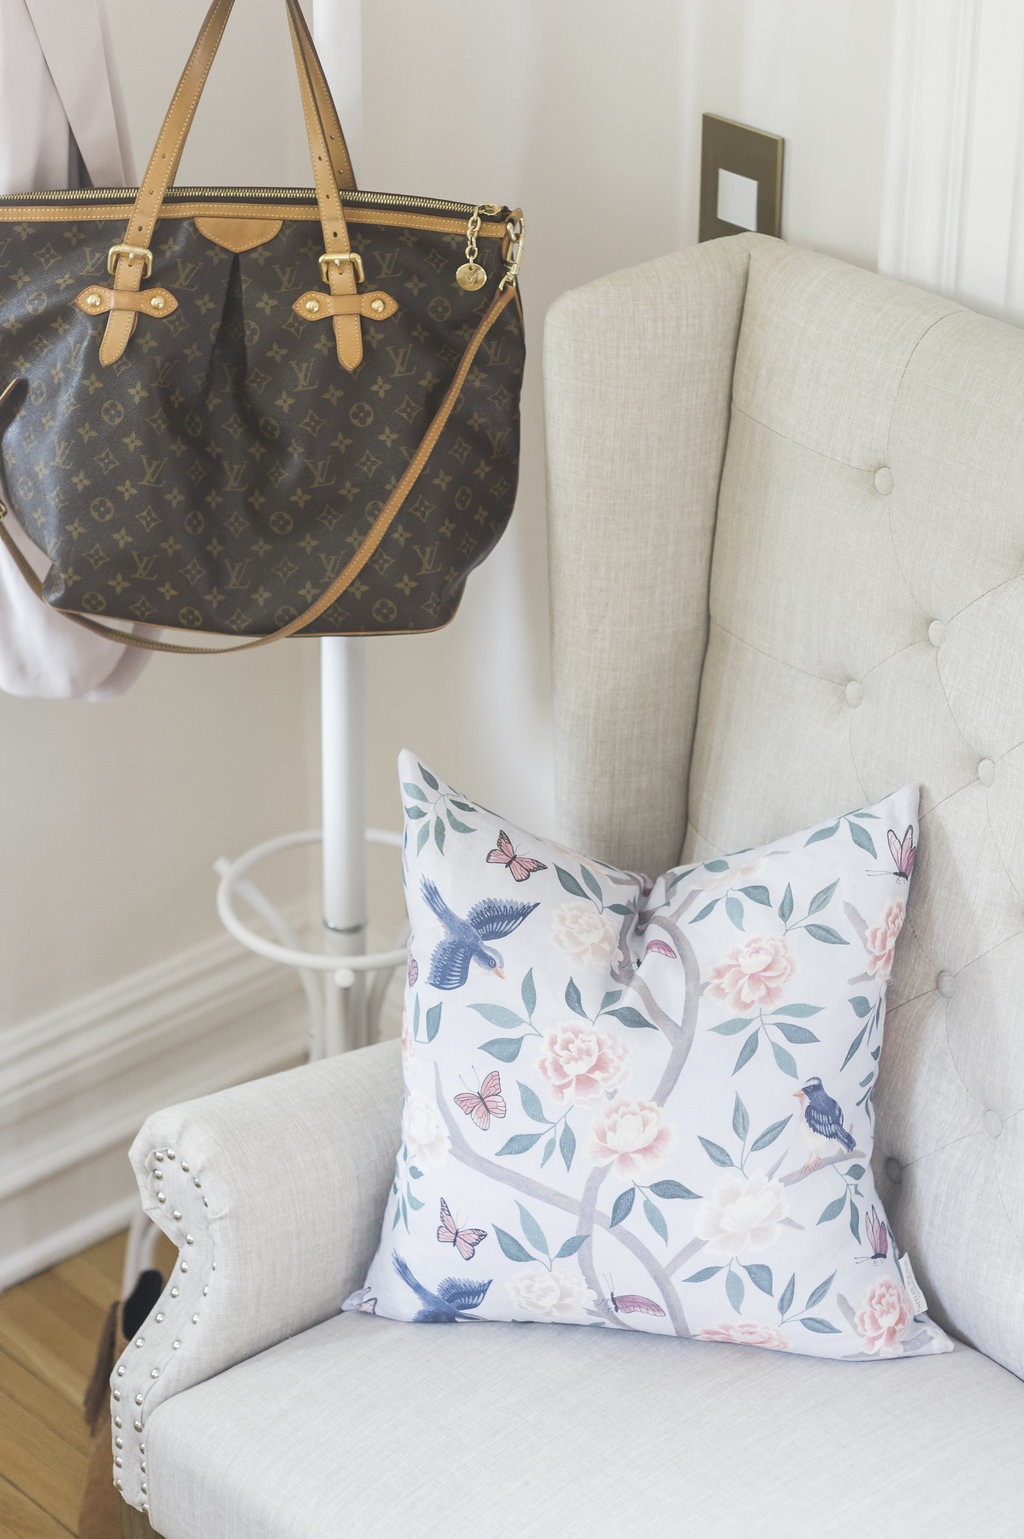
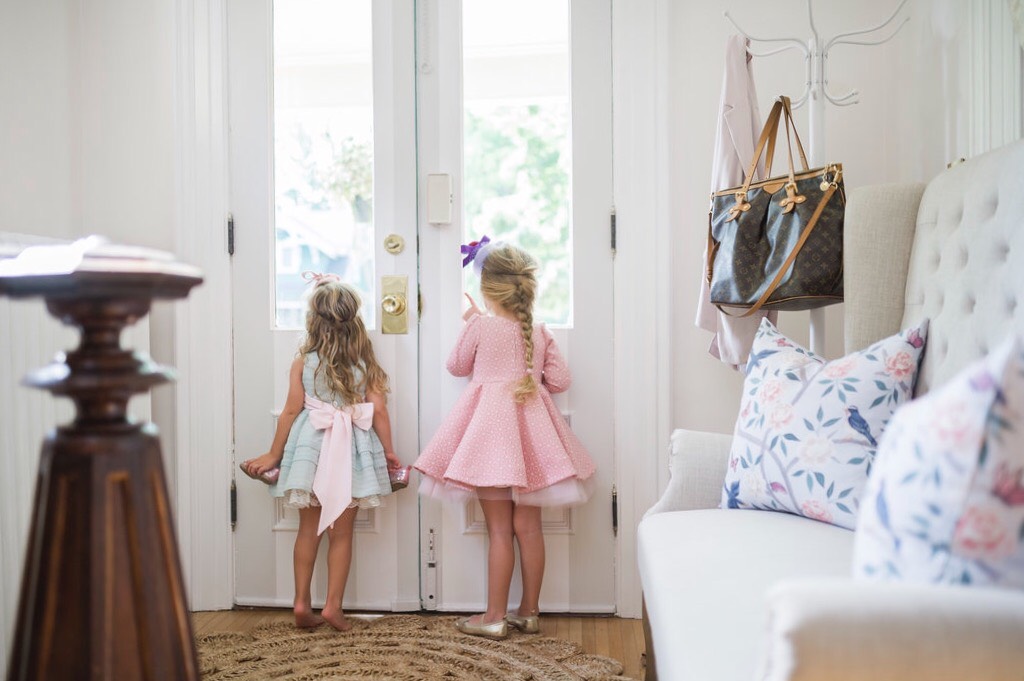
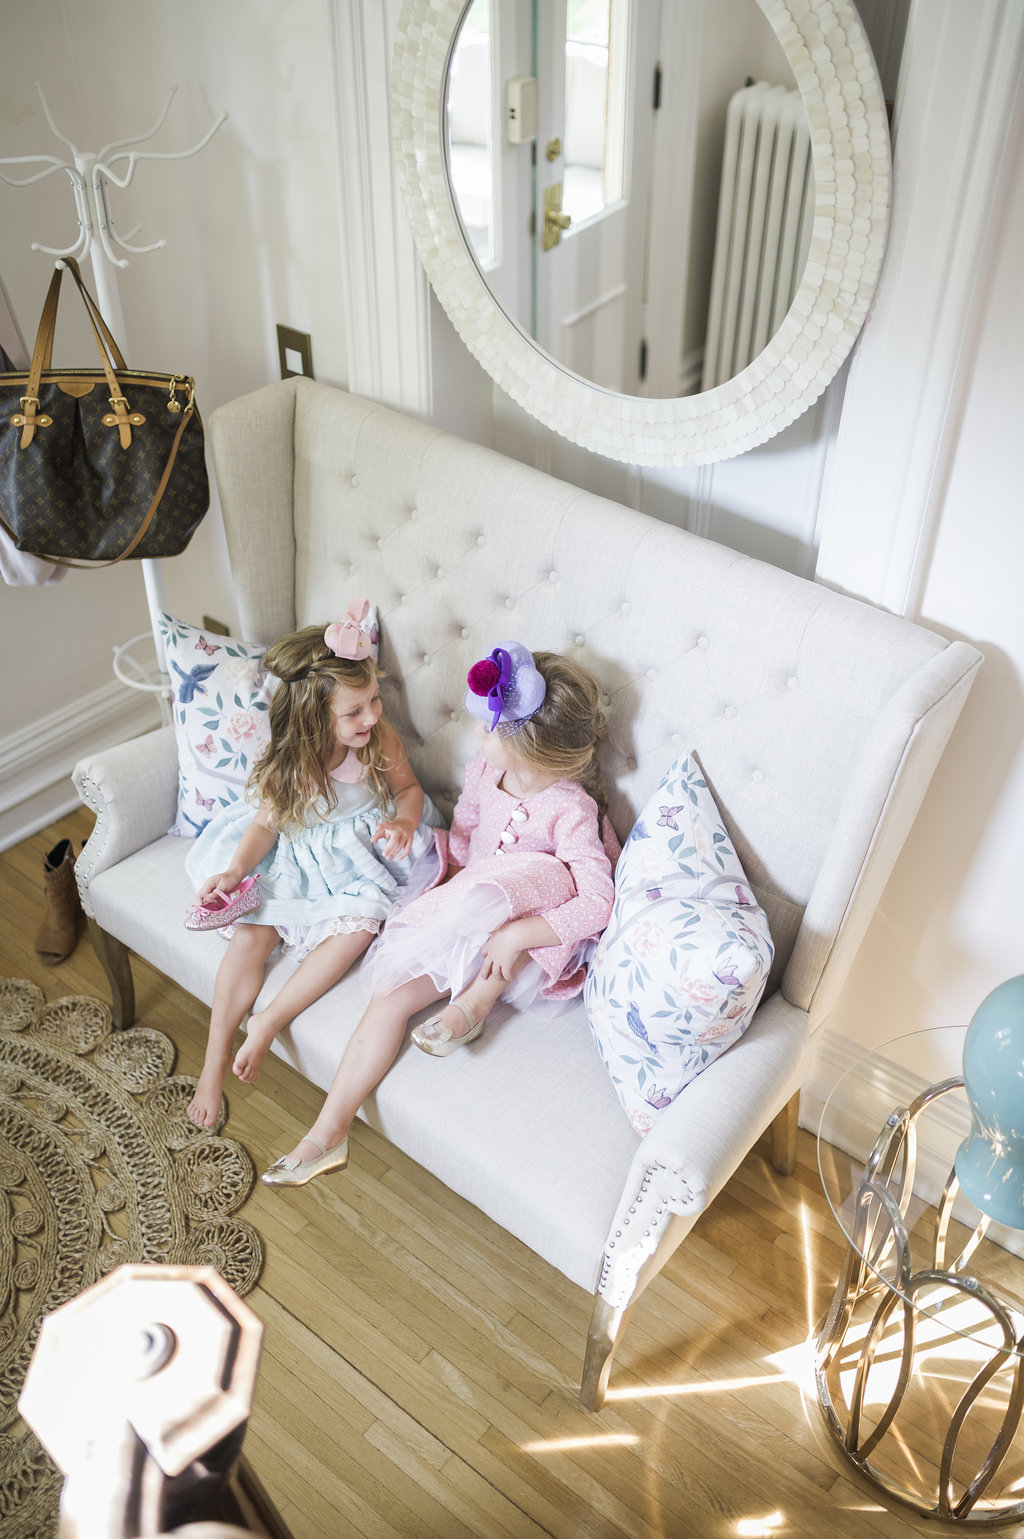
Here’s a couple super cute pics of my Penelope and Juliette hanging out on it, waiting to leave!
Mirror
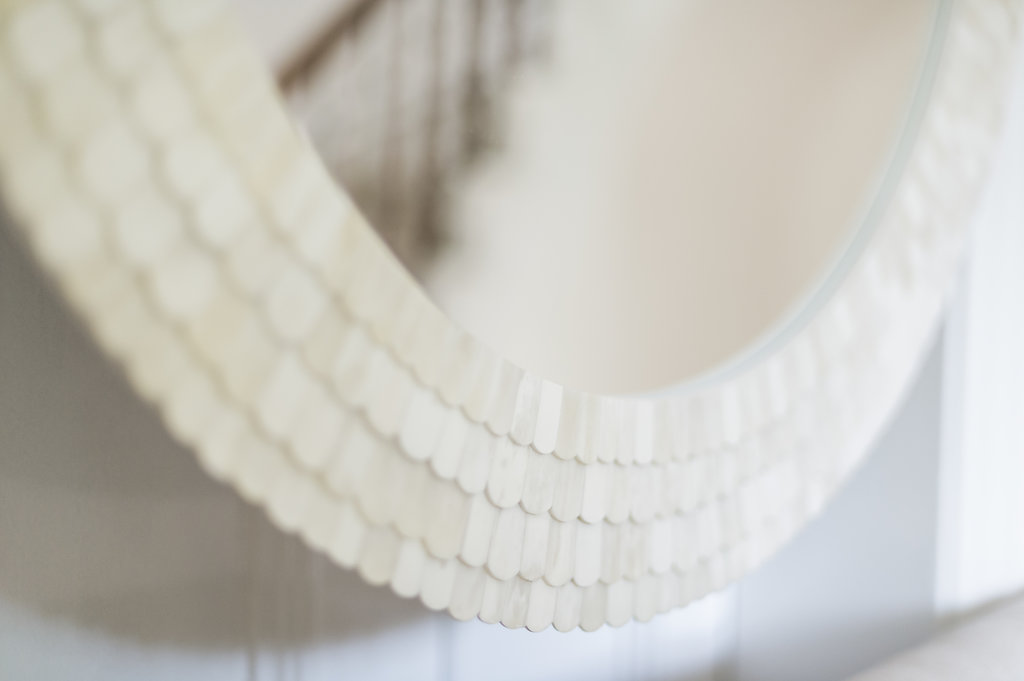
I chose the Inca mirror from The Brick. I am obsessed with scallop details right now, and the entire mirror is small shell scallops! It’s so gorgeous. I also love round mirrors! The mirror is 36″ which is really substantial. This mirror would also be perfect over an entryway console table or over a dresser. I wanted to put it over my bed too but I had to stay focused on finishing the entryway! lol! 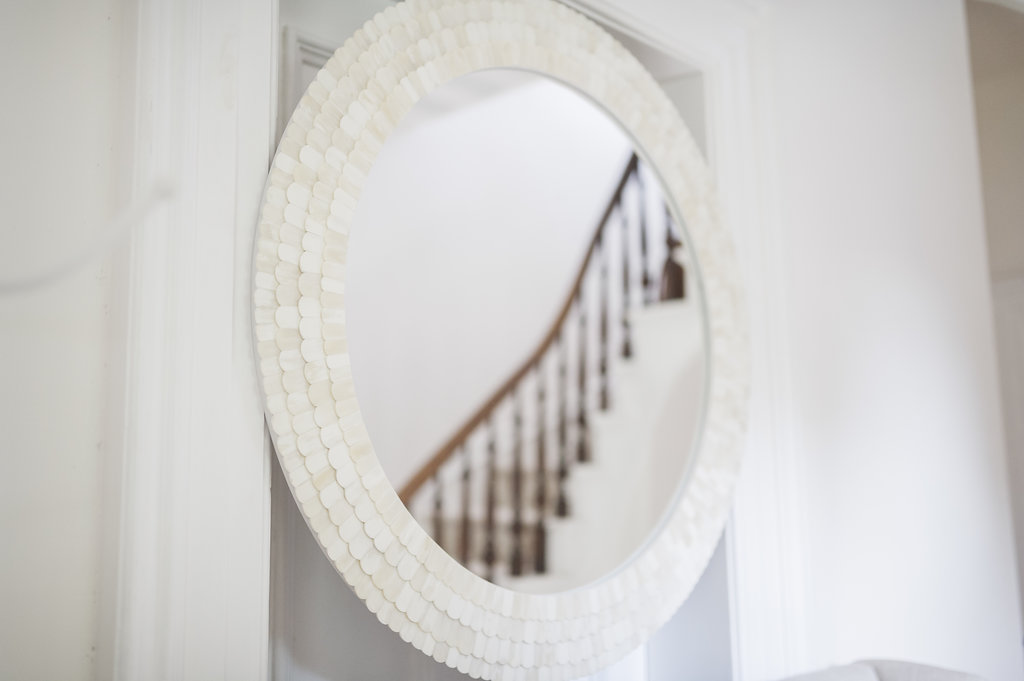
Side Table
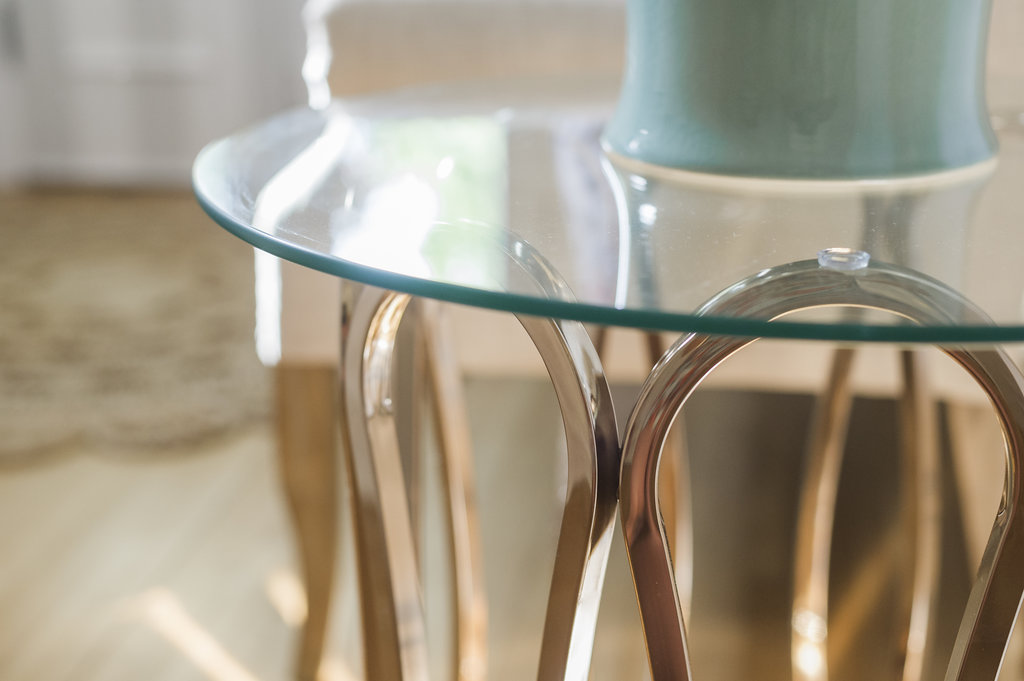
The entryway is small, so I needed a side table that felt really airy. With an open work bronzy-brass base and glass top the Deon Side Table from The Brick was the perfect choice. I can’t get over how much sparkle the table adds to the space. This table is actually designed by The Property Brothers. They have an entire furniture line they just introduced called Scott Living and The Brick carries it! 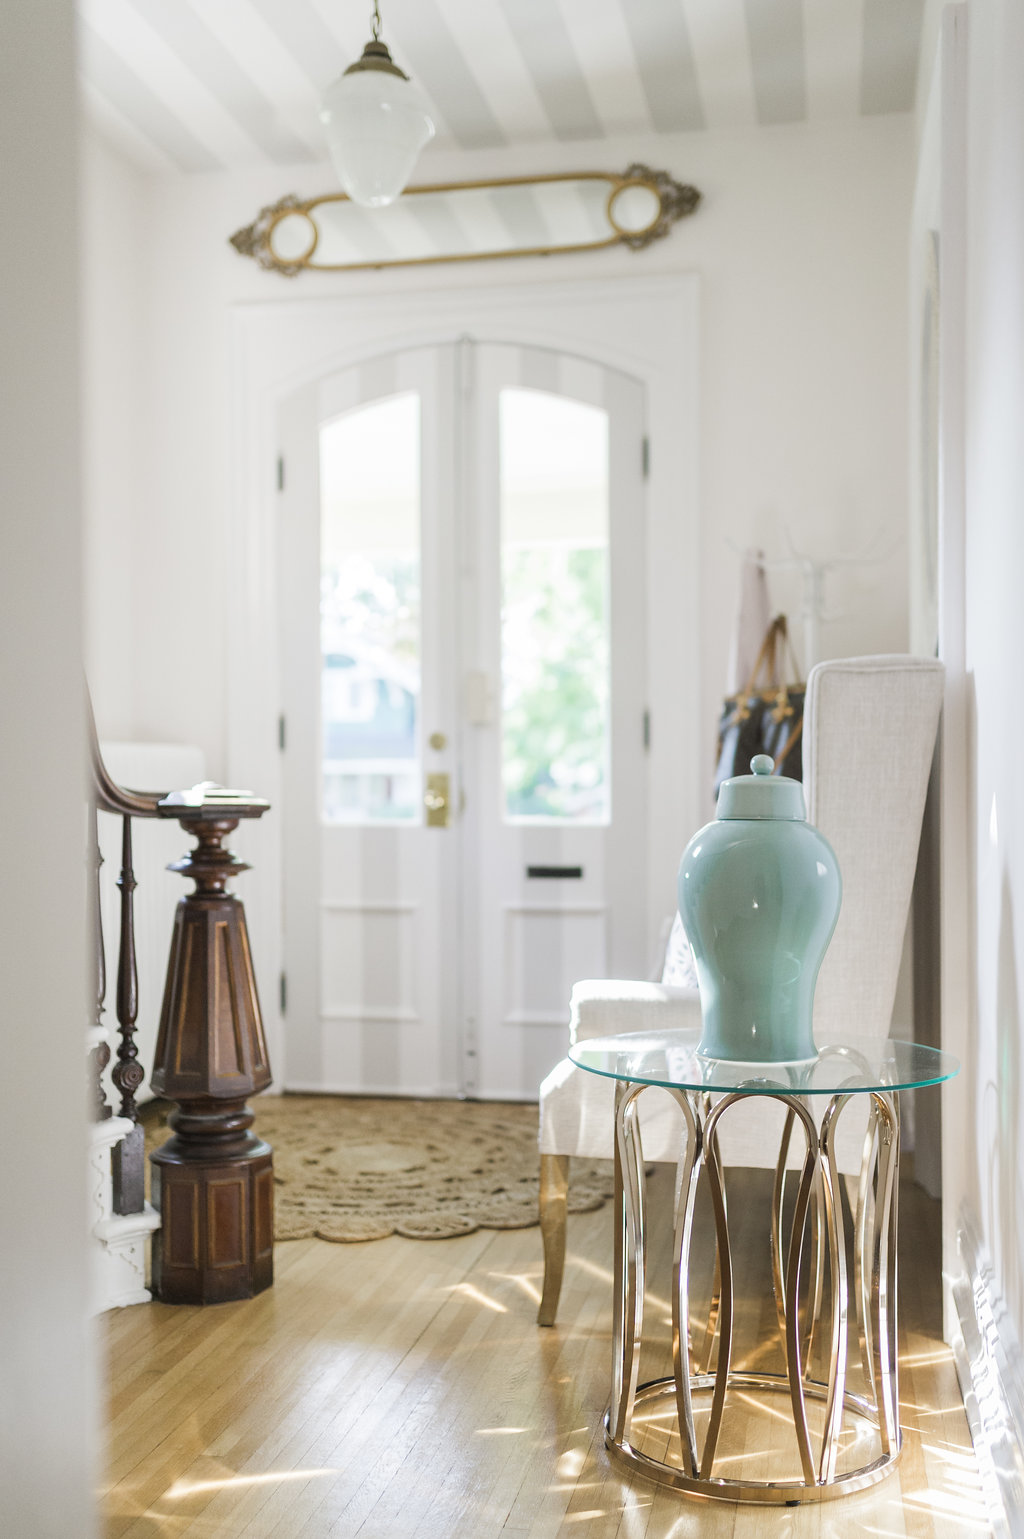
Coat Rack
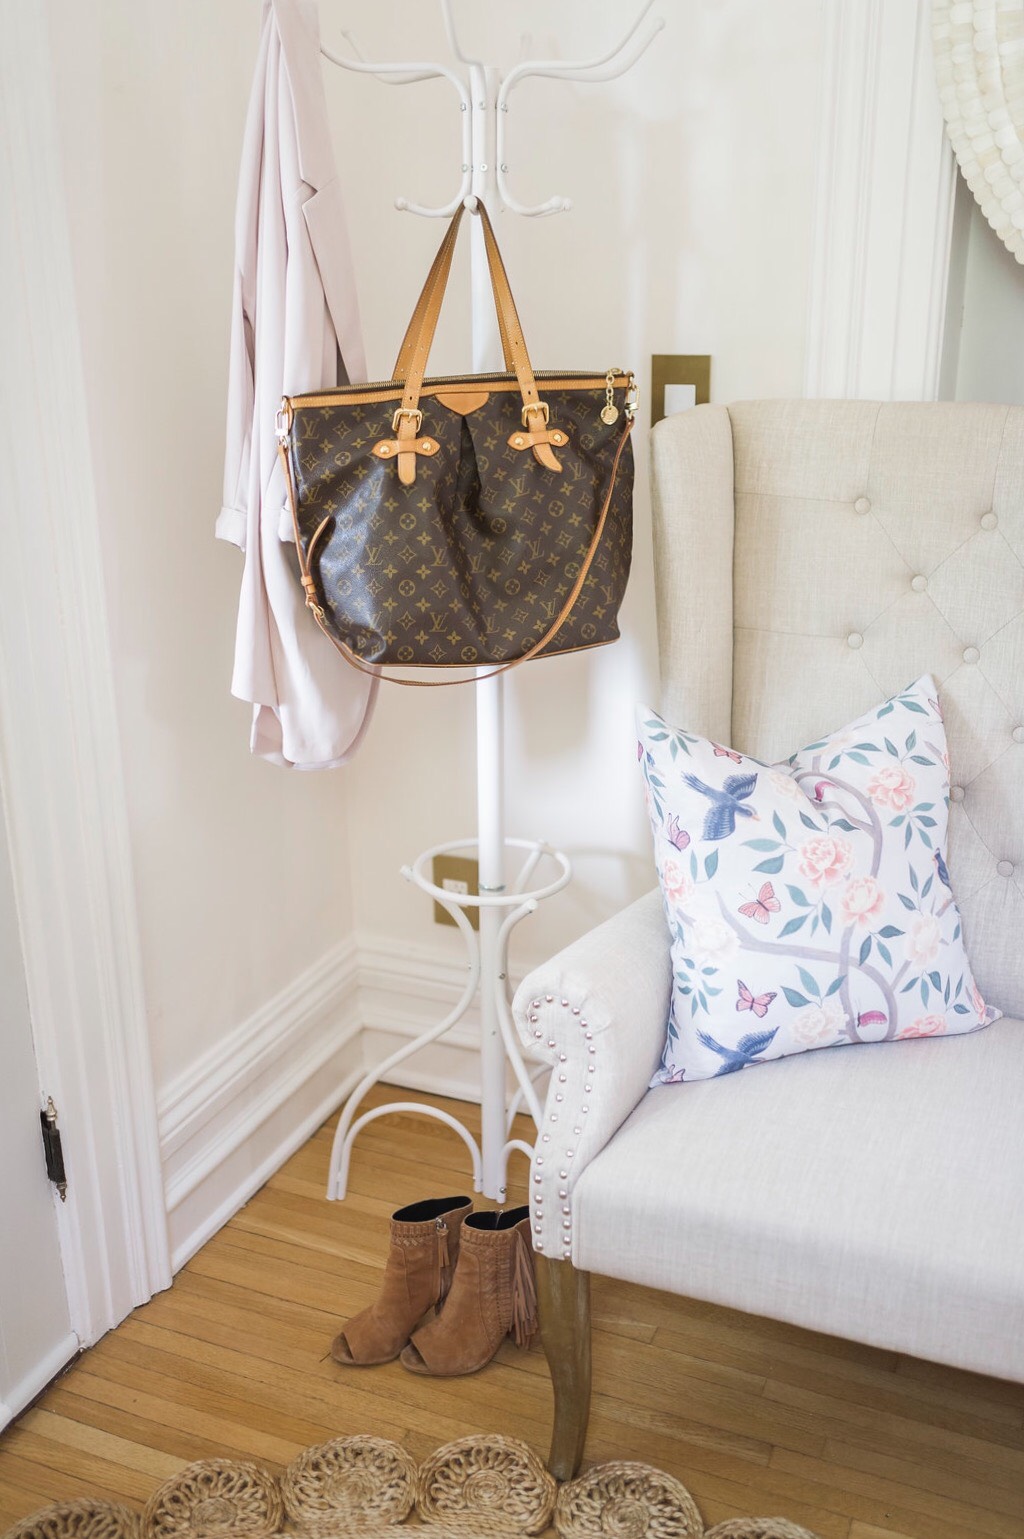
I wanted to find a white coat rack. I always see them in black and that just wasn’t going to fly with the airy, light, and bright feeling that I love in my home, so when I found the Lumai Coat Rack at The Brick in white I was sold. Its has an antique classic shape, which is perfect for our 1886 home. Now I just need to find a super cute umbrella to style in the base circle…how cute would that be? Like one with a wooden handle!
Faux Antique Mirror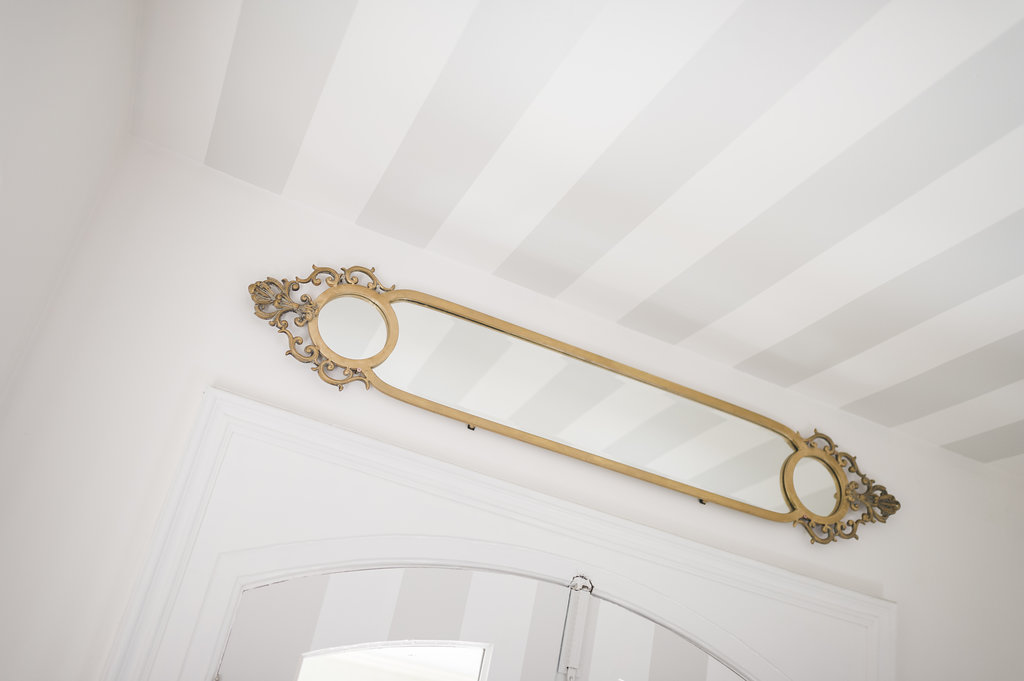
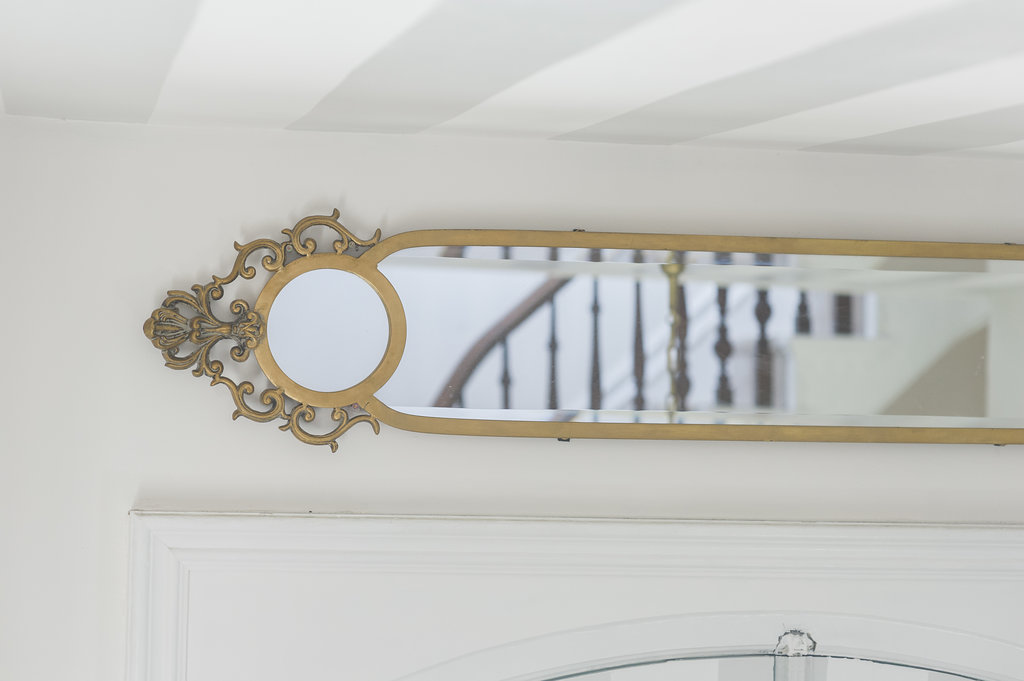
I fell in love with the look and unique shape of this mirror from The Brick. Yup it’s not an antique! Can you even believe it? When I found it at the store it was hanging vertically and I knew I had to have it. I thought I would hang it horizontally, but I didn’t know where. Then suddenly, it hit me that it would look so perfect over our doorway. It’s also so fun that it makes it look like the stripes continue down the ceiling and onto the door! I can’t link the mirror because it’s one of The Brick’s take-home-today accessories which are all over the store. You just pop in and see what they have…I hope one of these mirrors is in your local store!
Tip and Tricks to Paint Stripes in Your Home
Measuring for the Striped Entryway
I got the help of Tyler from Fresh Coat for this space! I love that with his help I learned the exact right steps to take so that now it can be such an easy DIY for you! All you need is painters tape, a measuring tape, laser level if you have it, and one small can of paint!
The key is to plan out the stripes. For the door, I knew that I wanted the two doors to meet in the middle on a stripe and end on stripes on both sides, and so 5 grey stripes was the perfect number. That means a total of 9 stripes. Measure the total width of the two doors and divide by 9 and that’s the width of your stripes.
Learn From My Mistakes!
I should have done that same calculation on the ceiling because we start on grey but end on white. I’m telling you about the tiny mistake because now you won’t make it. In hind sight, All I would have needed to do was have an odd number of stripes and then you know that you will begin and end on the coloured stripe. I learned this after the fact, and now I can save you from having to figure it out, so it’s all good because I LOVE you guys and sharing my renovation journey is what this blog is all about! It’s not noticeable at all which is awesome…it would have been big time on the door, so good thing I was super focused on that detail! Plus now I have learned the KEY to painting stripes and measuring for them which is pretty awesome.
How to Paint the Striped Entryway Ceiling and Doors
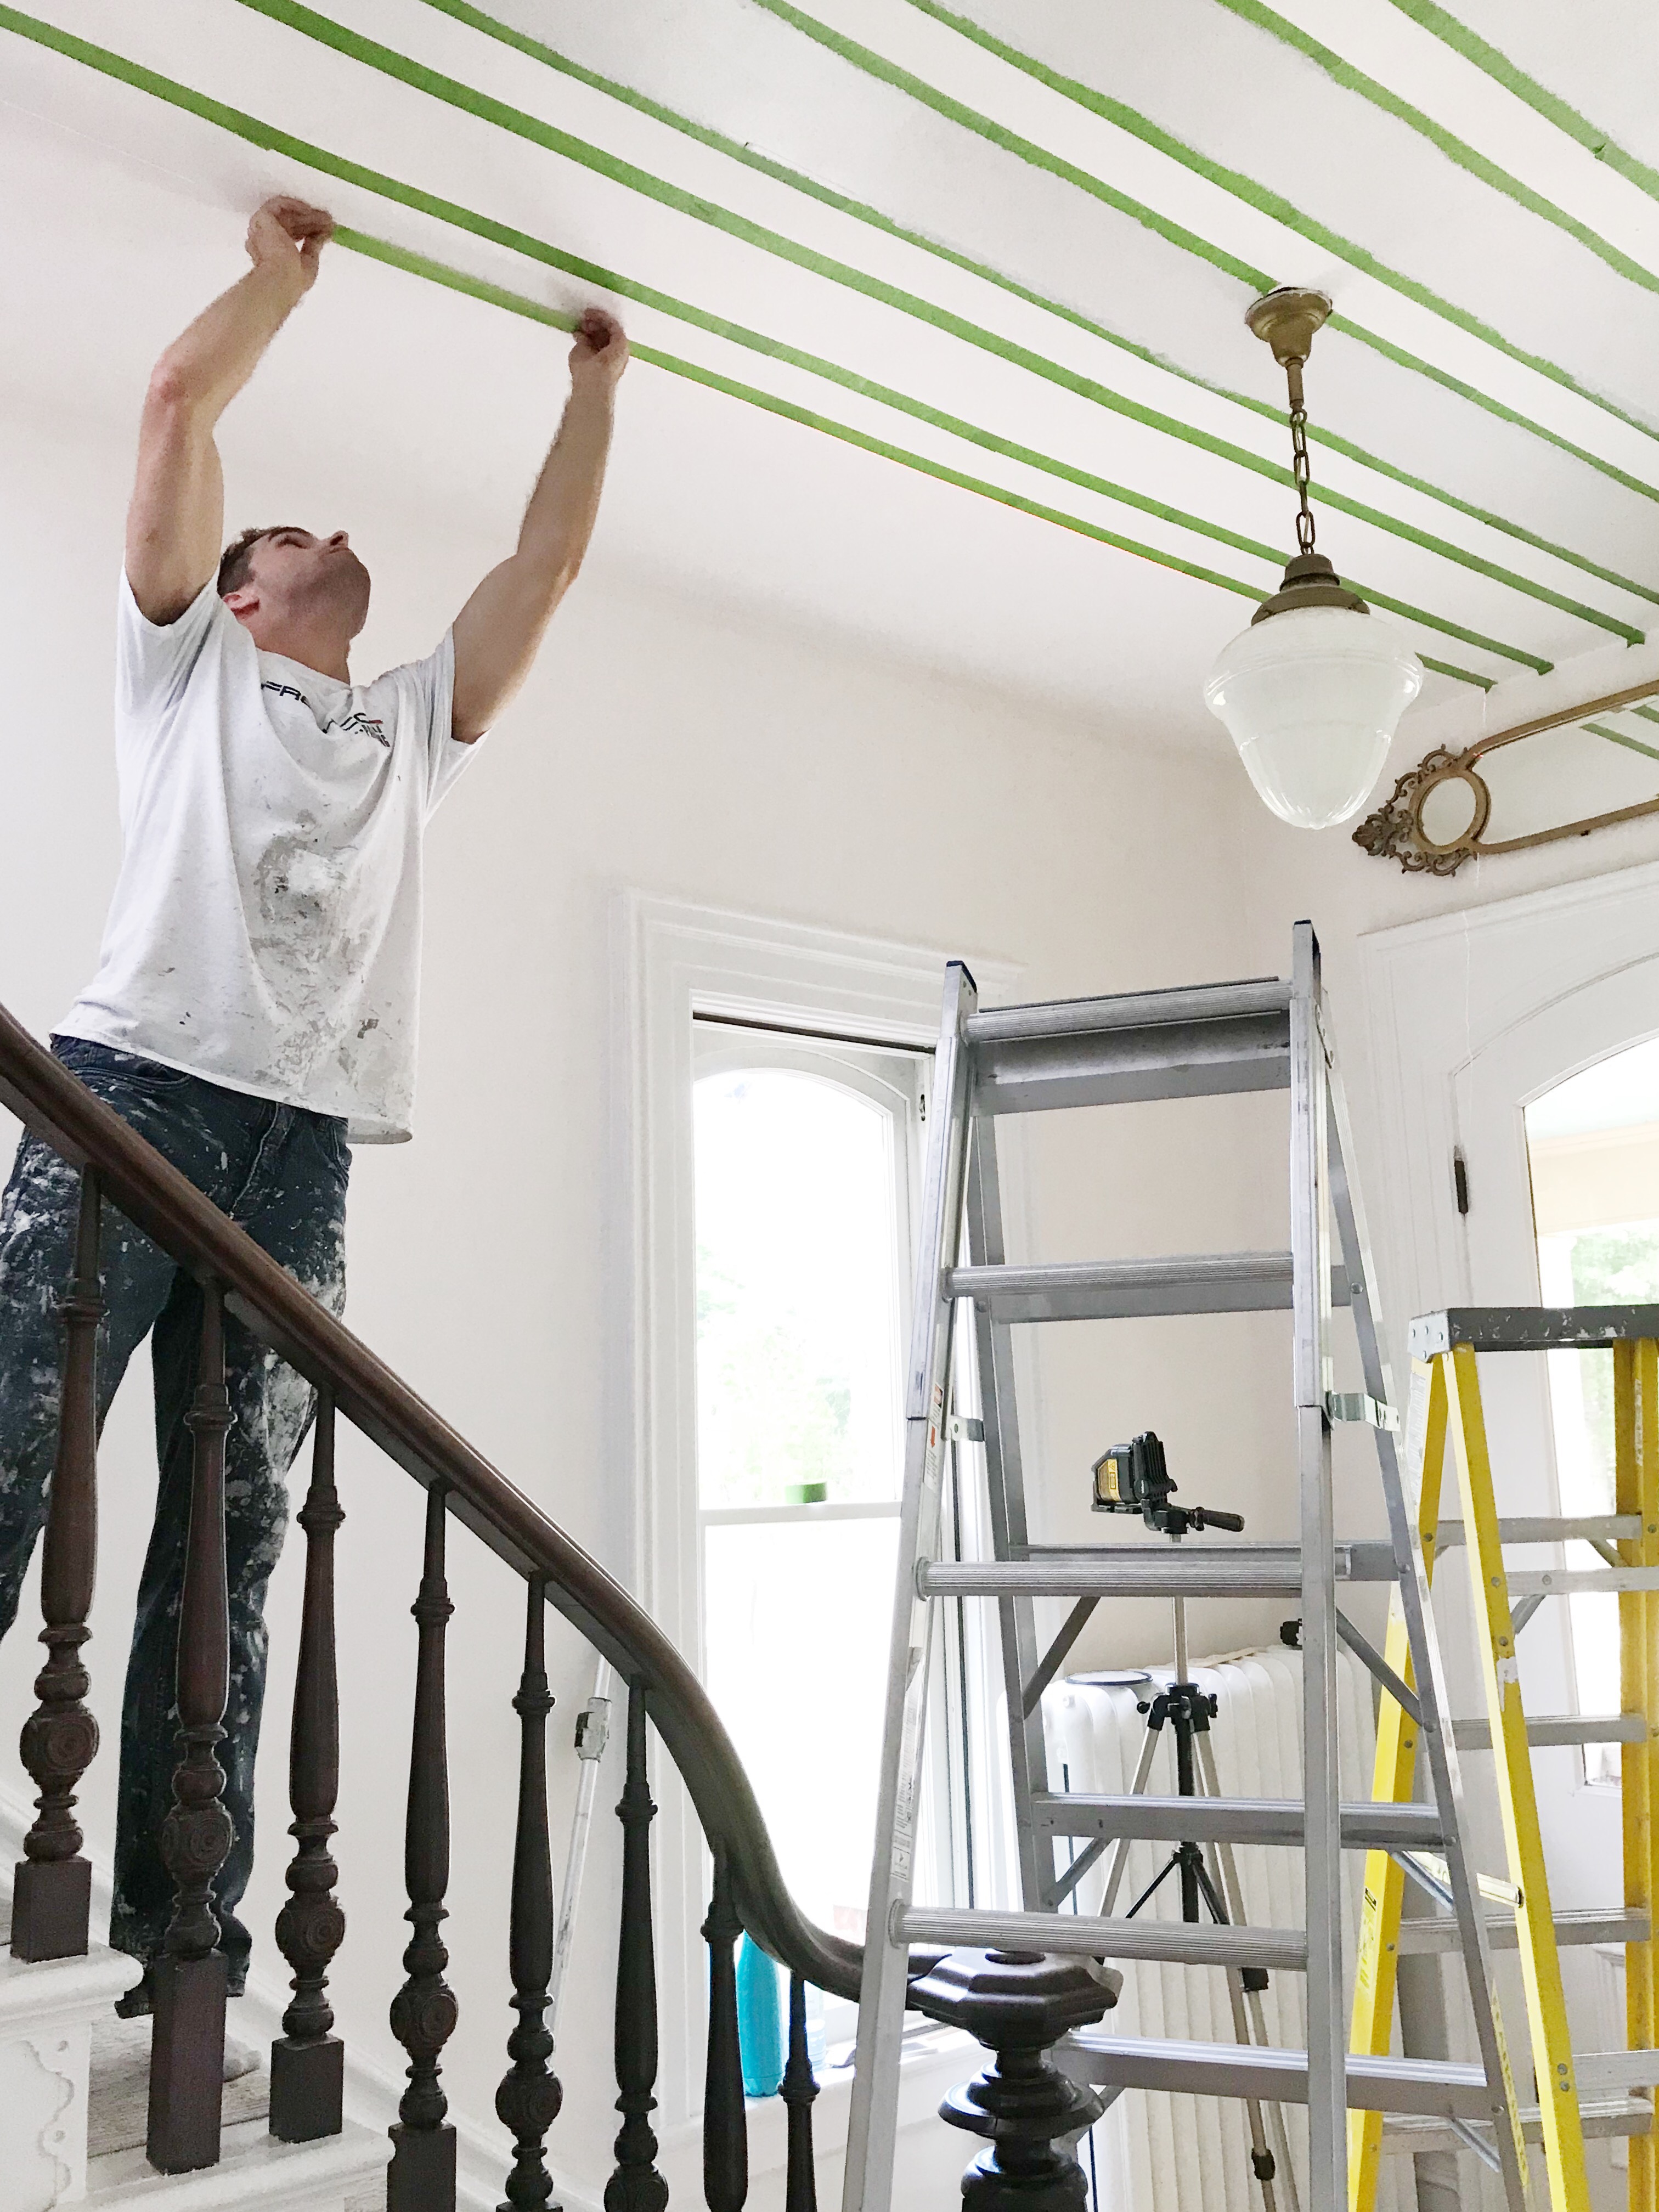
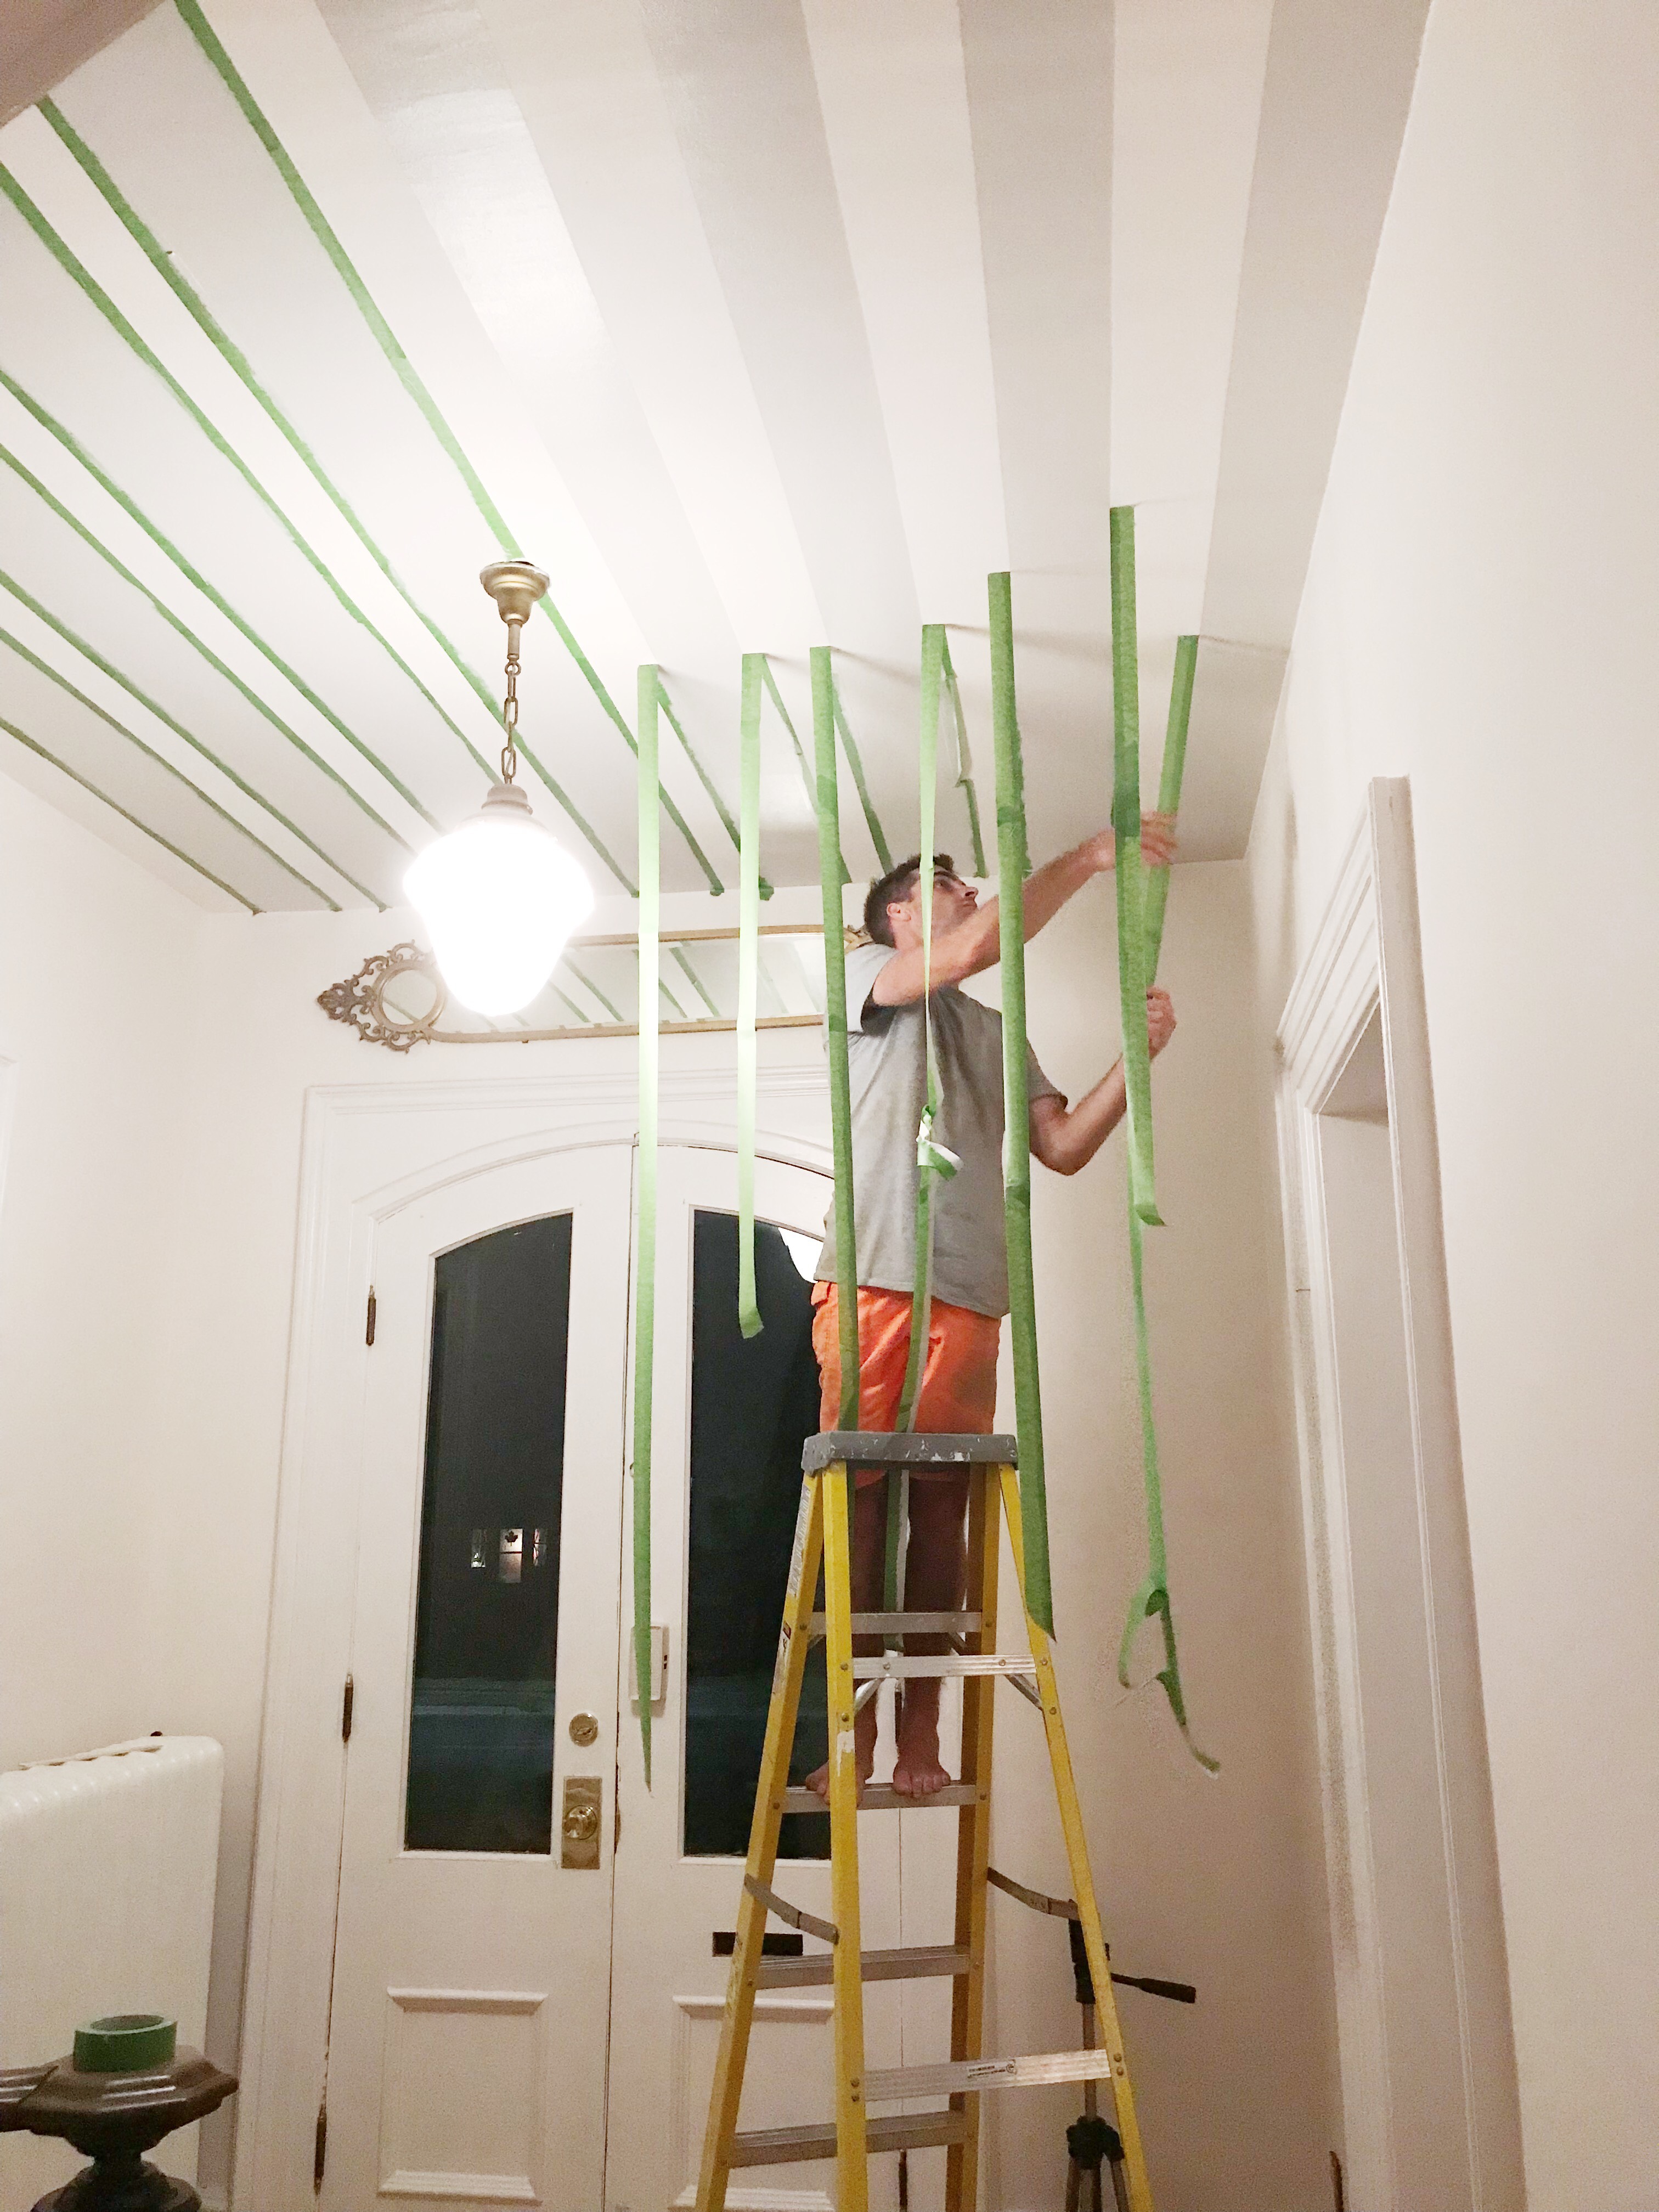
The easiest way to explain how it was done is to put a mark in pencil at one end for the first stripe (5 inches from edge of wall or desired stripe width) and then do the same on the opposite end of wall. Then have the laser level shine a line from end point to end point and tape along that line, then move on to the next line. In our case, we moved across the space in 5 inch increments.
Remember to tape the outside of the lines for the painted stripes. So it looks like your stripes aren’t the same size, but they are. It’s an optical illusion because the tape is always on the stripes that aren’t getting painted. It will make sense once you start…don’t worry!

DIY Faux Kilim Runner on the Stairs
The first project that we took on in our entryway was to paint and cover the stairway with a DIY faux kilim rug runner! Check out that post here!

What do you guys think of the space? Do you like the stripes? Oh and do you prefer the bench in our entryway or dining room?
Photos by the insanely talented Vicki Bartel
The girls dreamy dresses are from Aggie & Francois

Absolutely beautiful! The best accents are the gorgeous girls ! Amazing finds and definitely impressed with The Bricks selection!
Thank you so much! You’re so right…I love getting to mix taking special picks of the girls with house pics…hahah my two passions! Yes The Brick is totally on point right now! I love so many of the Property Brothers new pieces they just got in…will have some more of theirs coming super soon! thanks for the sweet comment!
Beautifully done! Really love that mirror over the door!
Thank you so much…it’s such a fun shape and size eh? I’m on the hunt for long narrow mirrors now…just something different! thank you!
It looks amazing! Your so good at what you do!
Oh my gosh, thank you!! You just made my day!! Love doing it!
I combed over the comments and the post to see if I missed it somewhere, but where did you get the entry way rug? It’s gorgeous!!!
Hi! Thank you! It was such a steal…the size I got is currently out of stock but you can get an email for when it comes back 😉
Here is the link:
https://rstyle.me/n/c8u659b62p7
you can find a bunch of different styles if you search round jute rug from that link as well!
The whole space is to die for. You are amazingly talented. And I love the mirror too, along with all the pieces of furniture. The settee looks great there as well!
Oh wow thank you so much! I’m so glad you like the new pieces! thanks so much for the comment!
OMGosh Leslie, I love the neutral stripes on the door and ceiling. It’s unique, classy and unexpected. And the girls look adorable hanging out on the Brick furnishing… perfect choices!
Hi Tana! Thank you so much, I’m so happy that you like them! Oh thanks so much for all the kindness…those little girls are my secret weapon lol!! Hope you’re well!!!
Leslie~
I just recent found your blog and soooooo very excited that I did! 🙂 Your foyer is stunning, ABSOLUTELY stunning. I love it!!!!
Have a blessed day!
Deb 🙂 🙂 🙂
Hi!! Oh I’m so pumped that you found it and thank you so much!!
Beautiful space!! Would you please link that amazing mirror! I have double front door just like yours. So happy I have found your website. I will have so much fun exploring.
Thank you!
Thank you! The mirror is from the The Brick, but I can’t link it. You have to pop in to your local Brick store and see if they have on. Their stock is always changing like Homesense or Homegoods. Happy hunting and I hope you find one! xo