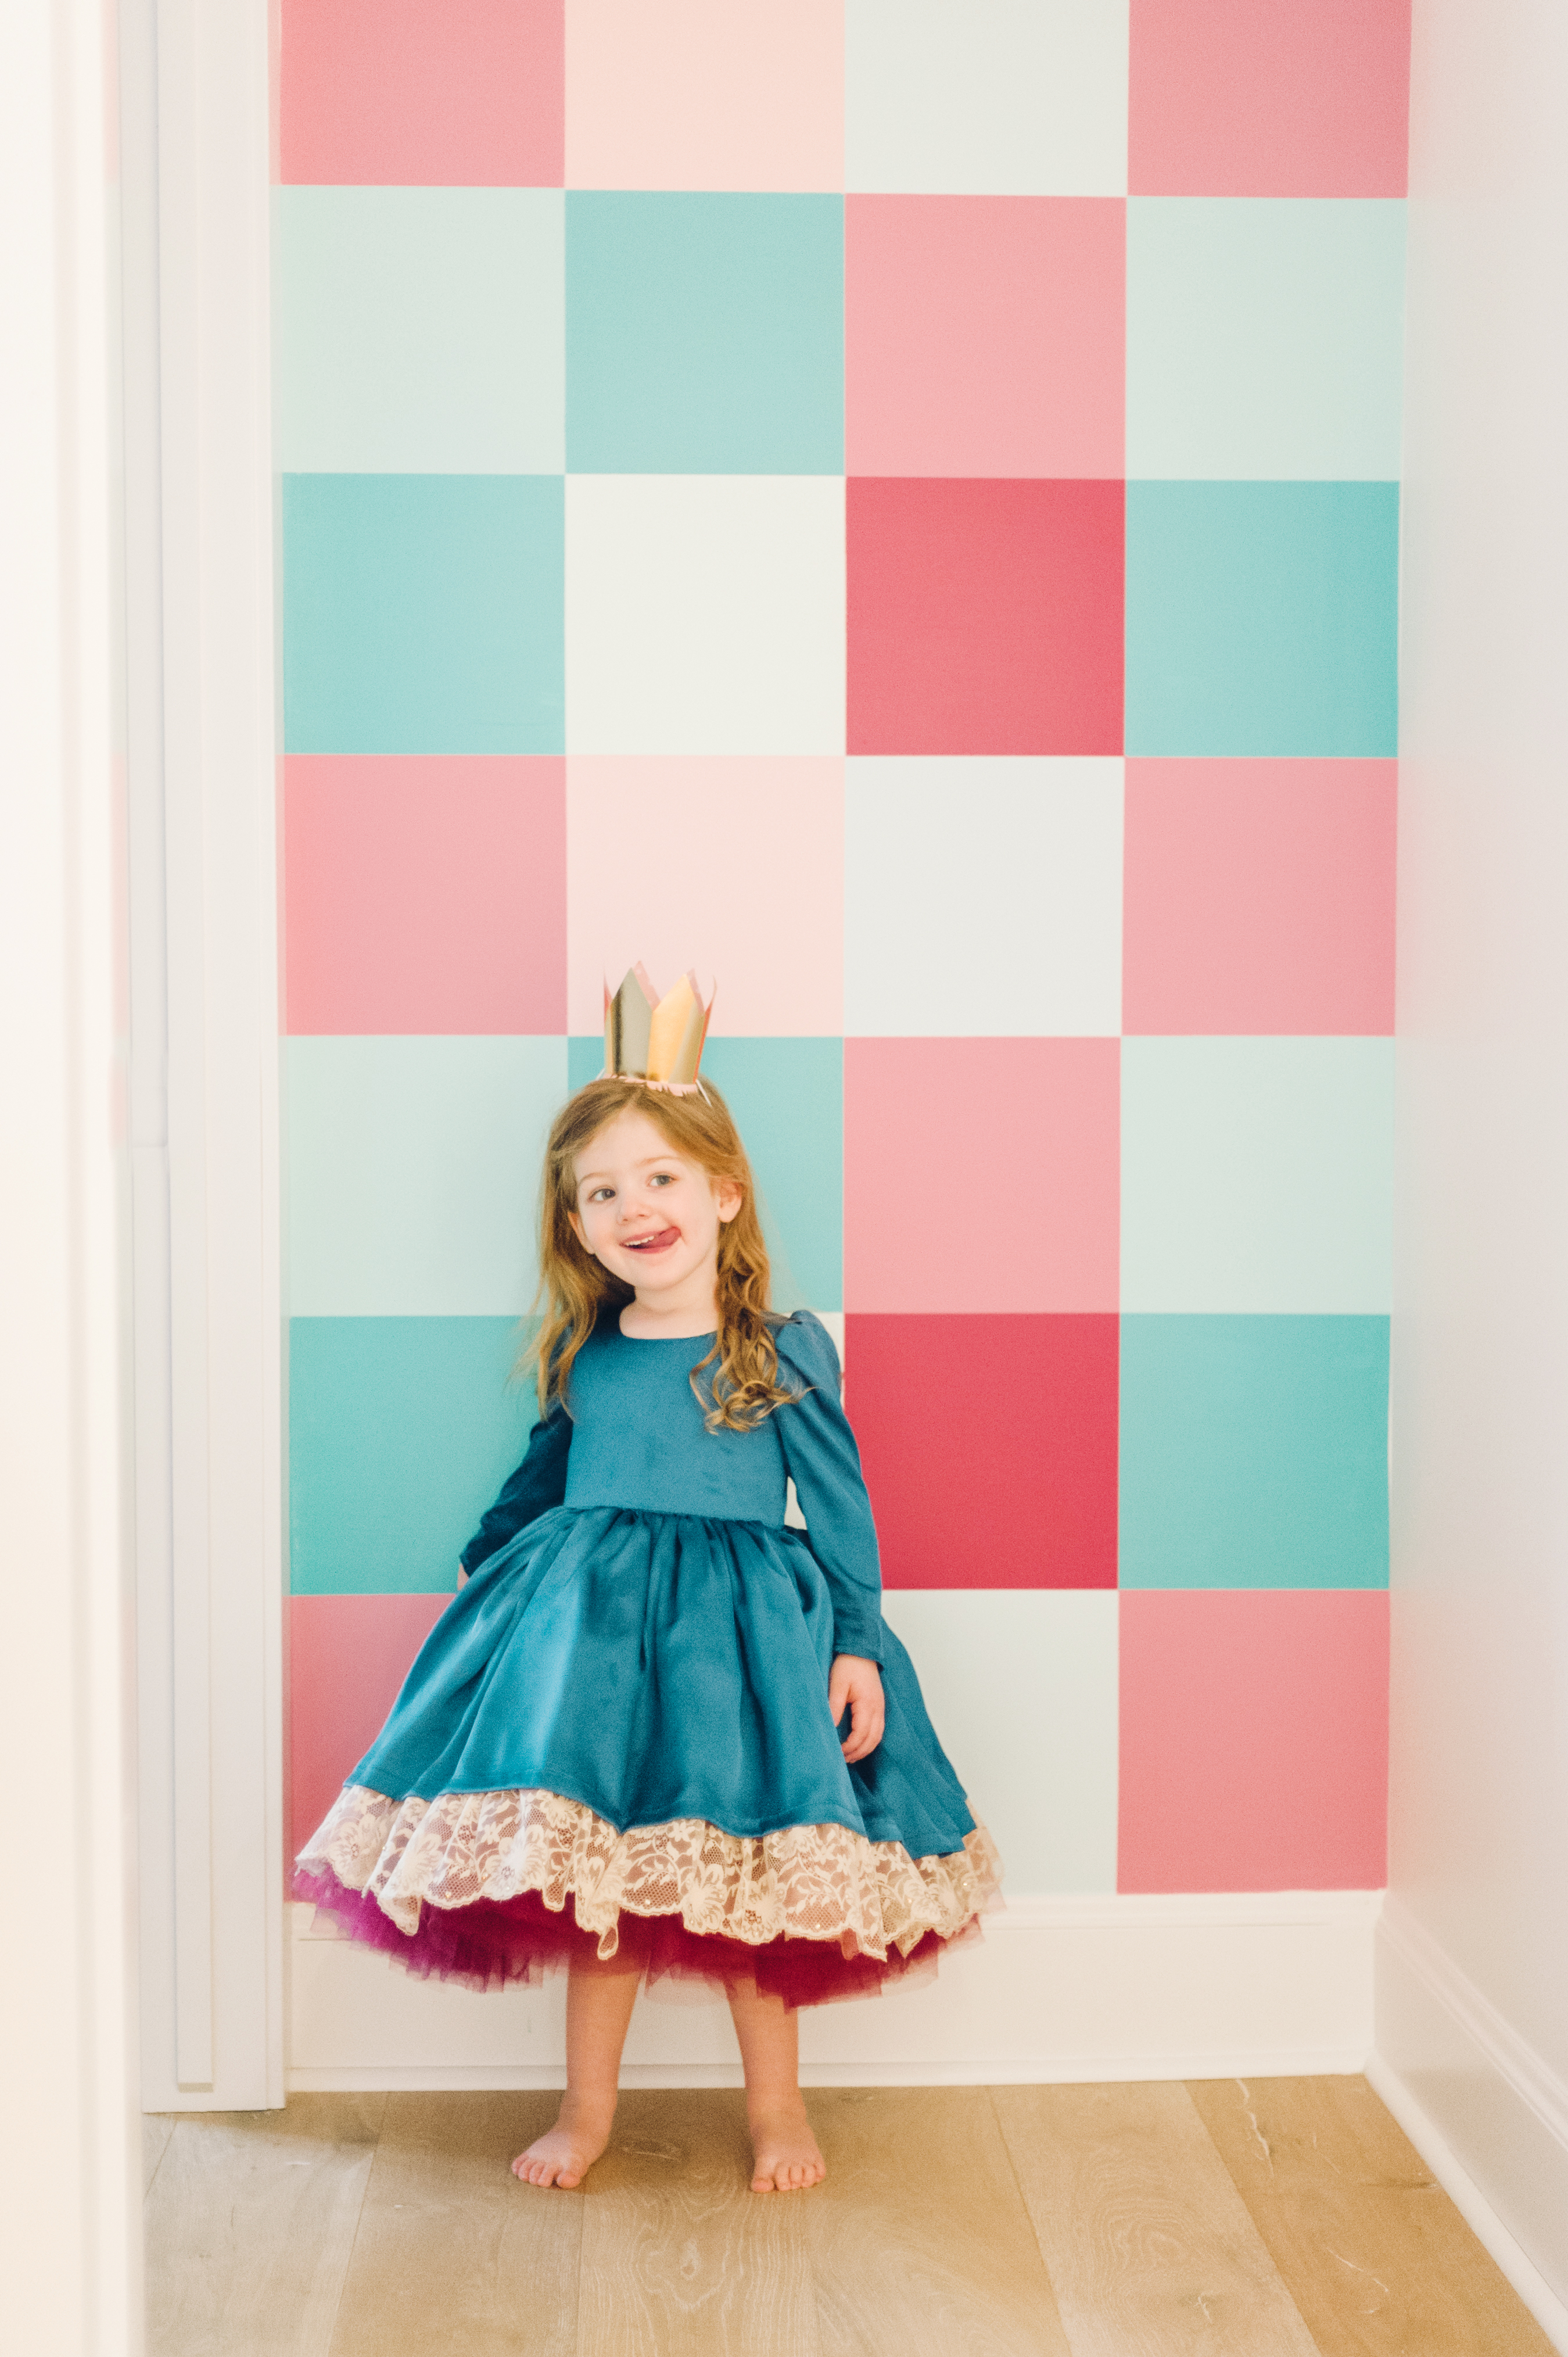
 Oh my gosh i’m so excited about how my DIY Op Art painted accent wall with Premier Infinity Paint turned out!!! It’s so much fun! My inspiration for this wall came from the idea of creating abstract roses, since it’s so close to Valentine’s Day.
Op Art comes from the word Optical and references optical illusions. Op art uses colours beside one another in such a way that colours feel like they are vibrating and cause your eye to be continuously moving around the canvas. I chose different tints of red and green in various saturations and put them next to each other in contrasting ways.
I’ve always wanted to try a painted accent wall but I was always nervous that it might not turn out. I was afraid that the edges where colours met wouldn’t be sharp and that too much colour might be overpowering. I was also afraid that it would take forever! Well I got the push that I needed when Canadian Tire’s new paint line Premier Infinity Paint asked me to try out their paint. (Sidebar…this was such an exciting moment I can’t even tell you!!!)
In honour of this incredible opportunity, I decided to go big and make the DIY painted accent wall I’d been wanting to try. Well I shouldn’t say go big because the entire space is only 3.5 feet wide by 8 feet tall but it was still a big jump for a person who’s entire home is painted white!
The measurements were easy. I measured the length and divided it by the number of boxes I wanted: 4. Because I was working with squares then I divided the height by the same measurement. It was just over 8 boxes tall so instead of having a skinny box at the bottom I made the bottom box a tiny bit longer but you can’t even tell, so it looks like 4 boxes wide by 8 boxes tall. 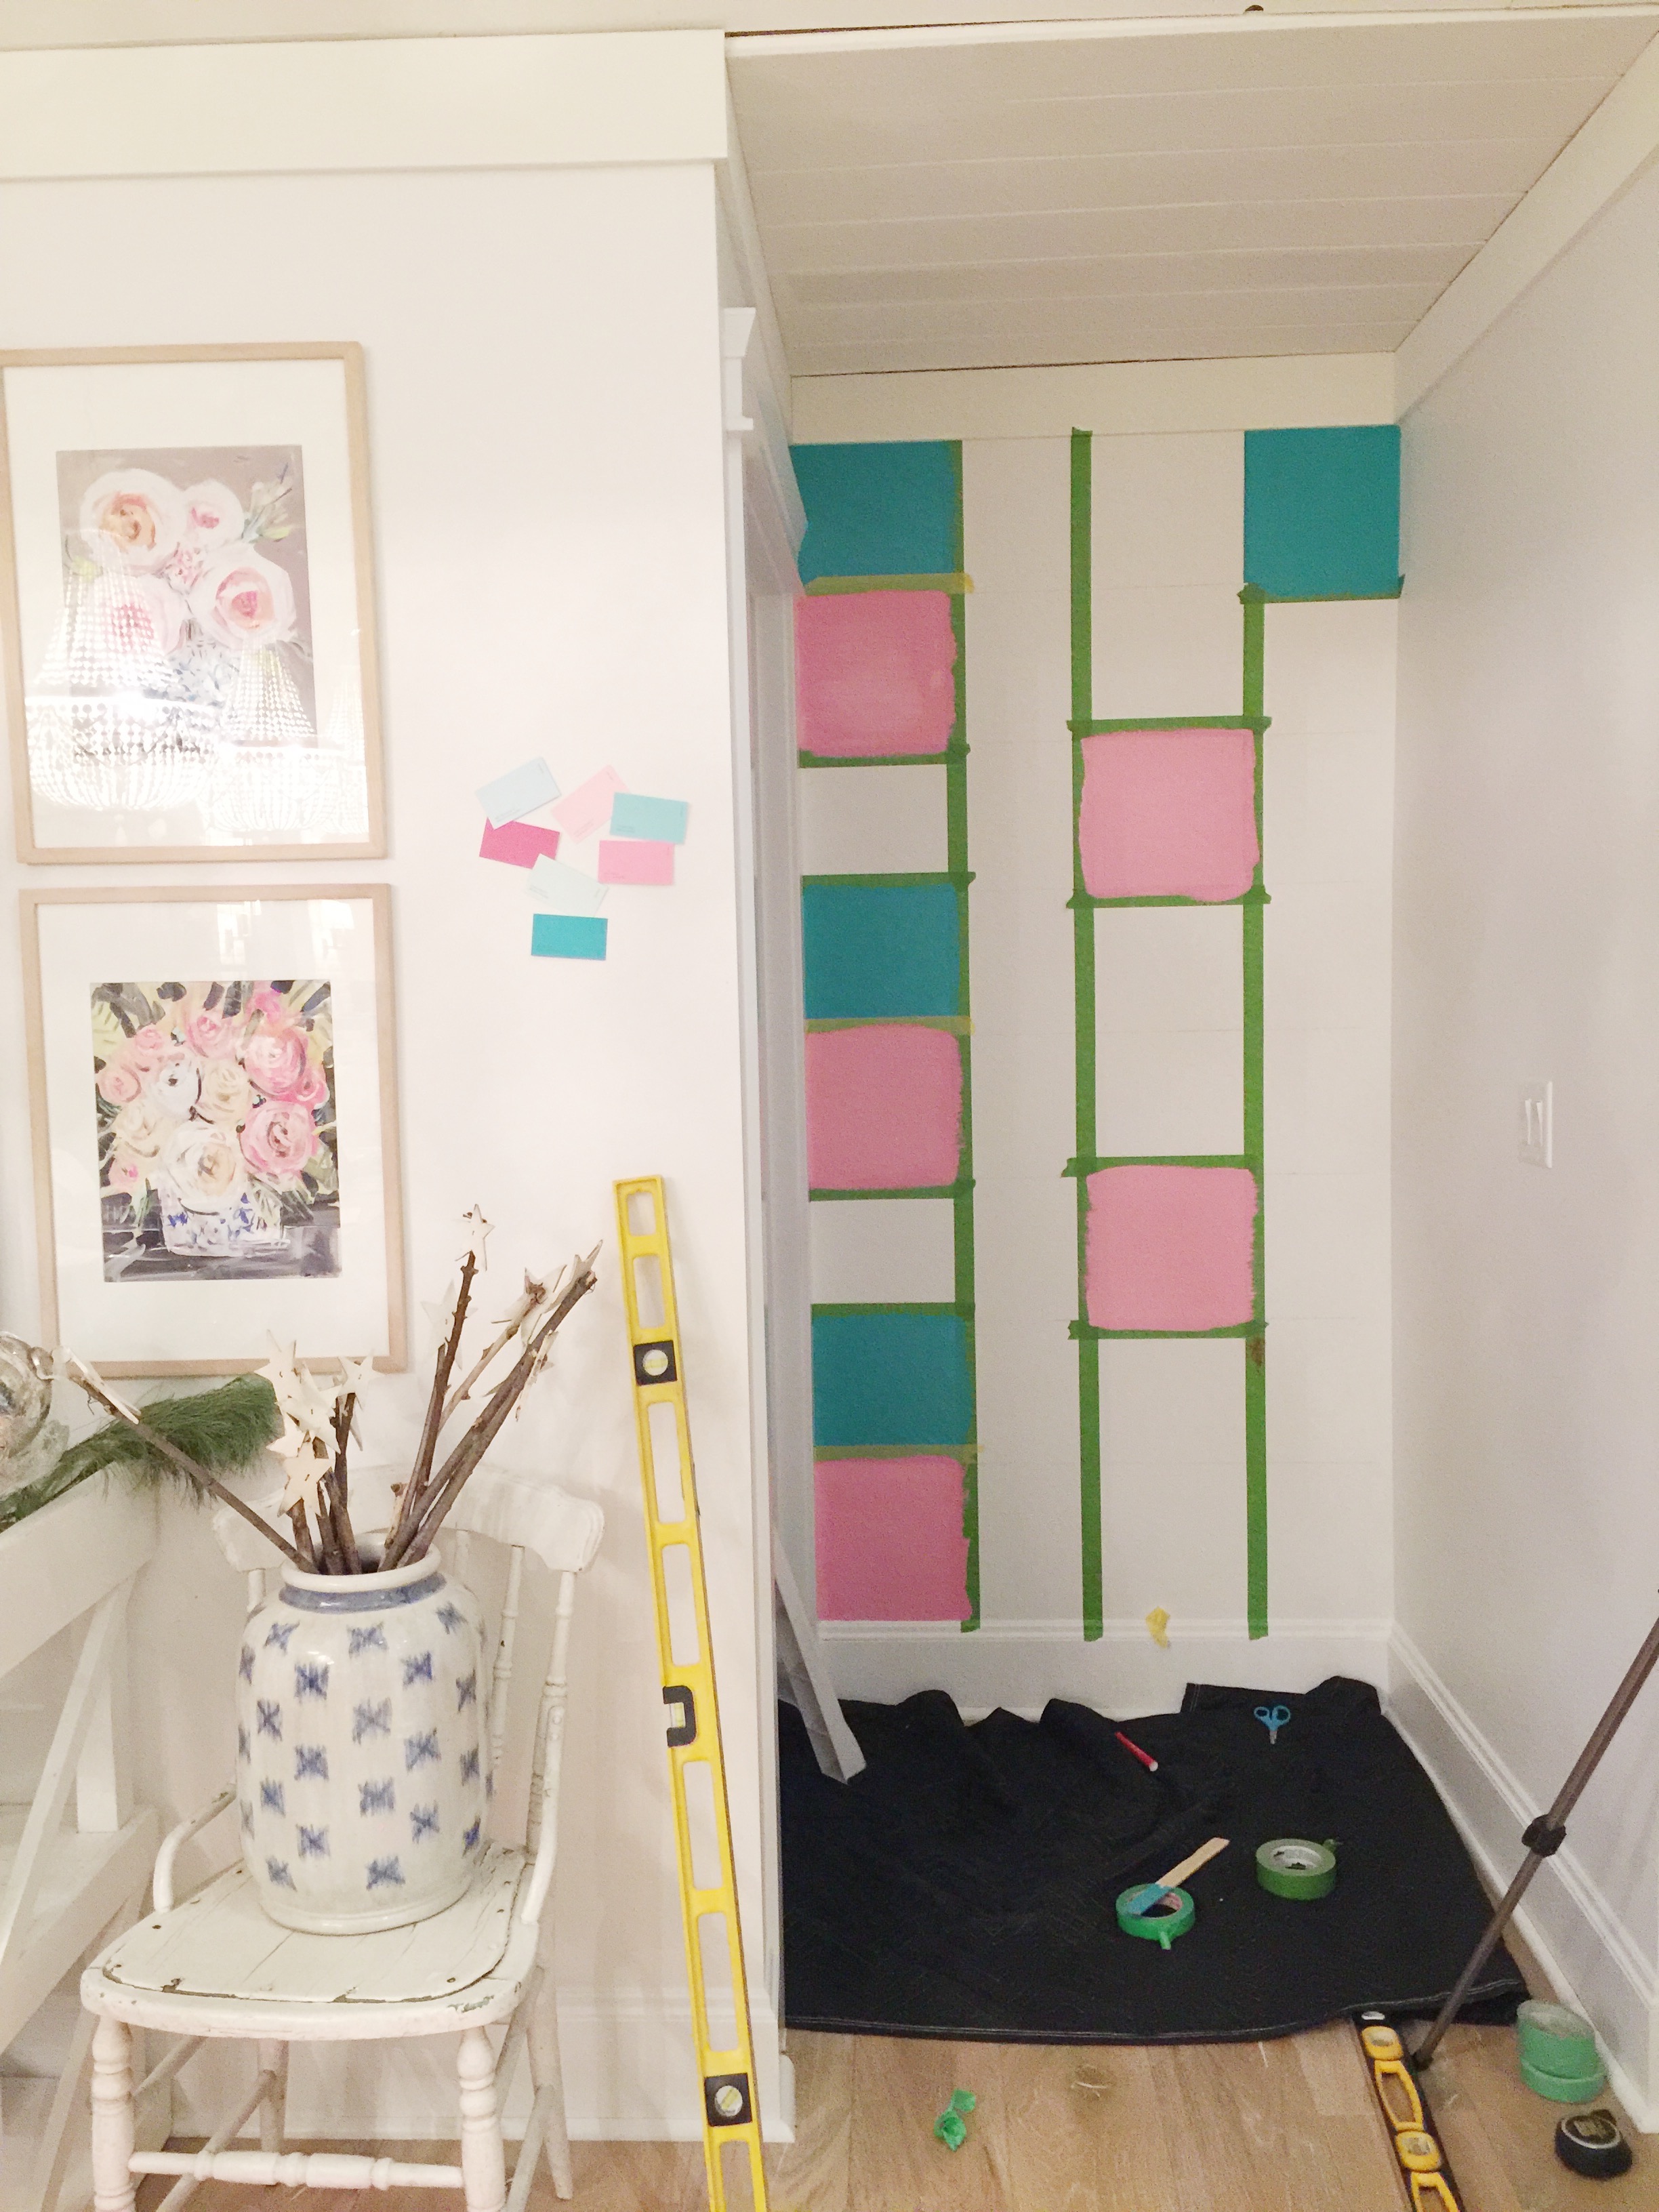
In pencil you can draw a complete grid on the wall using a ruler and a level and that would work perfectly well. Instead, we used a pencil and a ruler to get started and then used a laser level. With the level I would shine it on the wall where I had made small marks for each column and then taped along the laser line. I used green Frog Tape. Green Frog Tape is for when you’re taping an existing painted wall. I had four columns so I could only start painting squares in every other column. You can’t paint any squares right next to each other because you need drying time. So I painted the first and third row and worked my way through the colours. The green square in the fourth row was an accident! lol!

I’m so excited about the colours that I chose!
The greens from left to right: Confetti Cake, Mint Macaroon, Emerald City, and French Mint.
The pinks from top to bottom are: 80’s Pink, Rich Rose, Pink Champagne.
I wanted enough contrast between colours that you would see the variation on the wall easily and that there would be a contrast between pastels and bold colours.
Every time I finished with a colour I would wash out my brush then tape off a new square that wasn’t next to one that was drying. This project was really easy because the drying time for the paint was super fast! Honestly, it only took about 30-40 minutes to completely dry enough to tape it and do the next colour if they were side by side. That’s one of the things that really impressed me about Premier Infinity Paint was that I could use dark colours and get completely even coverage in only one coat…with a brush!! My husband was like, “you need to use a roller to do that”. And I was like, “you’re right but I can’t that will be too much mess and take too long.” I would have needed so many paint trays and rollers I couldn’t even wrap my mind around that. Instead I used one brush that was awesome and from the Premier Paint line and dipped it directly into the small can….so quick and easy!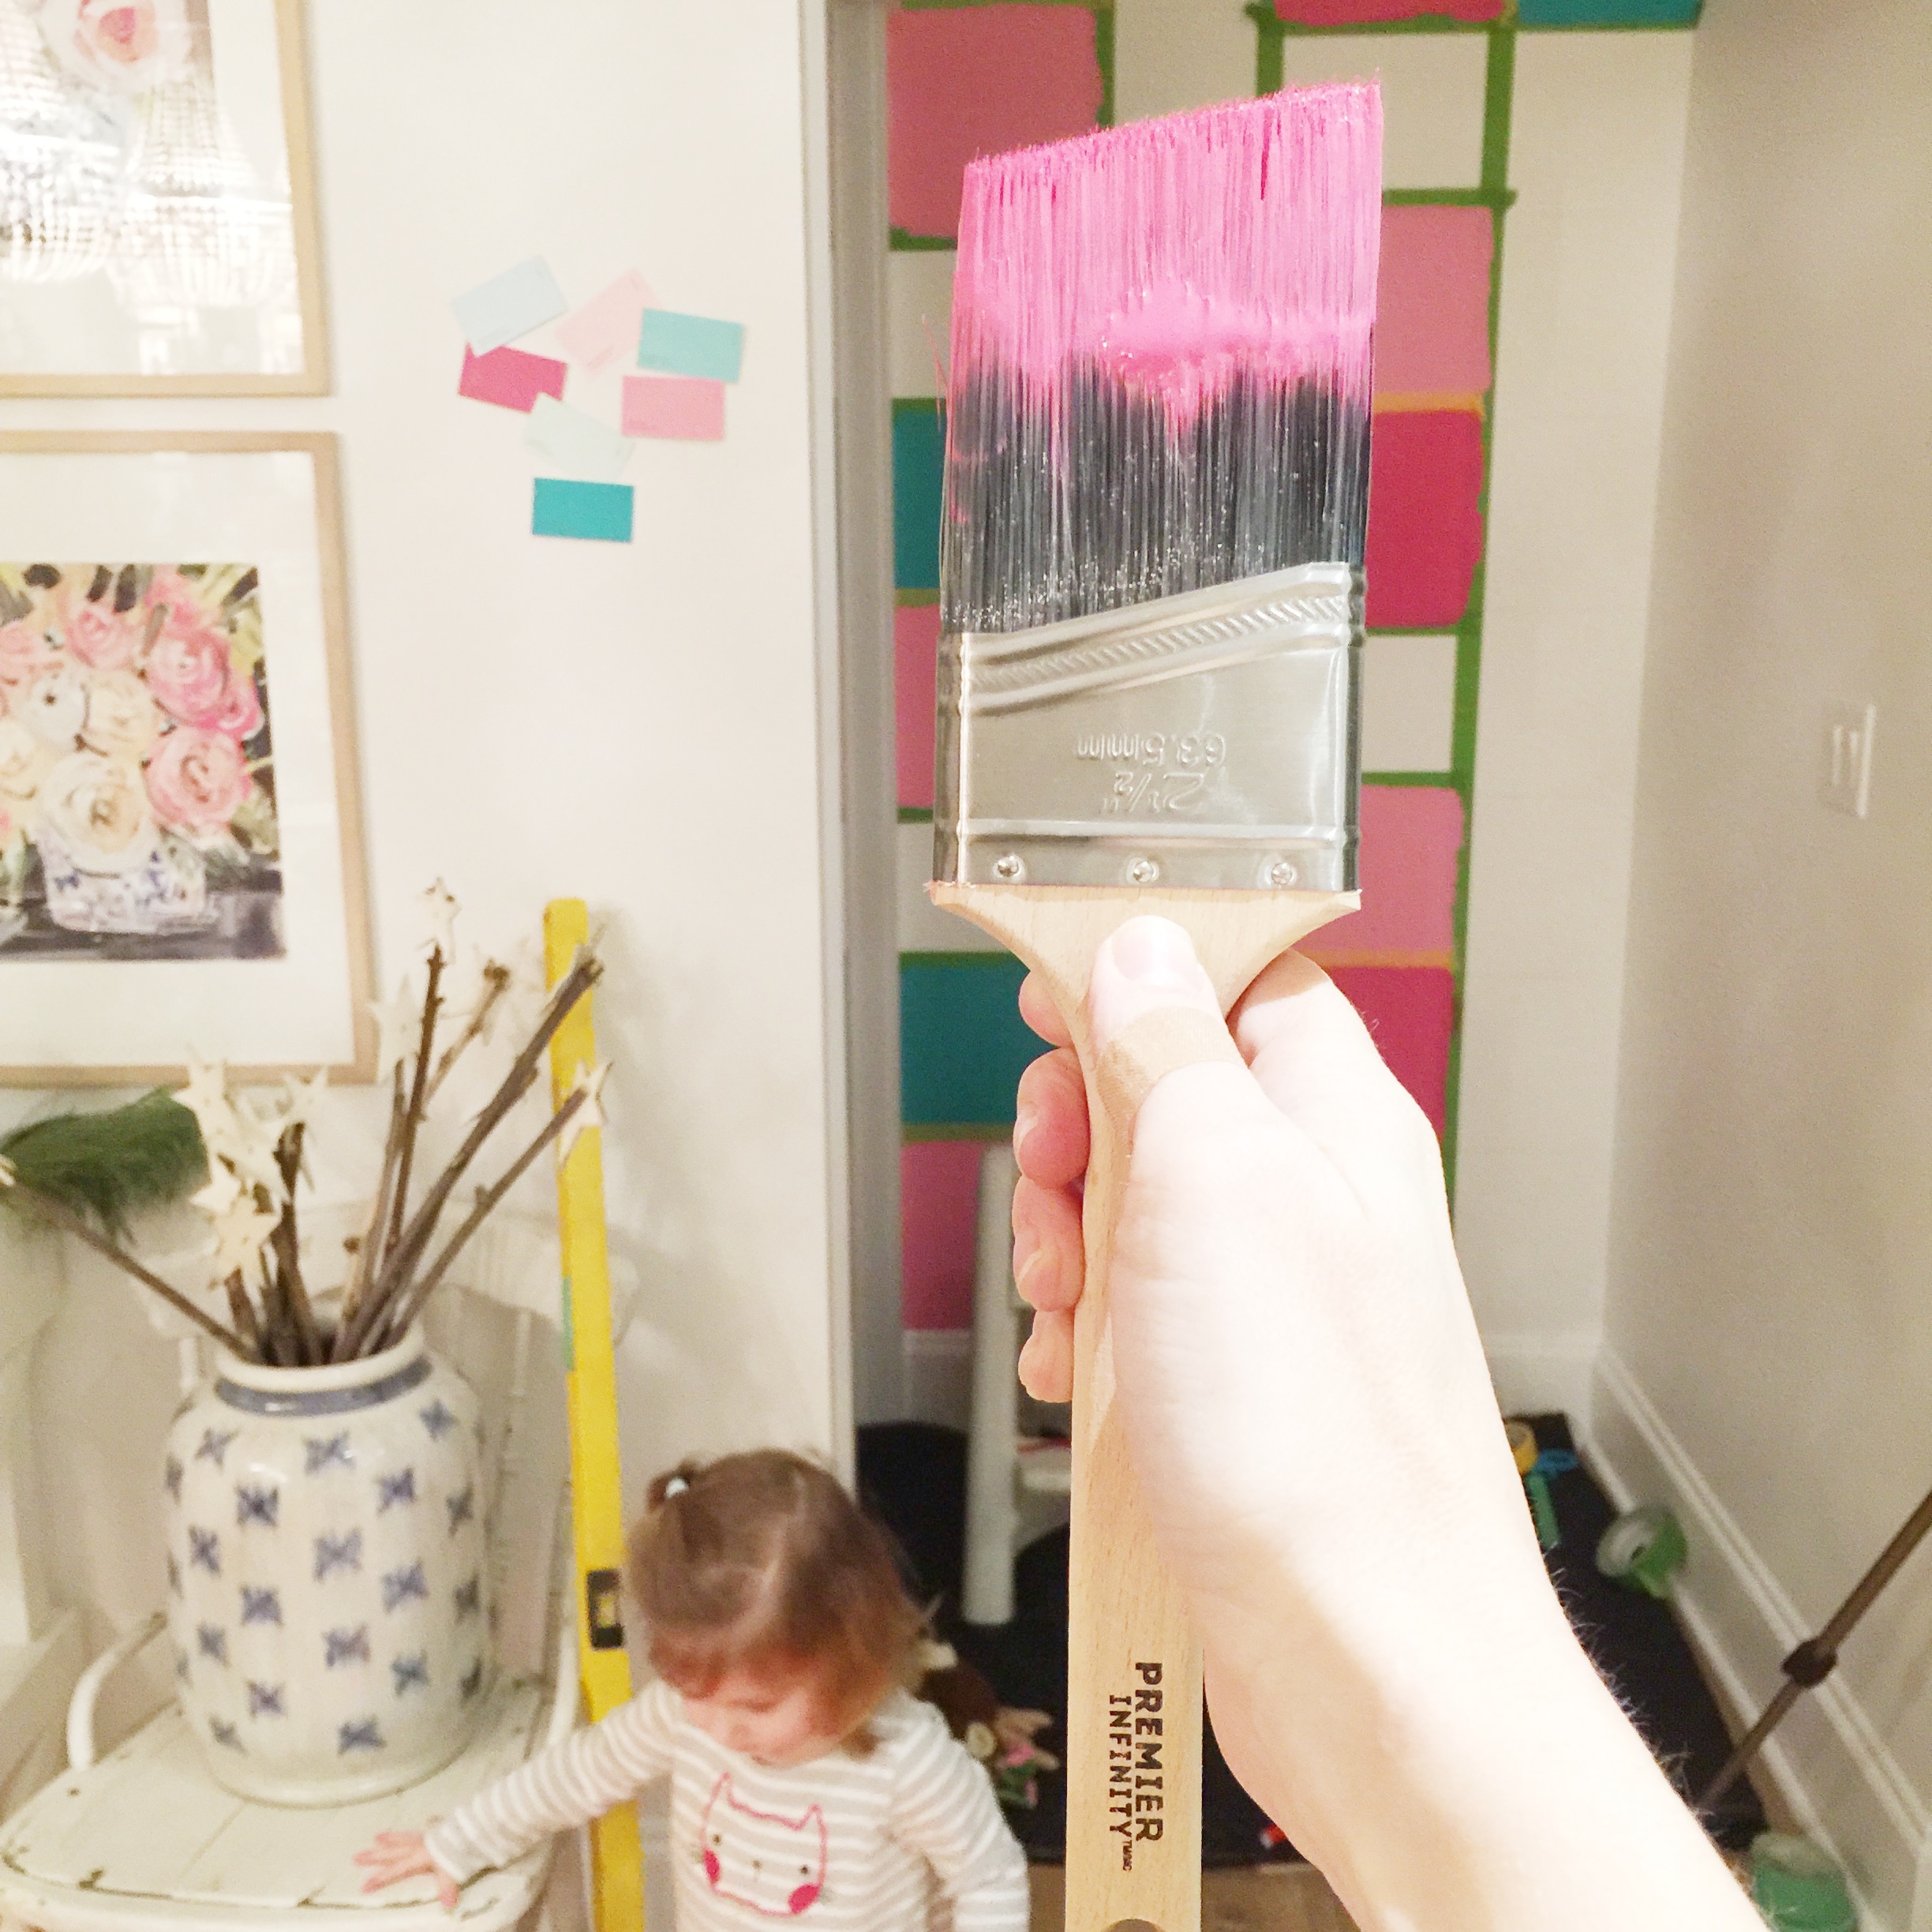
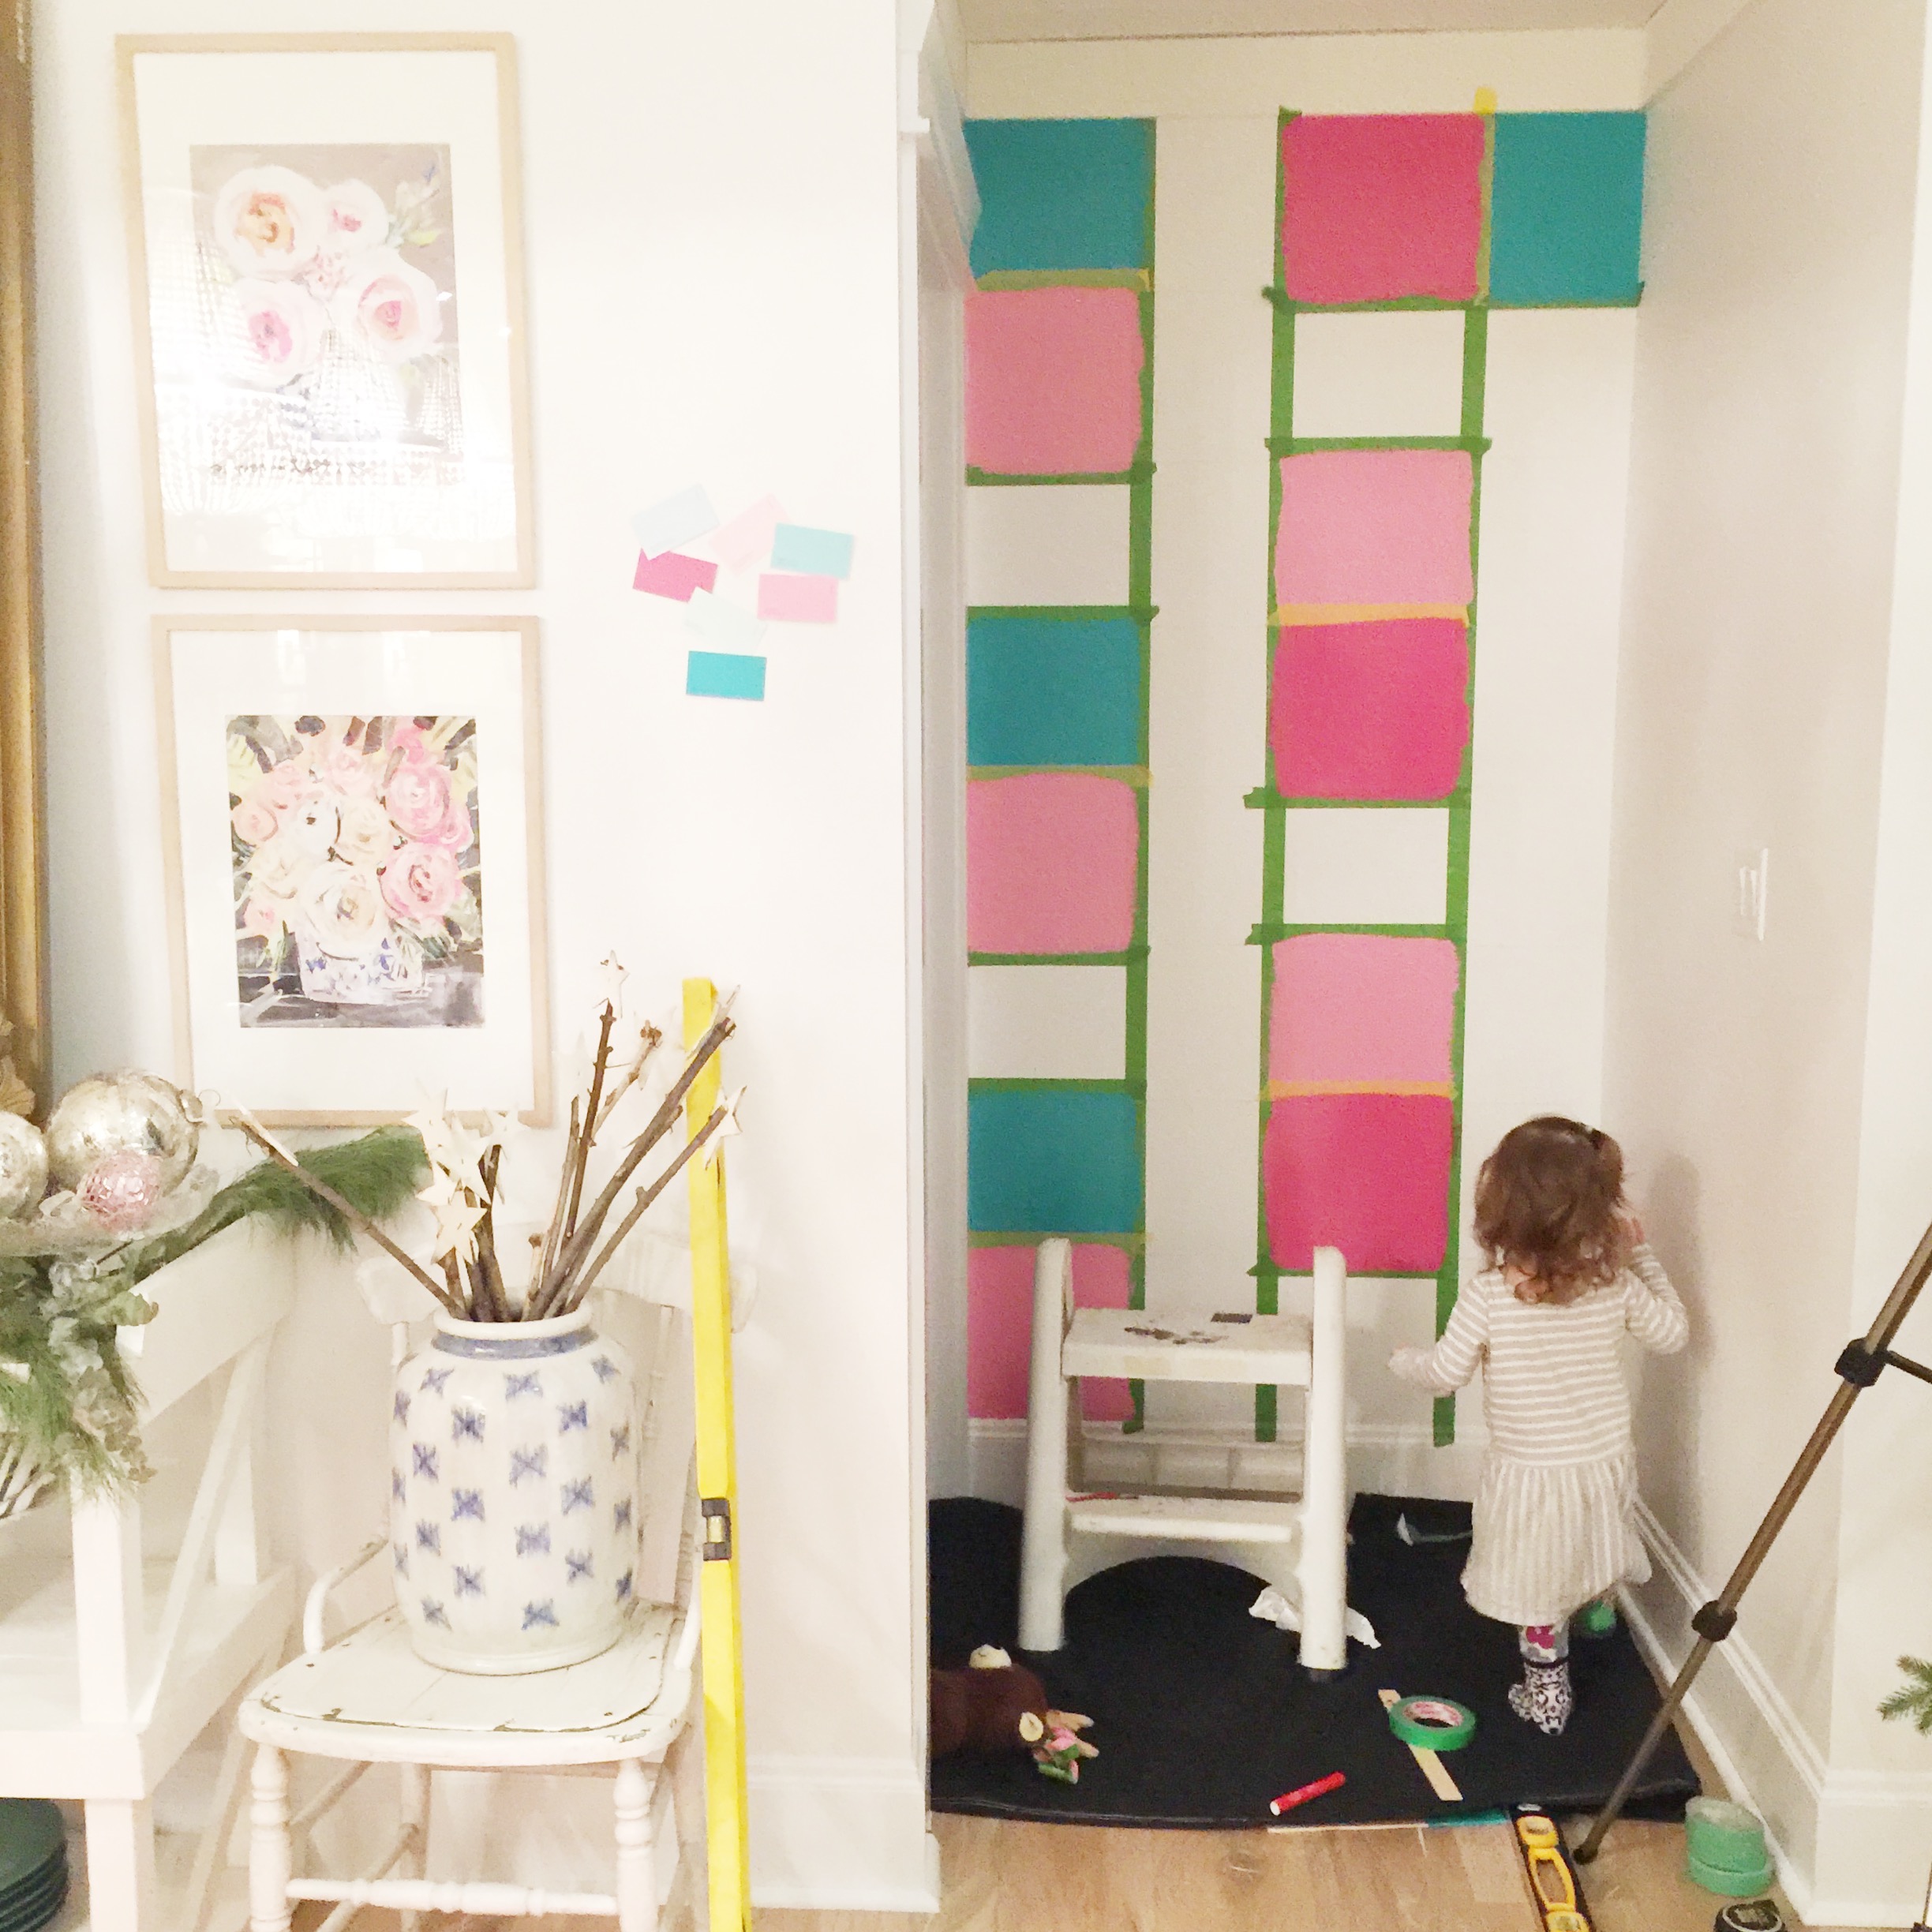
One super important tip is that when you do have to put two colours up against each other you need to switch to YELLOW frog tape! Yellow is for taping over fresh paint. I cannot tell you how well it worked…I started to get really daring with how quick I would do the next square!! I’m such a rebel!! hahah! 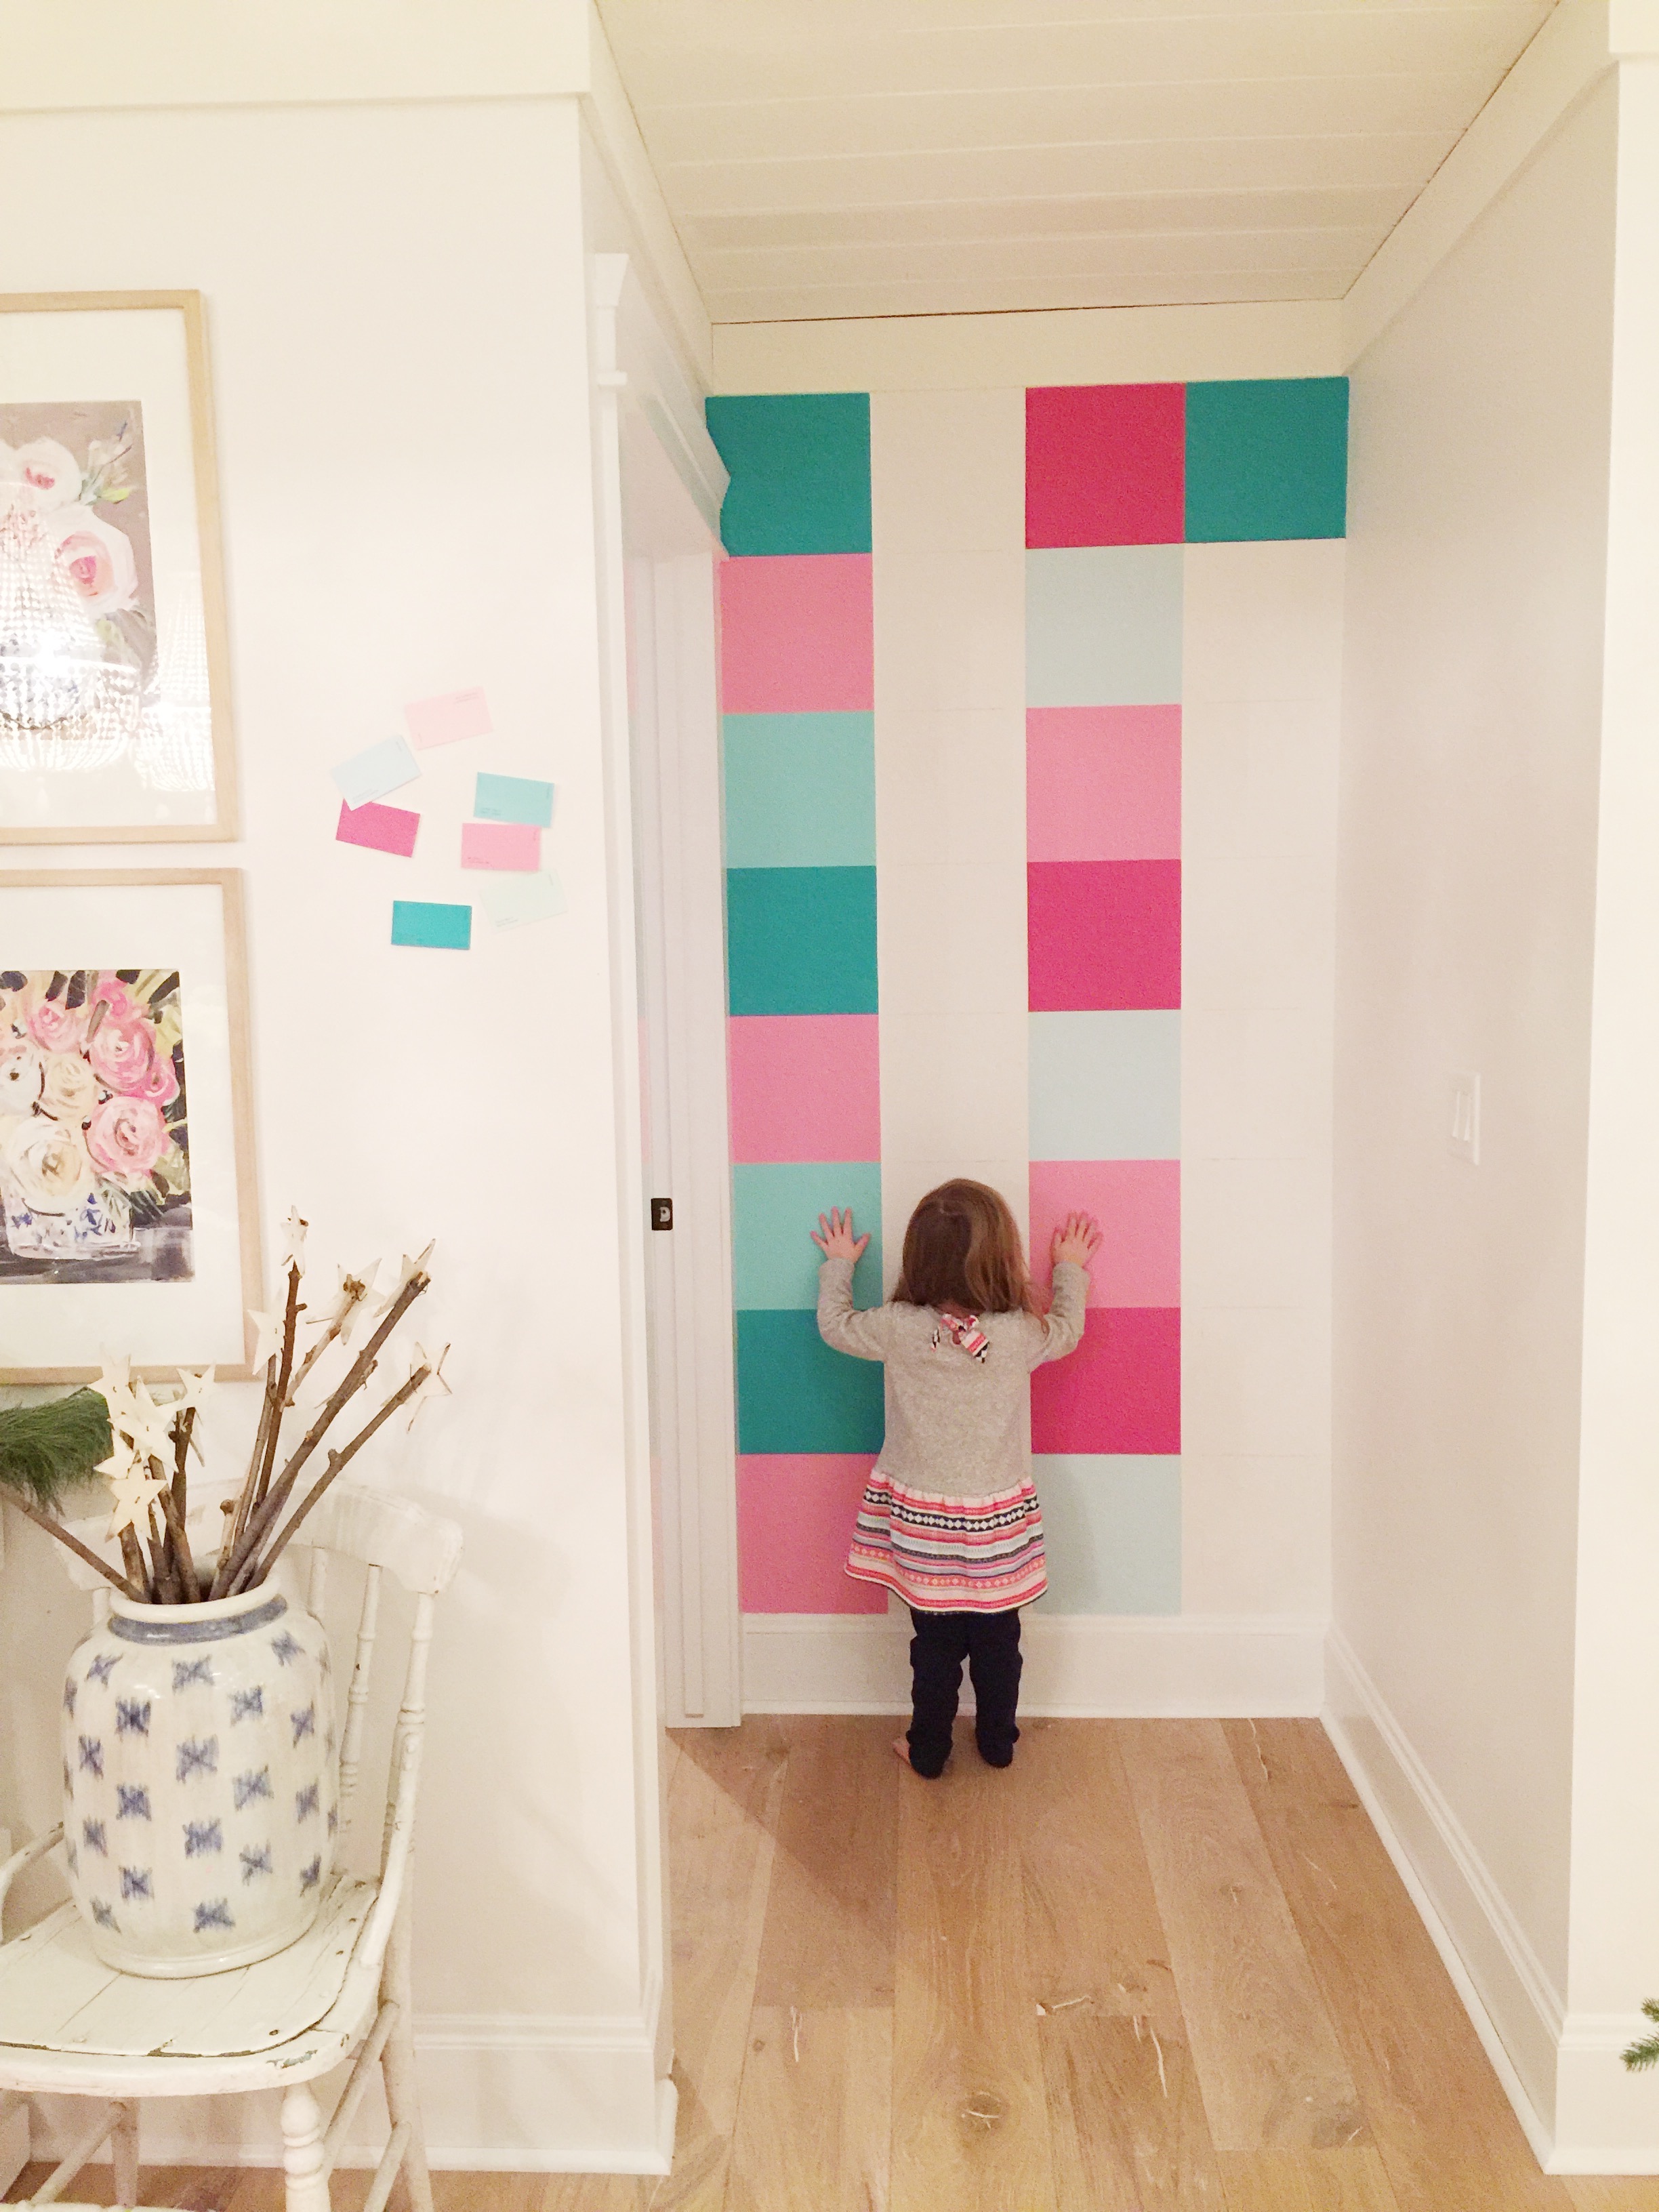
Half Done!
Oh my gosh it was so fun when Juliette would wake up in the morning and come out to see what was done since she’d been helping me the night before! Peeling the tape off when you’re done a full column is so satisfying!! Yes Jules’ is hugging the wall…this regularly happens now….the wall is like a new family member I can’t even tell you!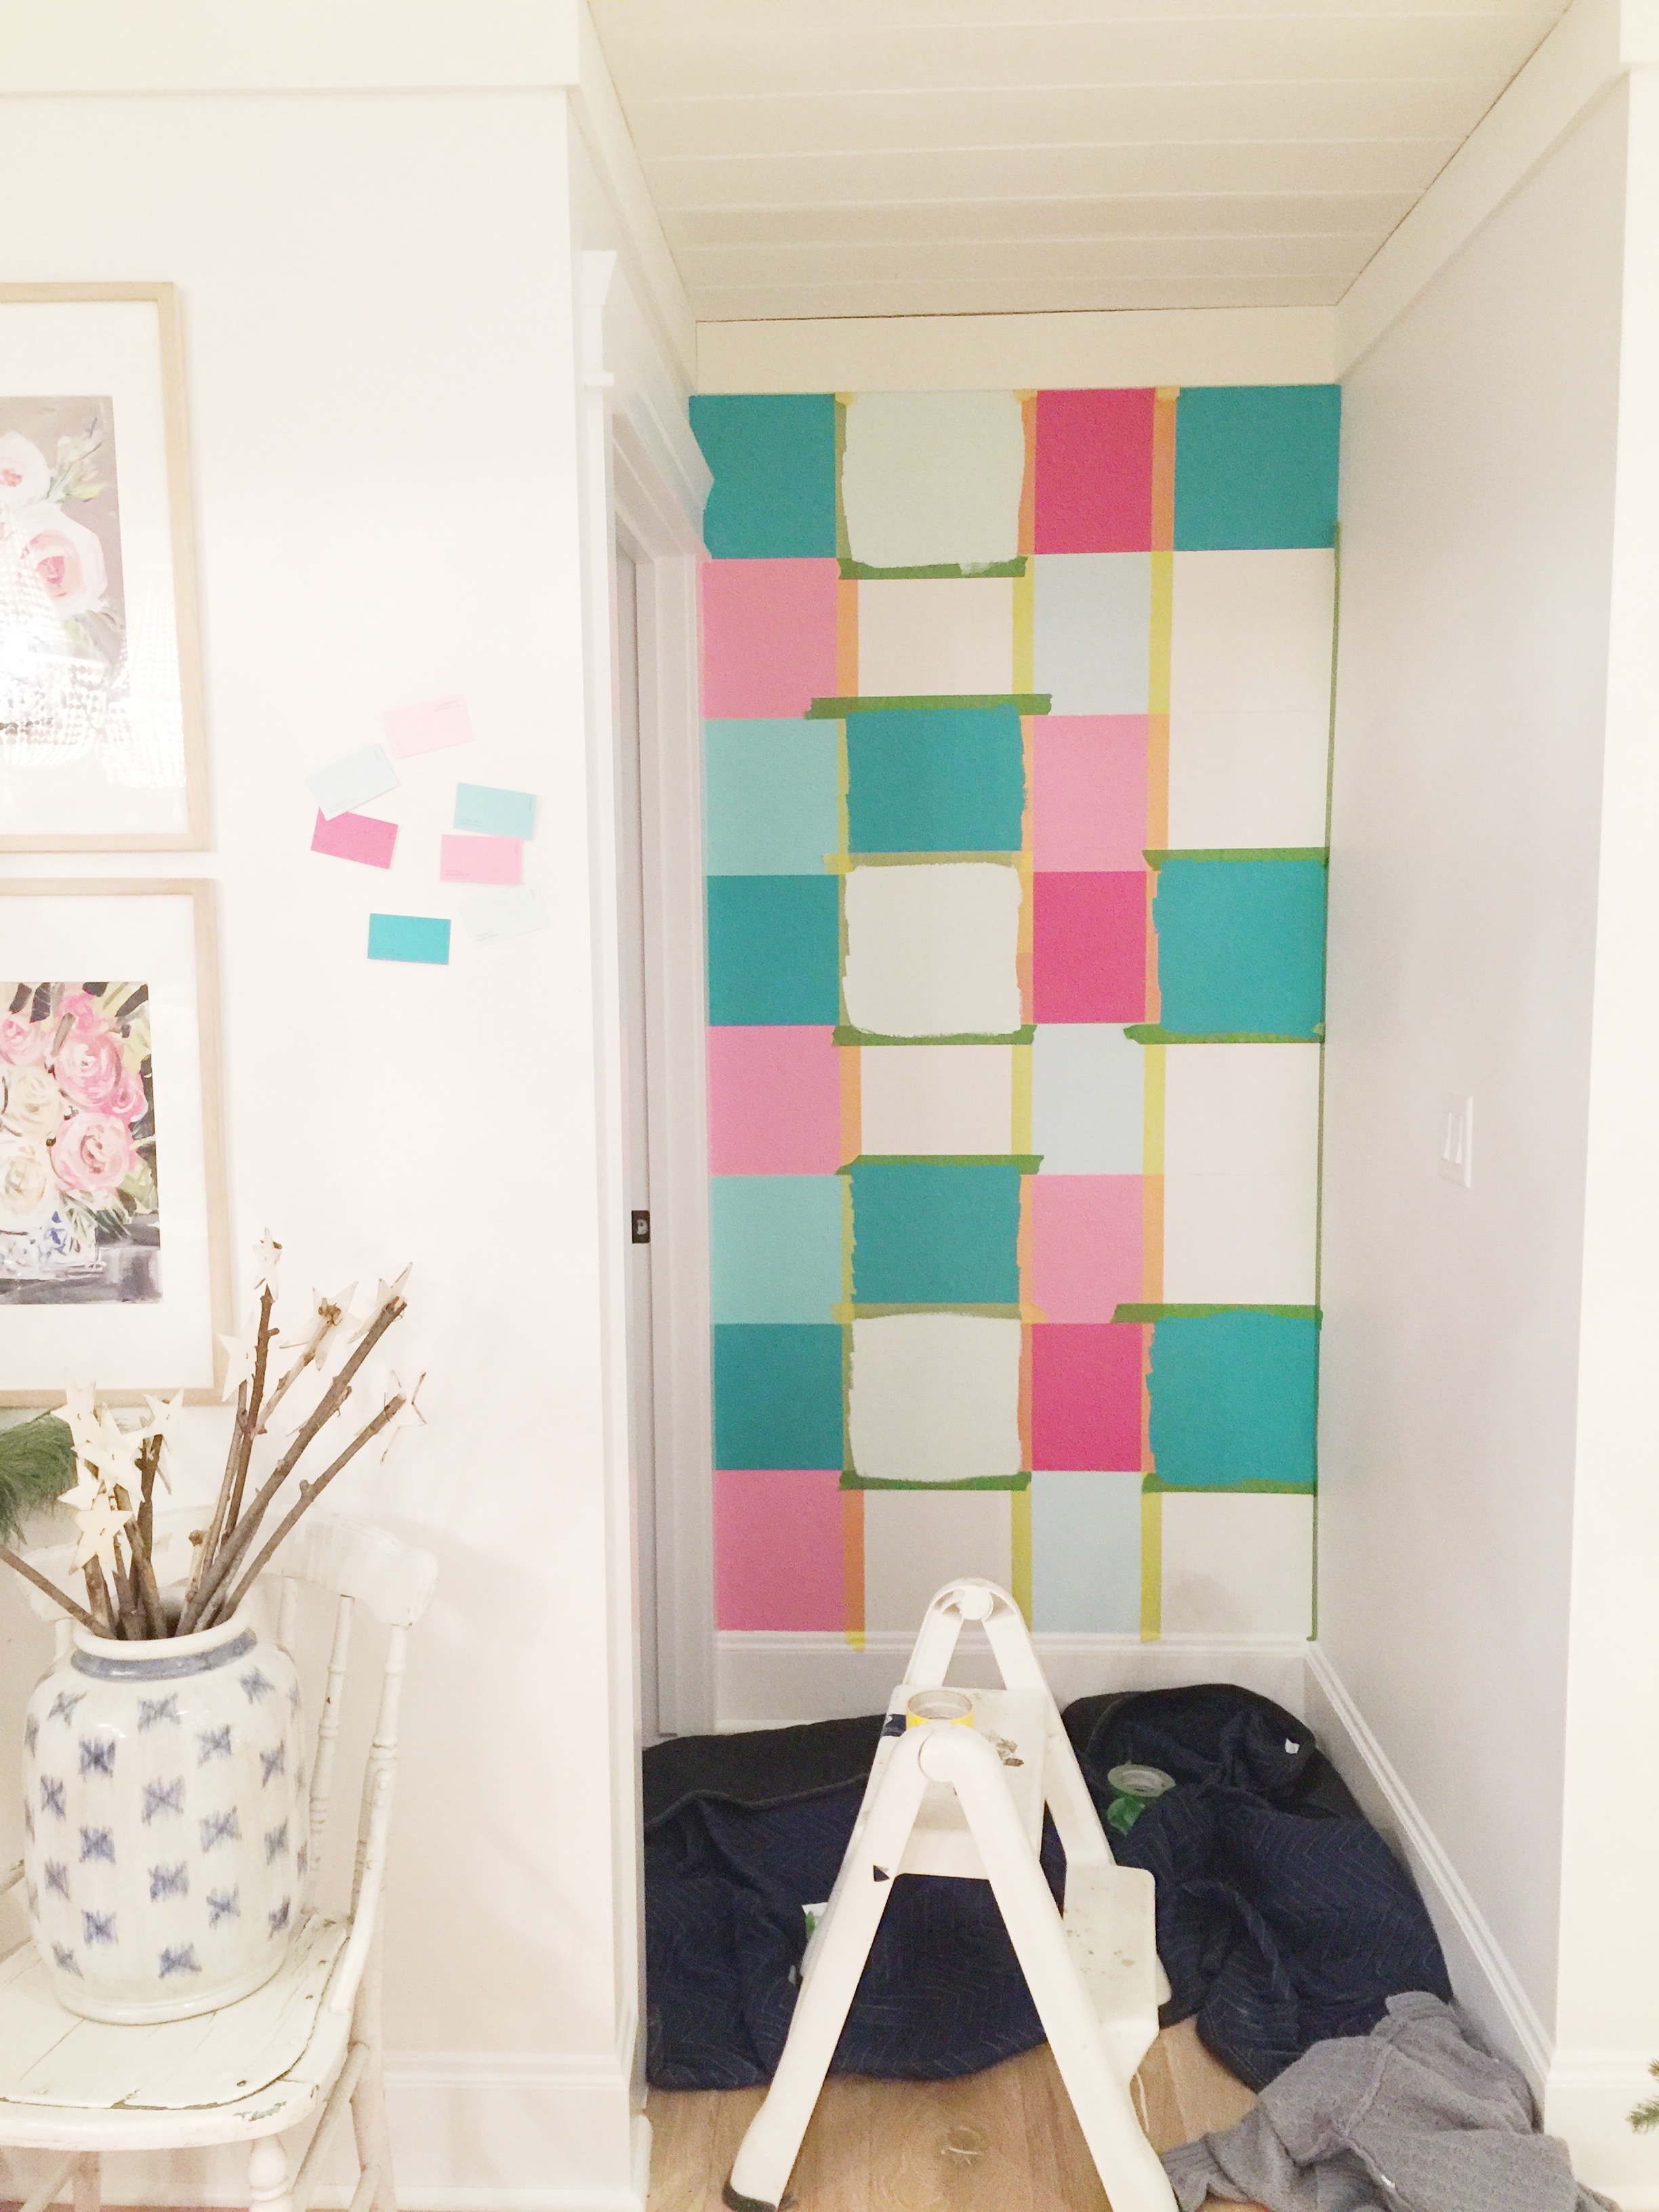
Another awesome tip is to slightly overlap by a millimetre each colour so you don’t see any of your pencil lines.
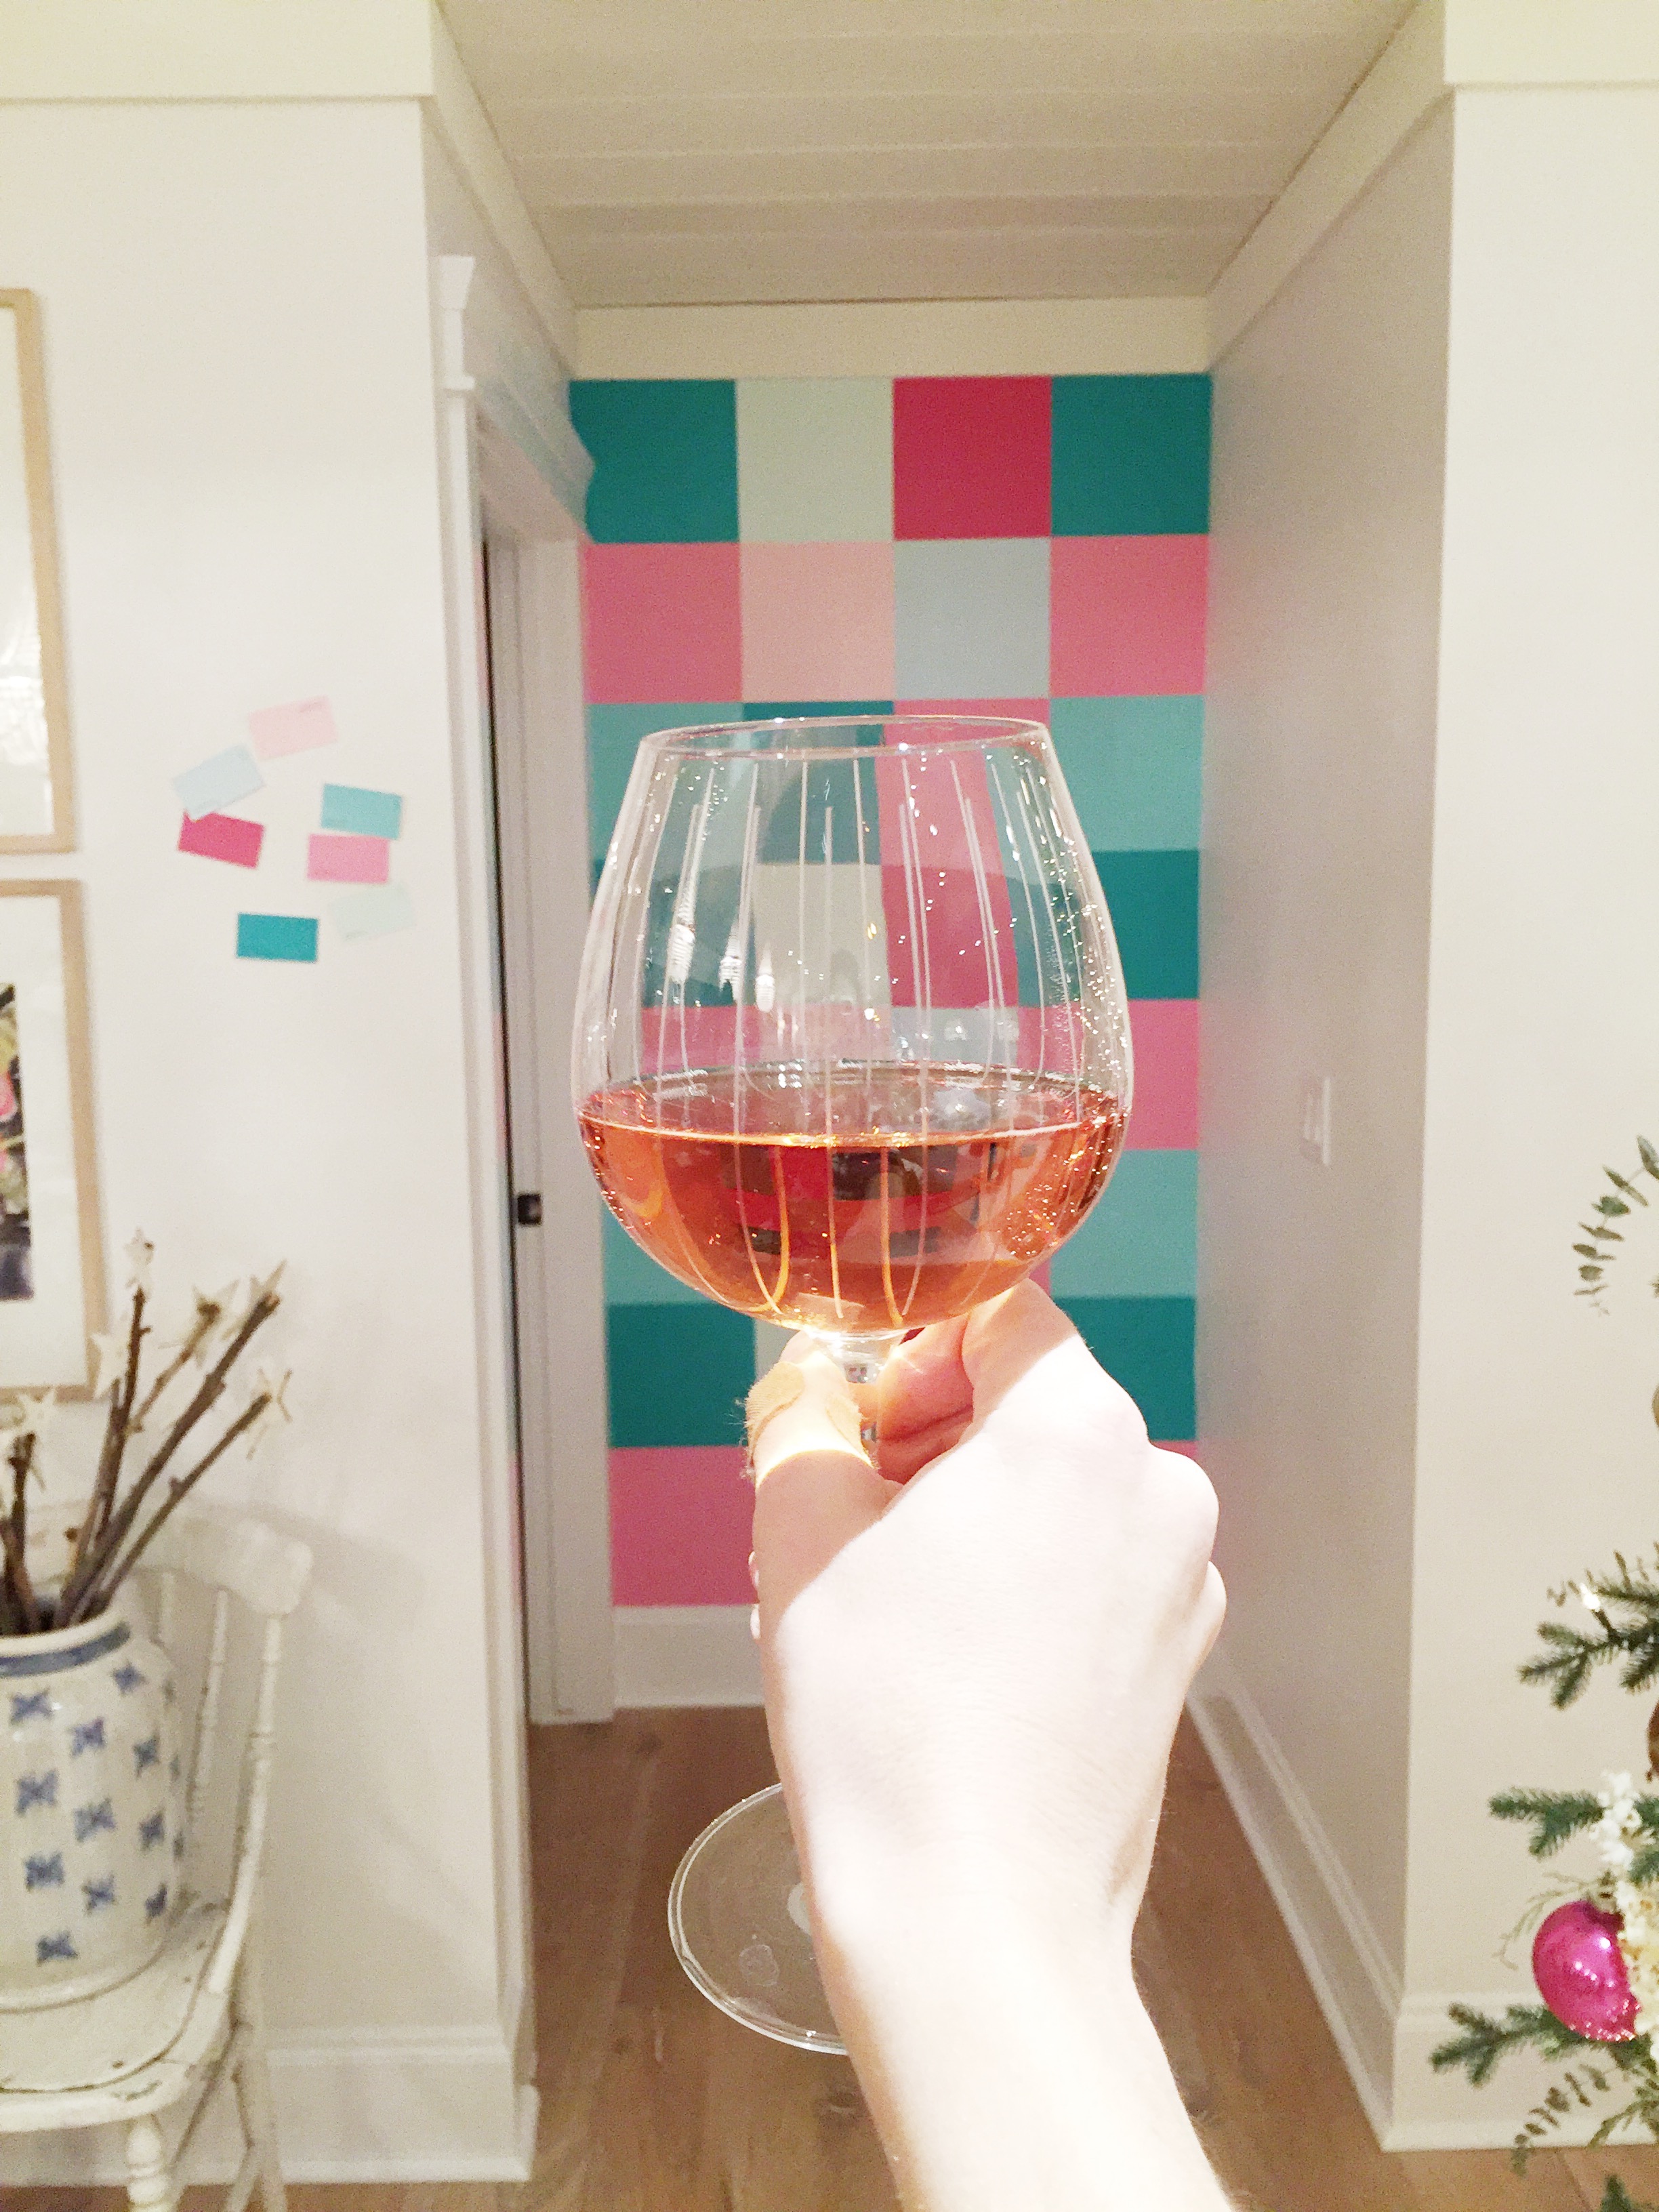
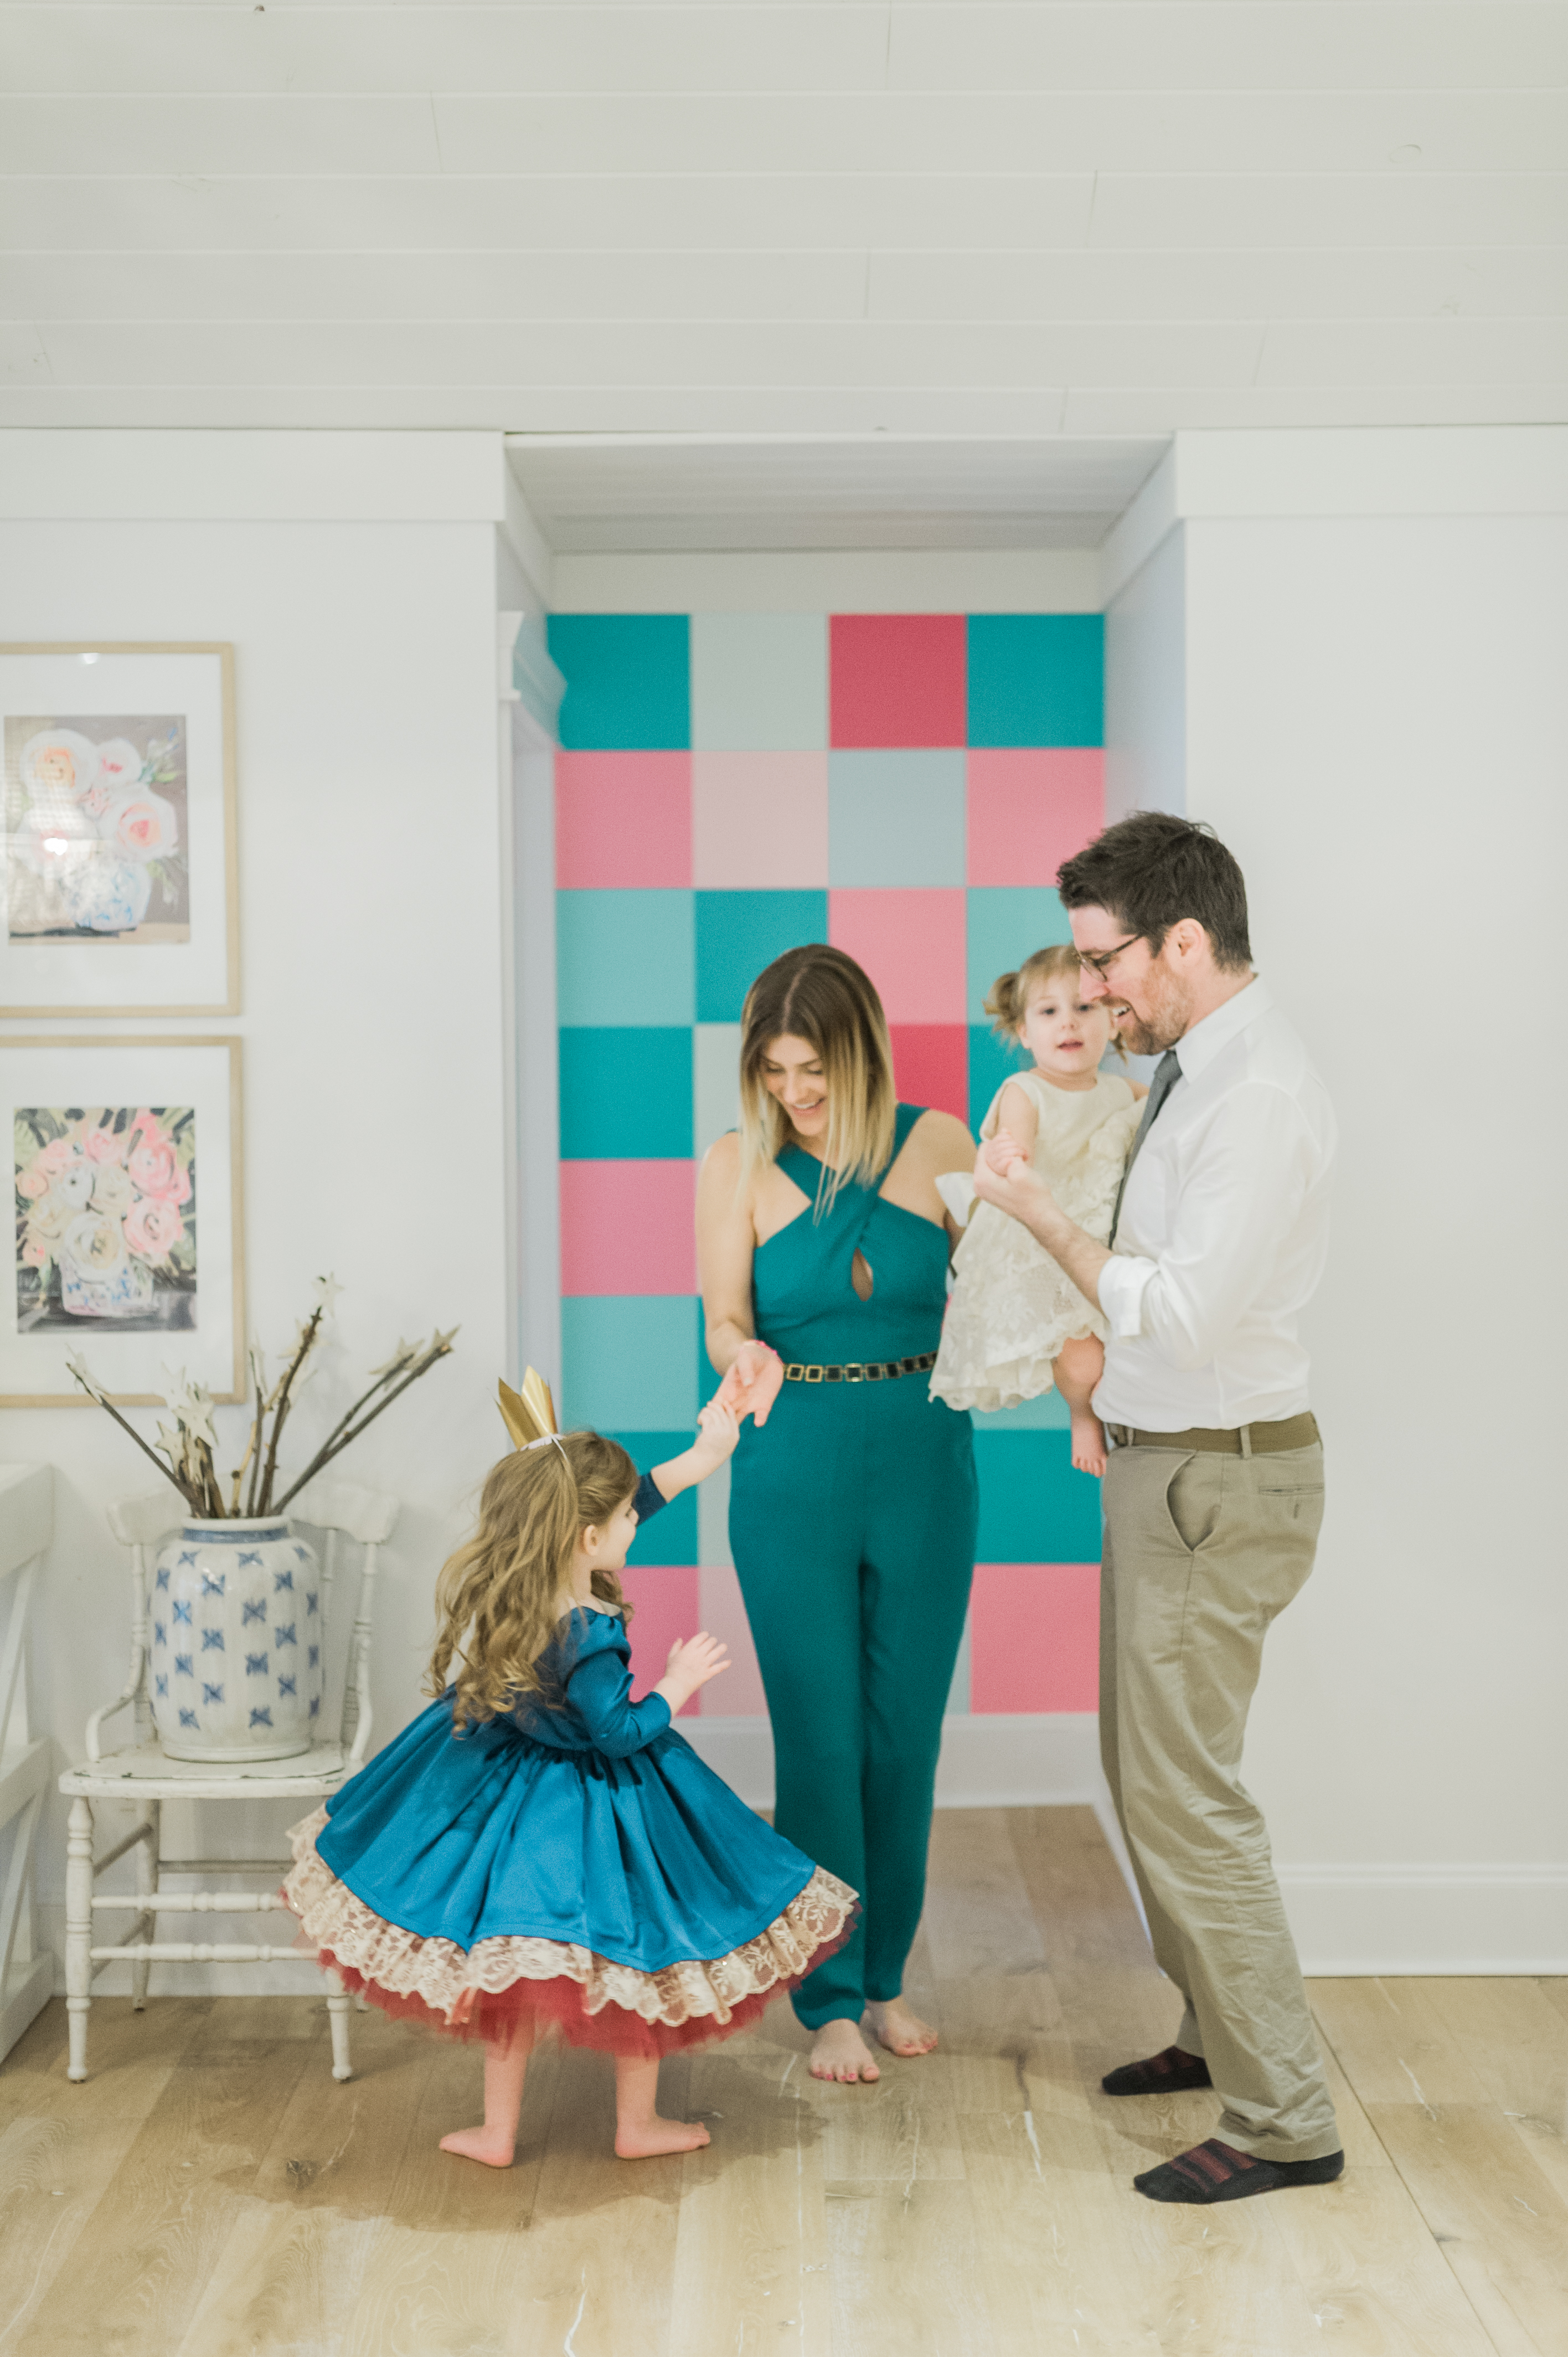
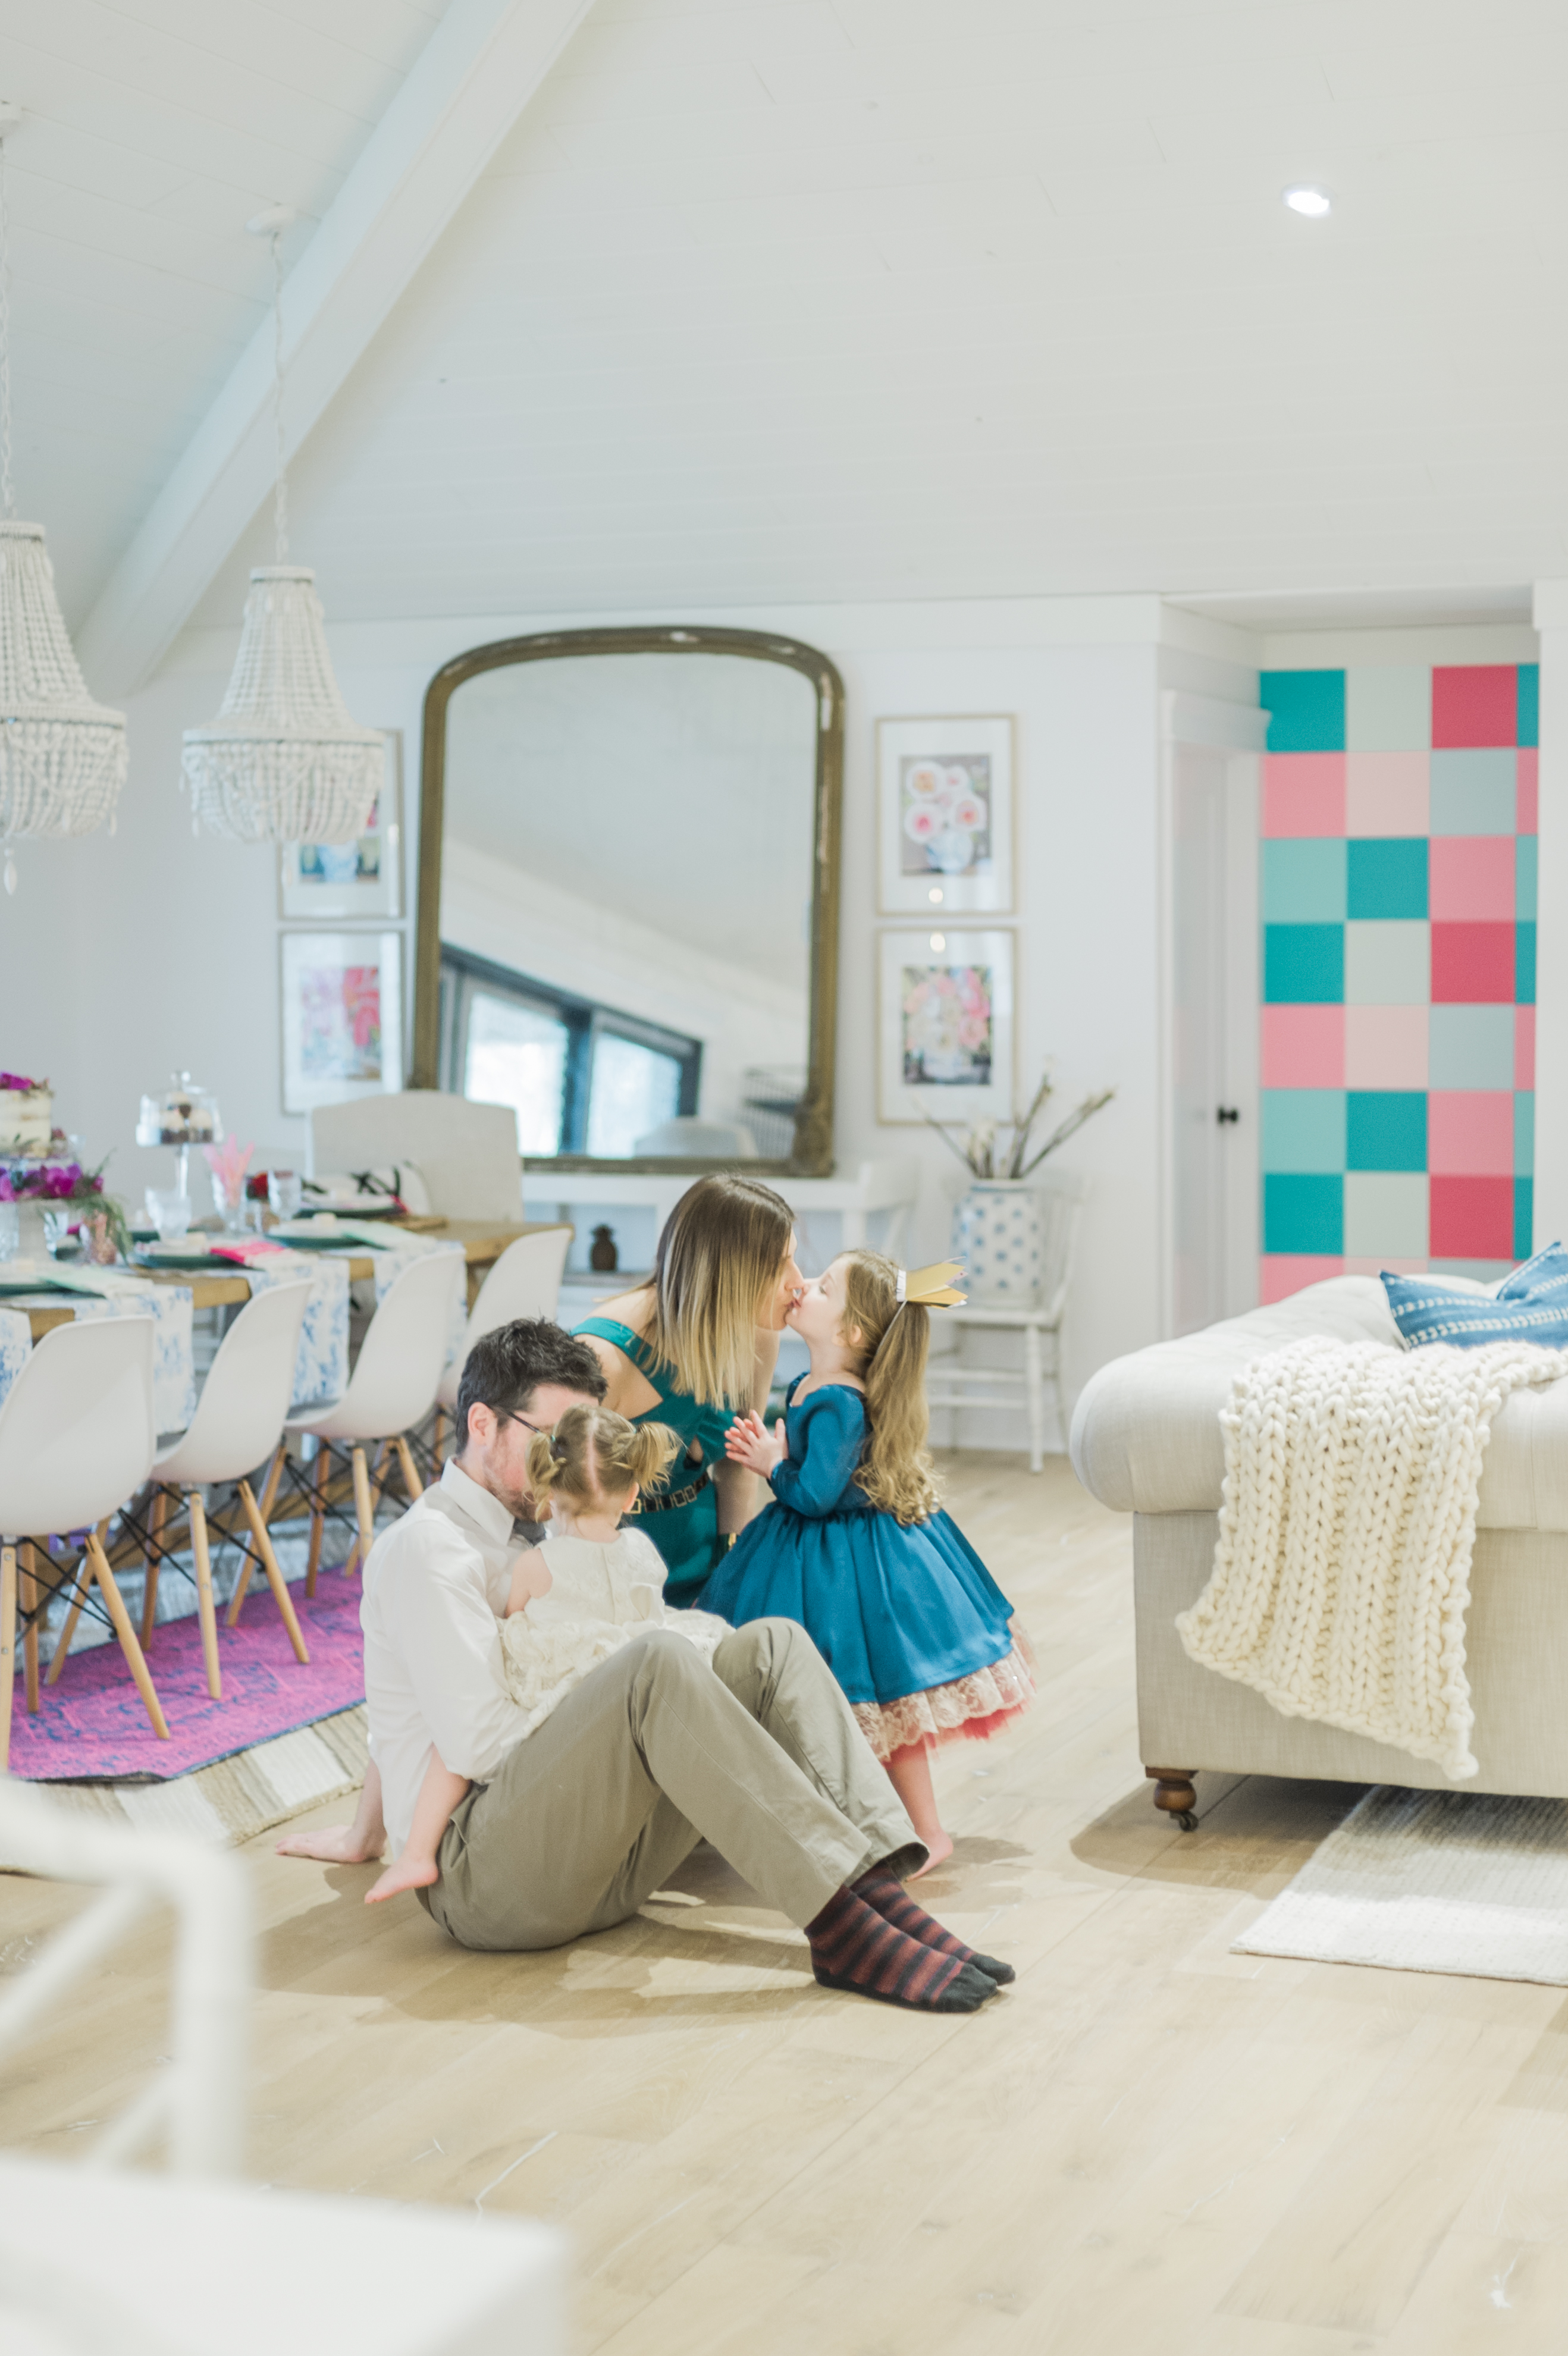
Cheers!! Done at last! The entire project took 2 evenings from start to finish and was so worth it. The wall has become a photo booth! Here is the finished product in action and some sneak peek shots from our Valentine’s shoot…the wall is the star of the show!
Moral of the story….Premier Infinity Paint’s quality and colours rock and Canadian Tire is absolutely your go-to for paint!

Leave a Reply