I need to go back to the beginning and share how my husband and I started renovating homes and some details about the first Leslie Style renovation. It’s crazy, this first home took us two years to renovate and it fits into a pint sized post…lol!
Two weeks before we got married, on July 21st, 2012, we took possession of this dated and maddening home and our renovating lives began.
Backsplit Overhaul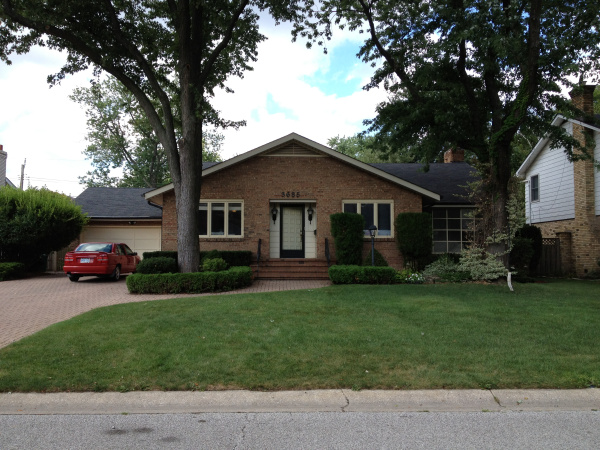
Minister: “Matt do you promise to renovate houses forever with Leslie?”
Me: “He said, ‘I do!’, I heard him…let’s do this!”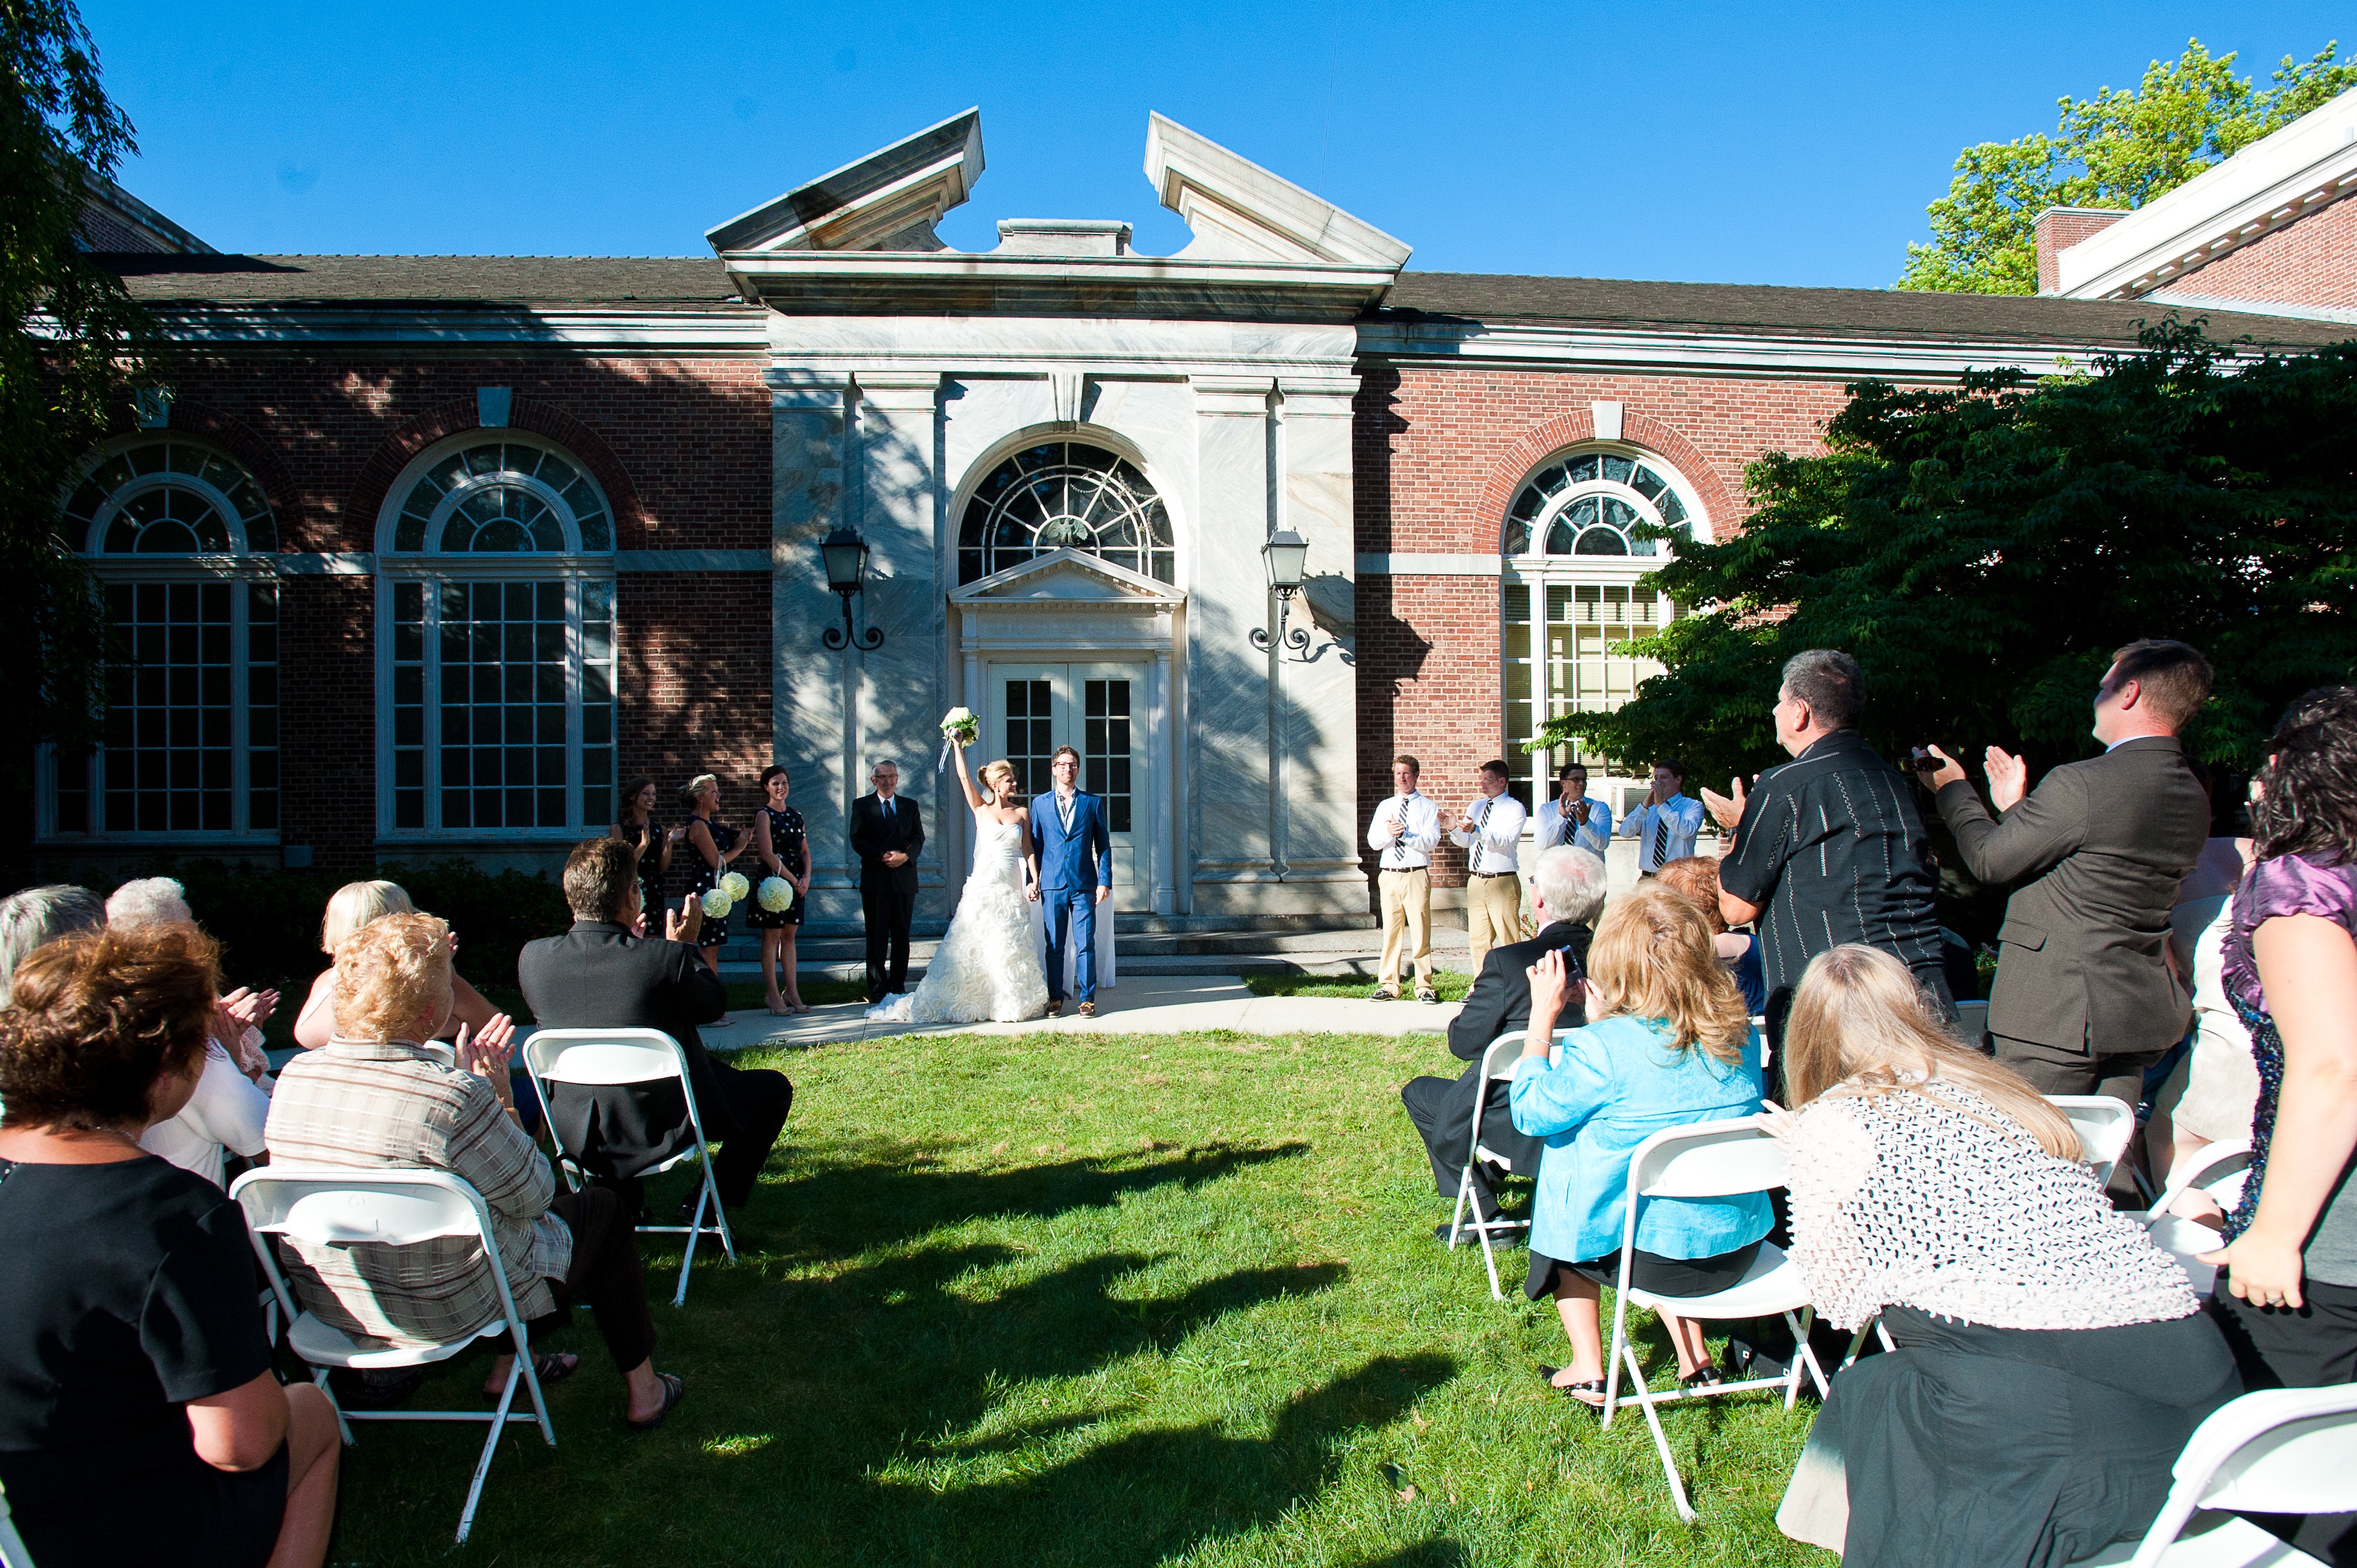
Oh my goodness I have to show a close up because we look so young!! Like we’ve aged a thousand years over the past 3 homes…I hope my husband doesn’t see this post! 
Side Bar
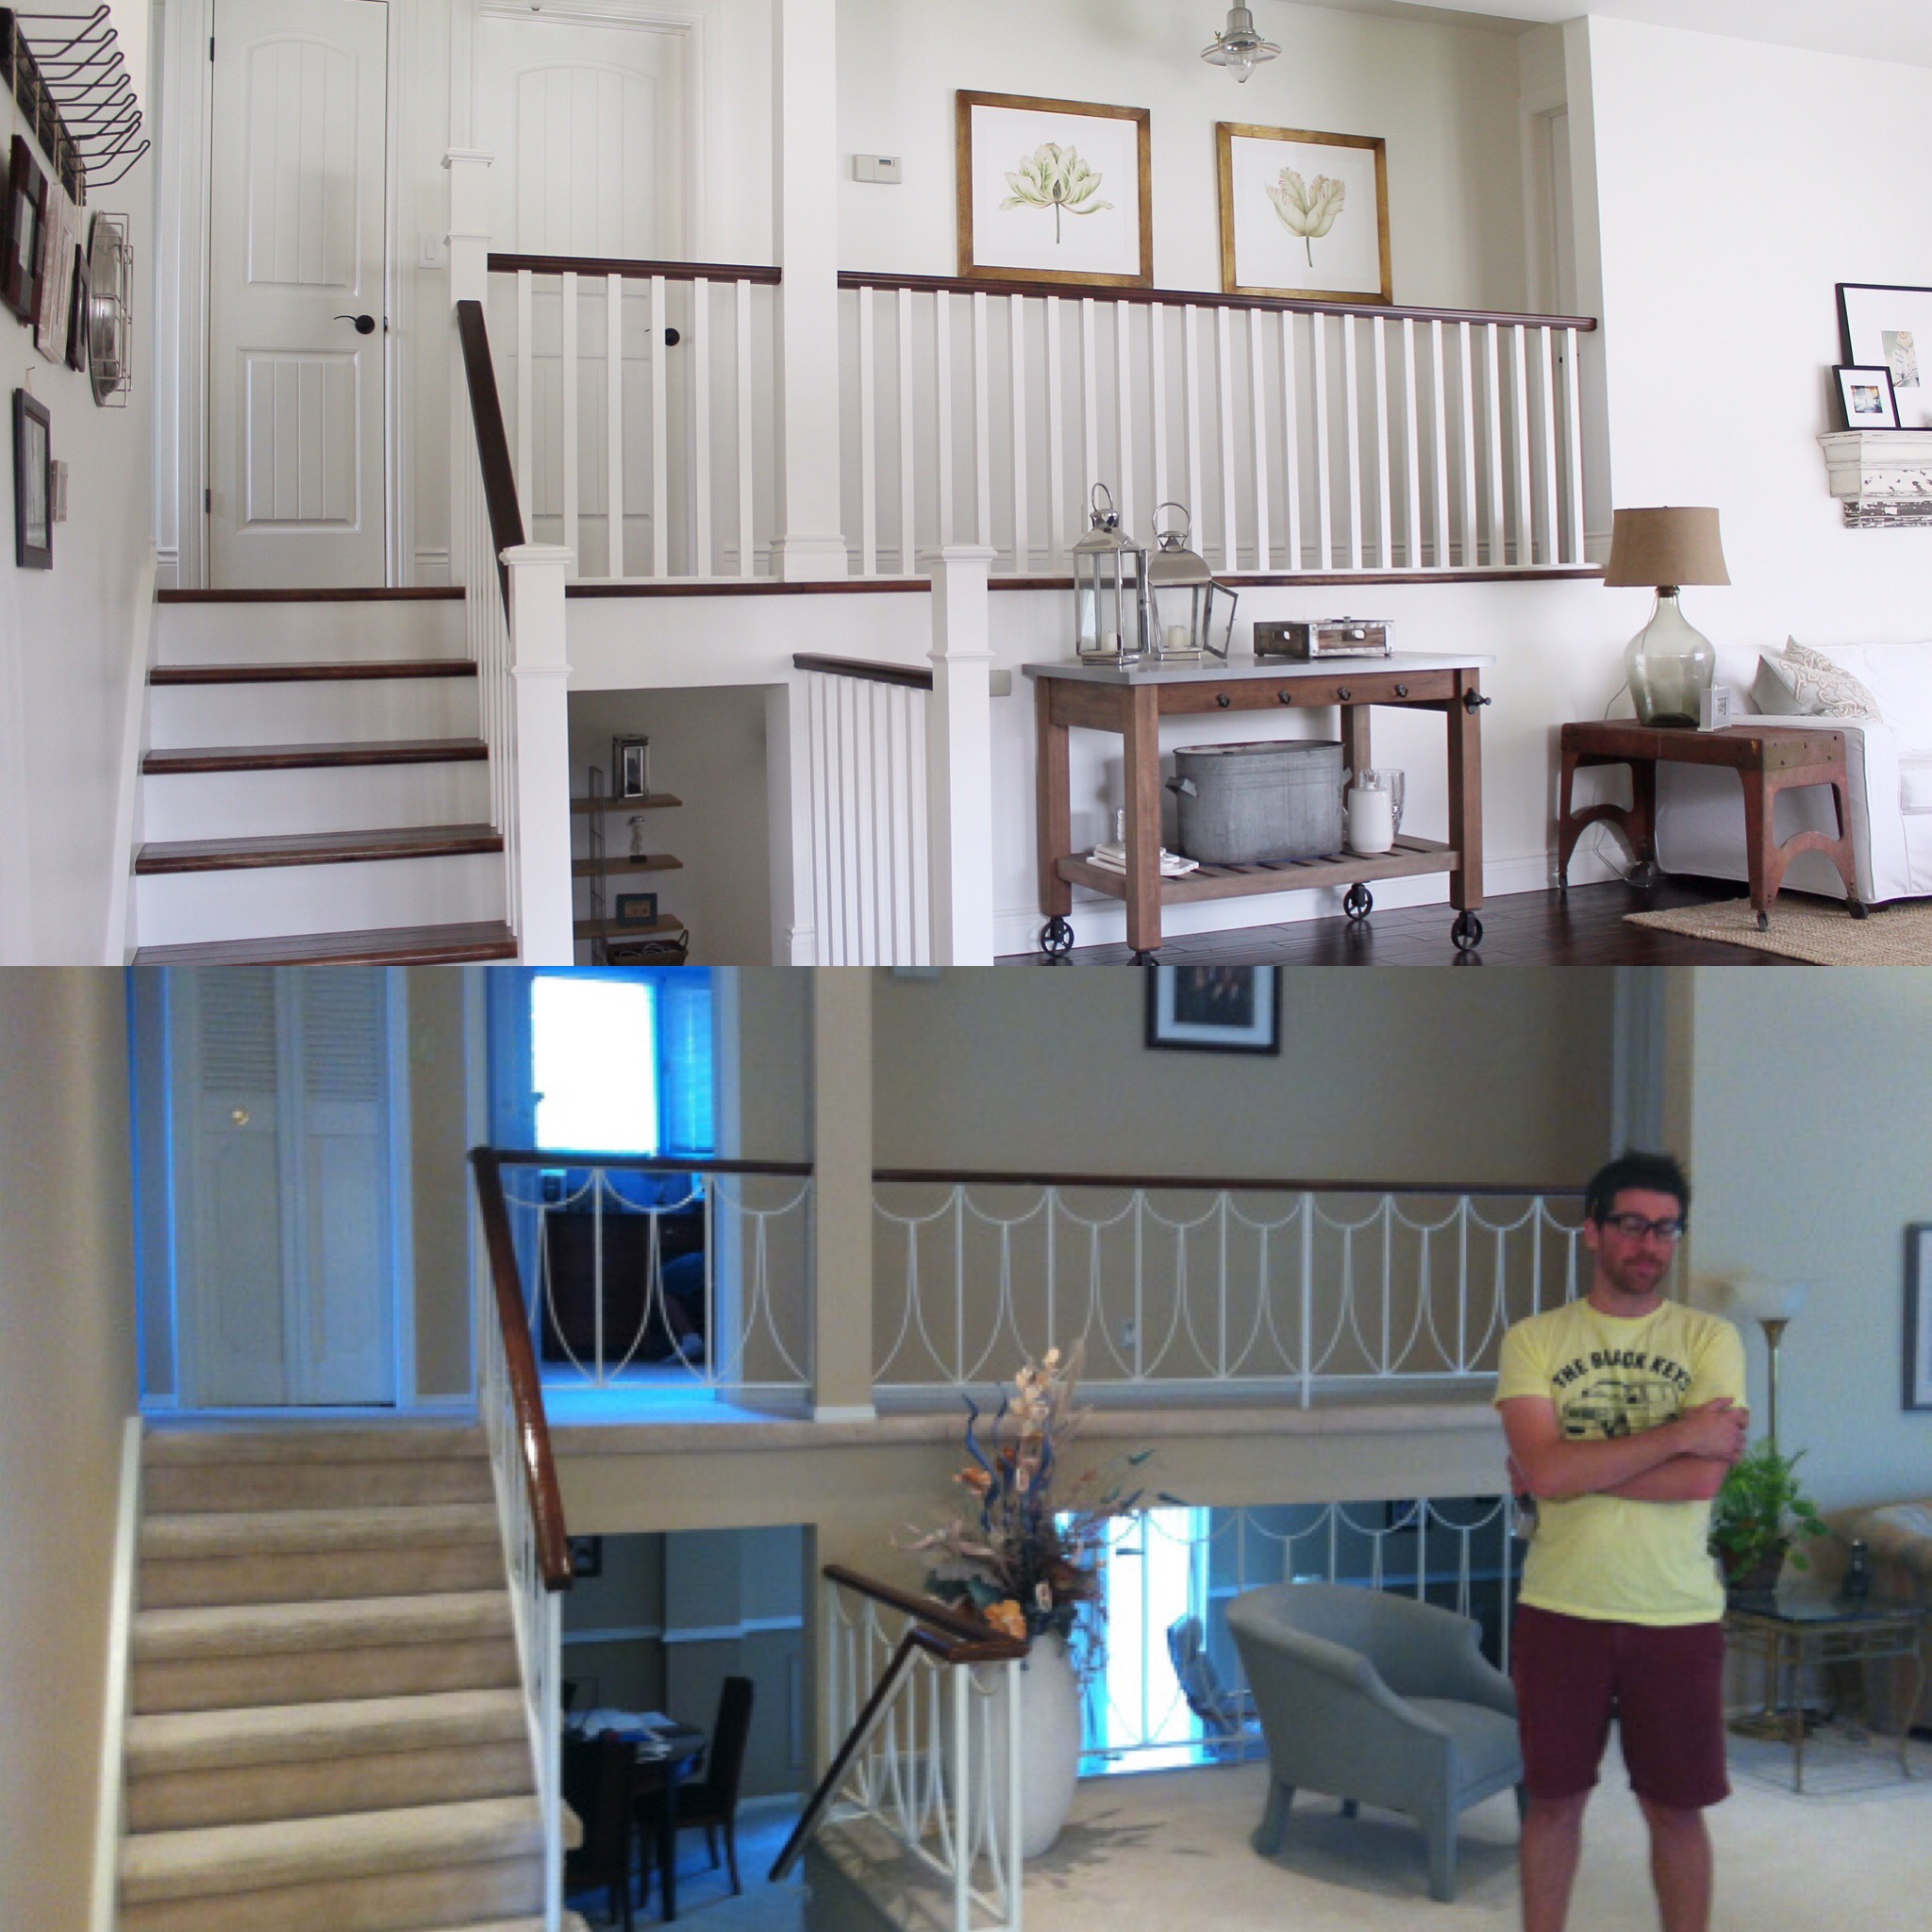
When I first started renovating this backsplit I started a failed blog. You can read all about how I got completely overwhelmed with how to share and what to share in my most popular blog post called “Blog First or Instagram Account and Why“! The failed blog was called whydidwebuythishouse.com and it was about transforming this dated disaster of a home. (Oh my gosh looking at the before shot pictured above is so cringe worthy…do you get where I got the blog name from or what?!) I actually started two failed blogs and I can’t wait for you to read that story!
We bought this home because it was in a great neighbourhood and had lots of potential. So much “potential” that after we renovated the home and to this day, people are still coming forward and telling us that they went through the home, when it was for sale, and thought that it could never be saved! I take a lot of pride in the fact that I can find the right home to buy and envision its potential…If I had a super power, seeing a home’s potential would be my Spidey Sense.
My husband and I are both teachers who work full time. We renovated this home literally every second after school, weekends, and every break. We had a ton of help from friends and family to bring it to life on no budget at all!
Living Room
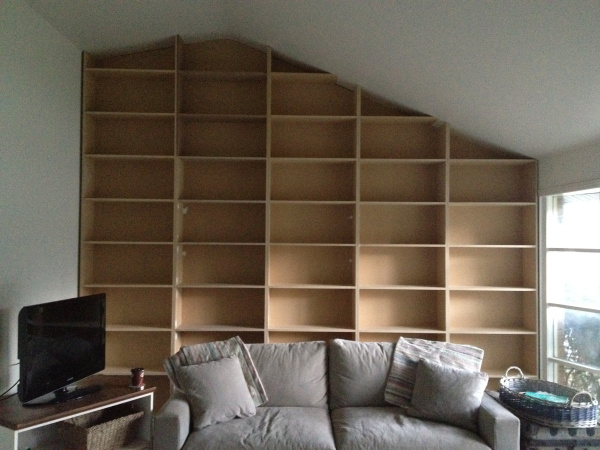
The first renovation was the living room. We took out all the carpet and put down hardwood, and put in these insane floor to ceiling 14ft high bookshelves, and of course painted the entire home white…which has come to by my signature and one of the reasons that I started the hashtag #BrightWhiteWednesday
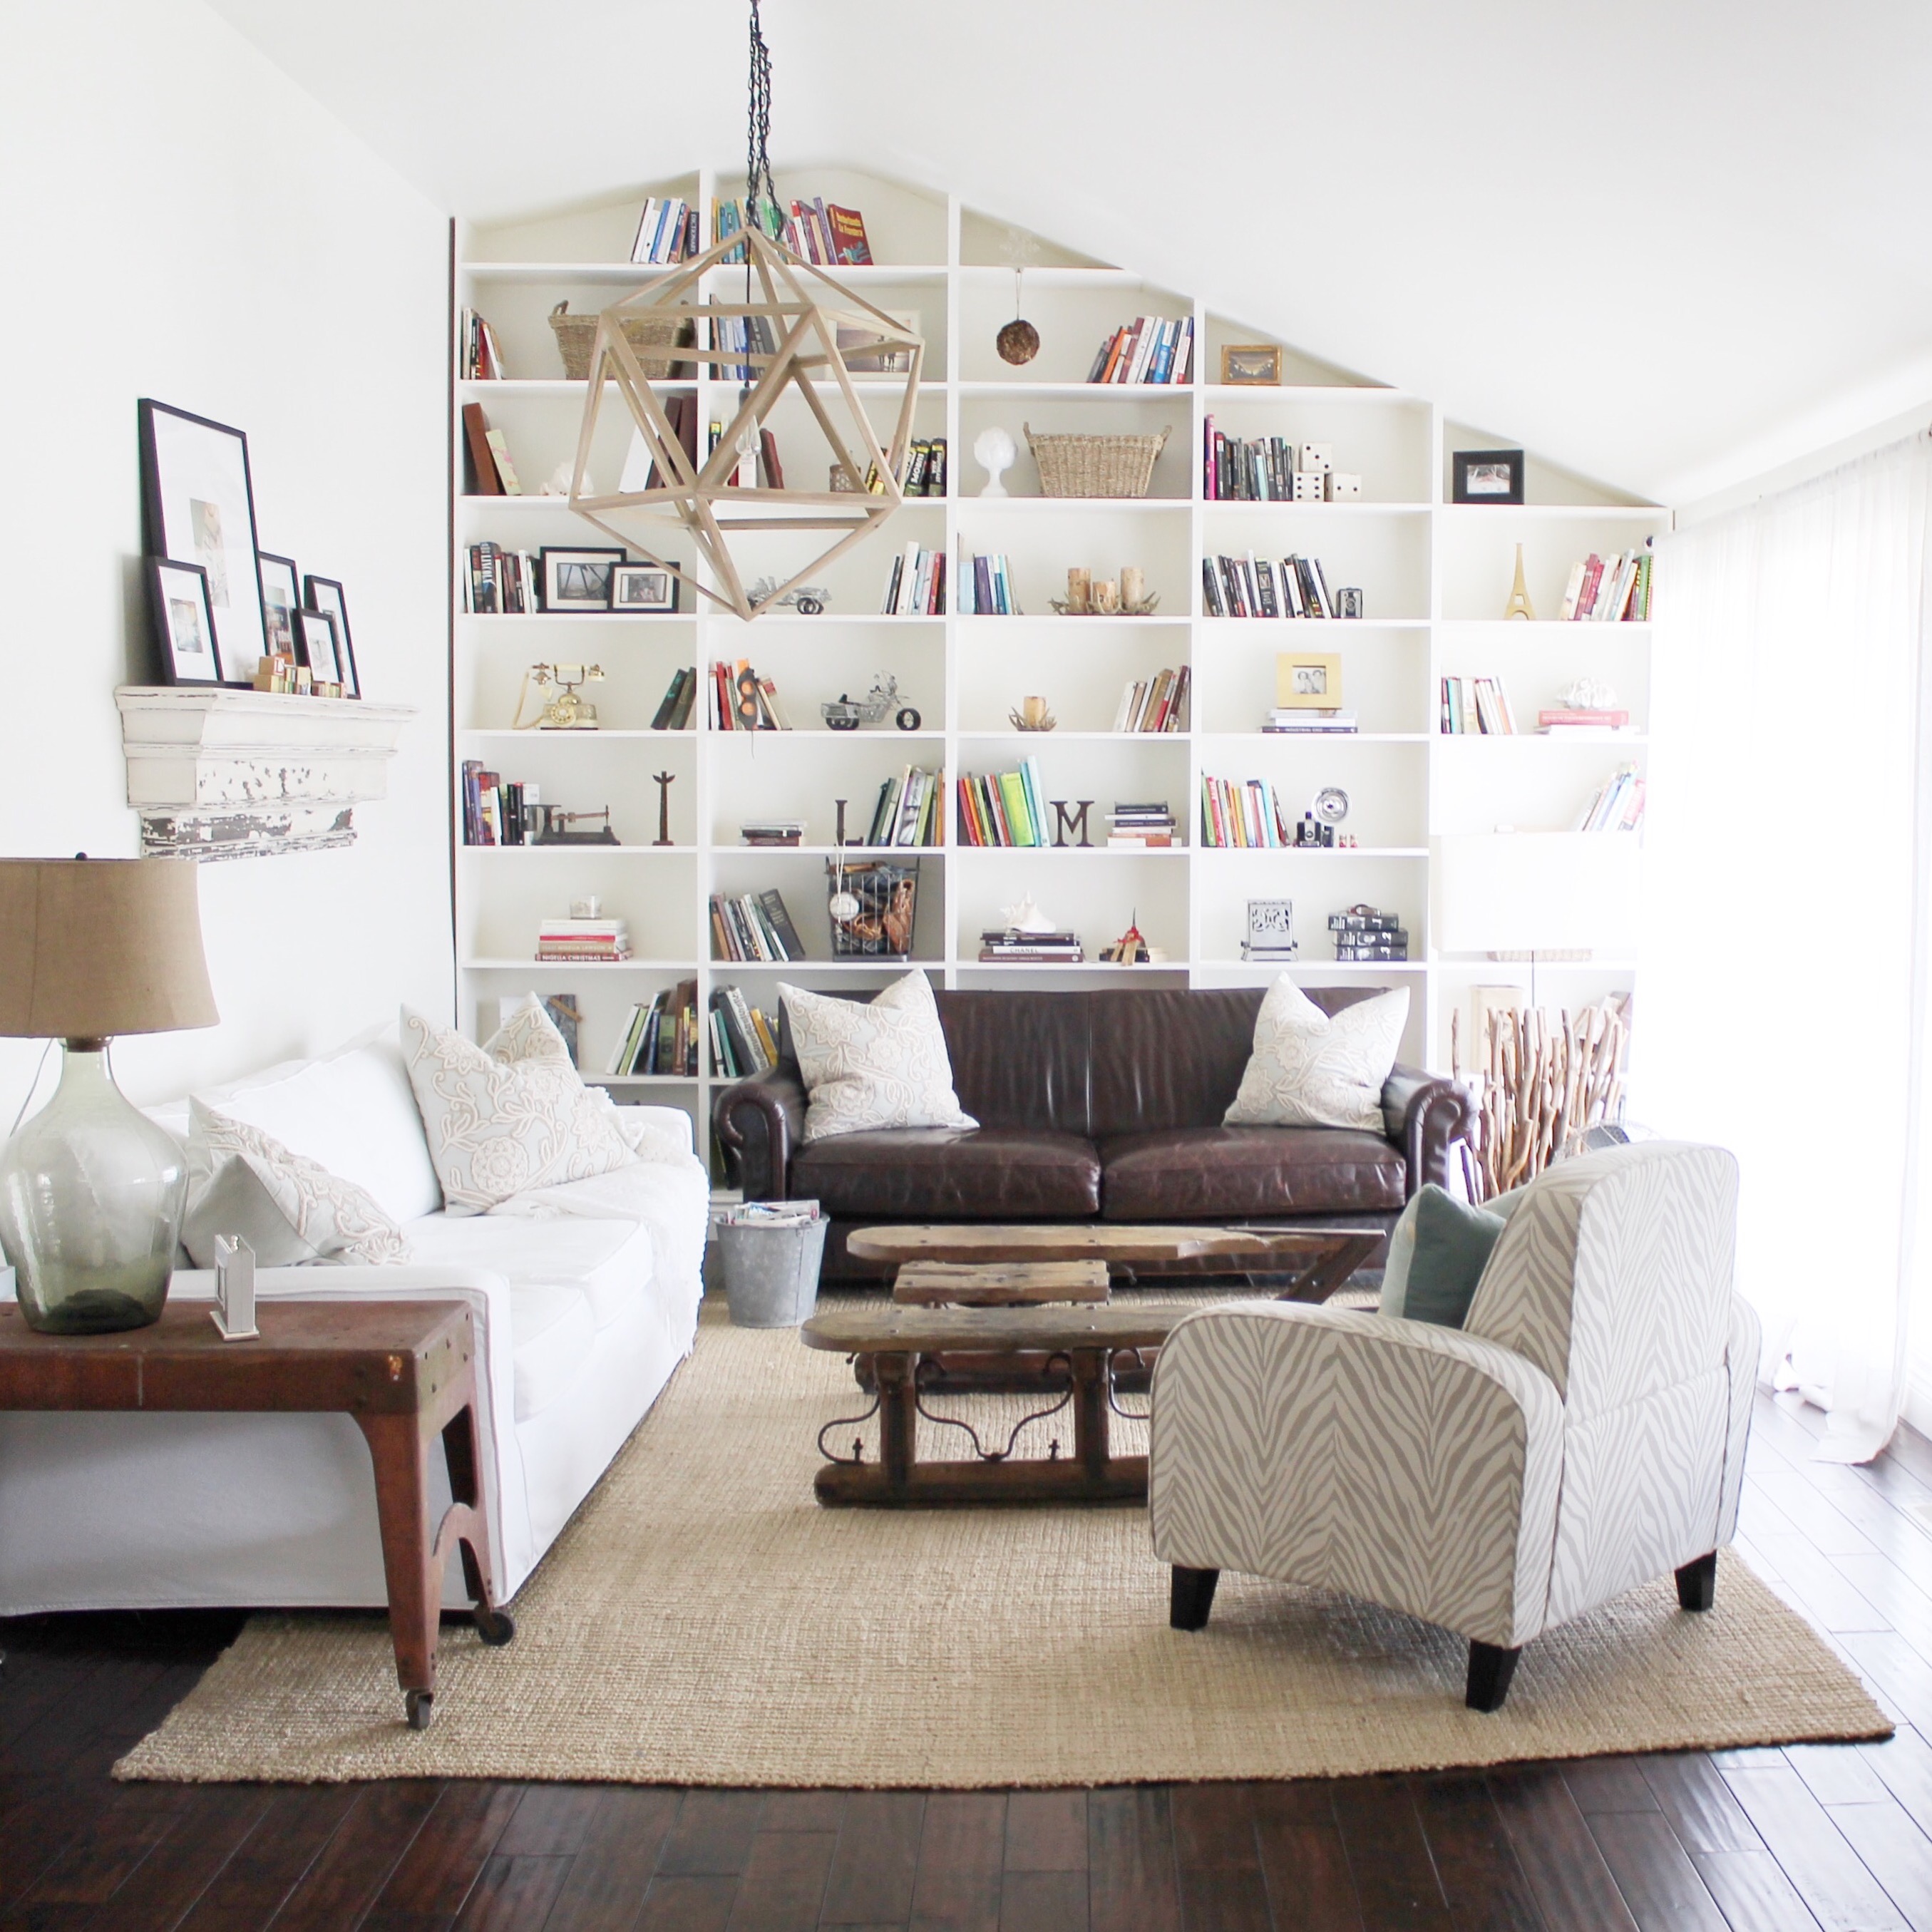

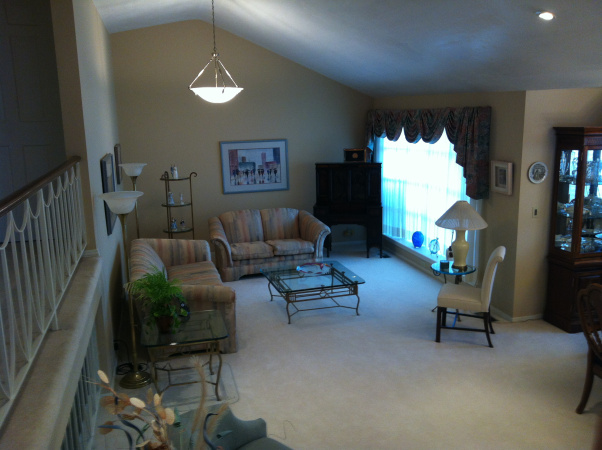
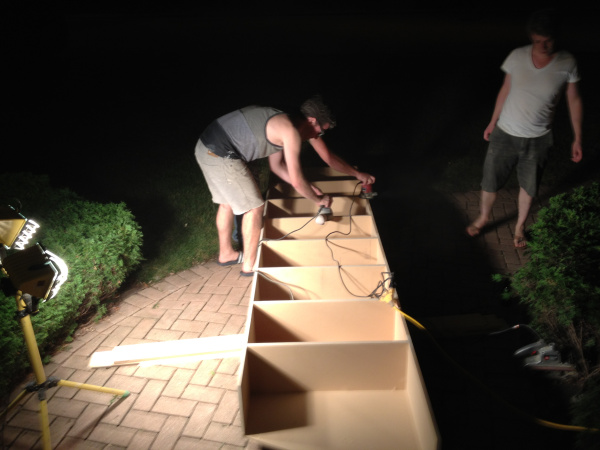
Instead of going on a honeymoon, we decided to just renovate right through the summer that we were married in 2012. We were so lucky that my husband’s UBER talented friend Pete came back to our home after the wedding and built these bookshelves for us. Have a look at what Pete is doing now…definitely not working pro-bono any more for his friends…more like a FAMOUS architect! Go Pete!!
These bookshelves are still to this day one of my favourite and most memorable projects. He only stayed a few days and was able to build them completely. He would work all night. We were so lucky that our neighbours put up with the mayhem!

Staircase
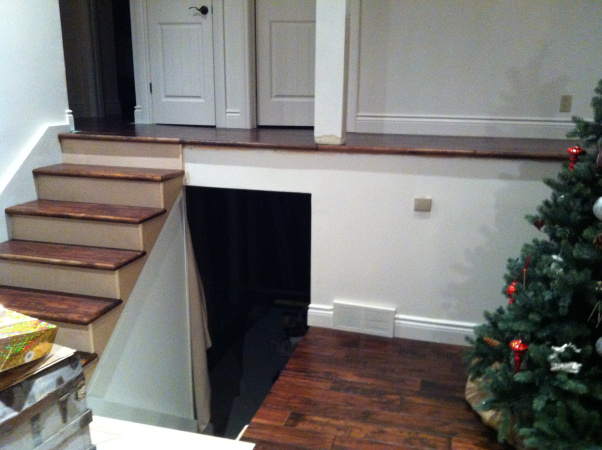
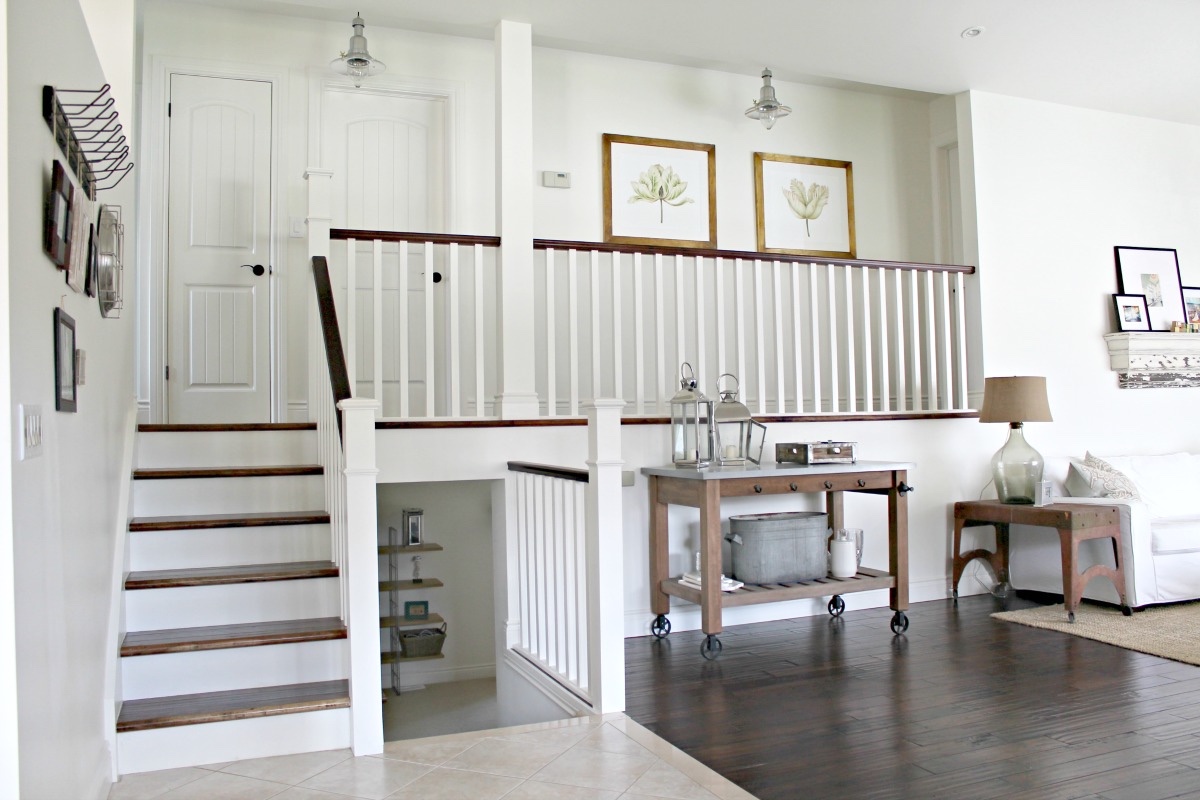
We removed the 1973 banister, carpet, and filled in the gaping hole that overlook the basement. This project took forever and we didn’t get a banister for like 6 months. I nearly went insane wanting things to feel finished so badly. We had so little money at the time that we relied on help and had to wait for that…however long it took. These days we finally have the money to work quickly and the building industry is booming so badly where I live that we still have to wait a long time! lol! Some things never change! 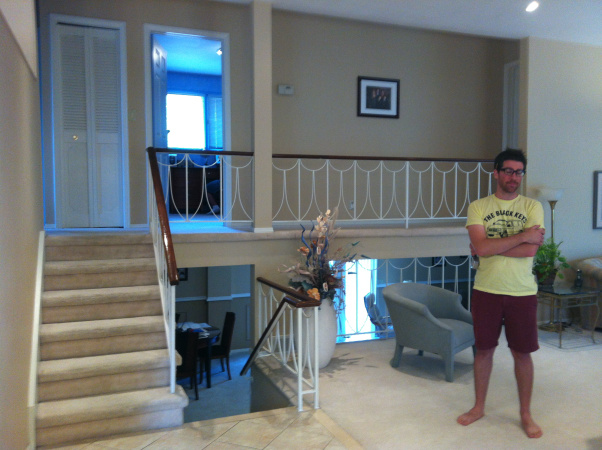
Mudroom / Entryway
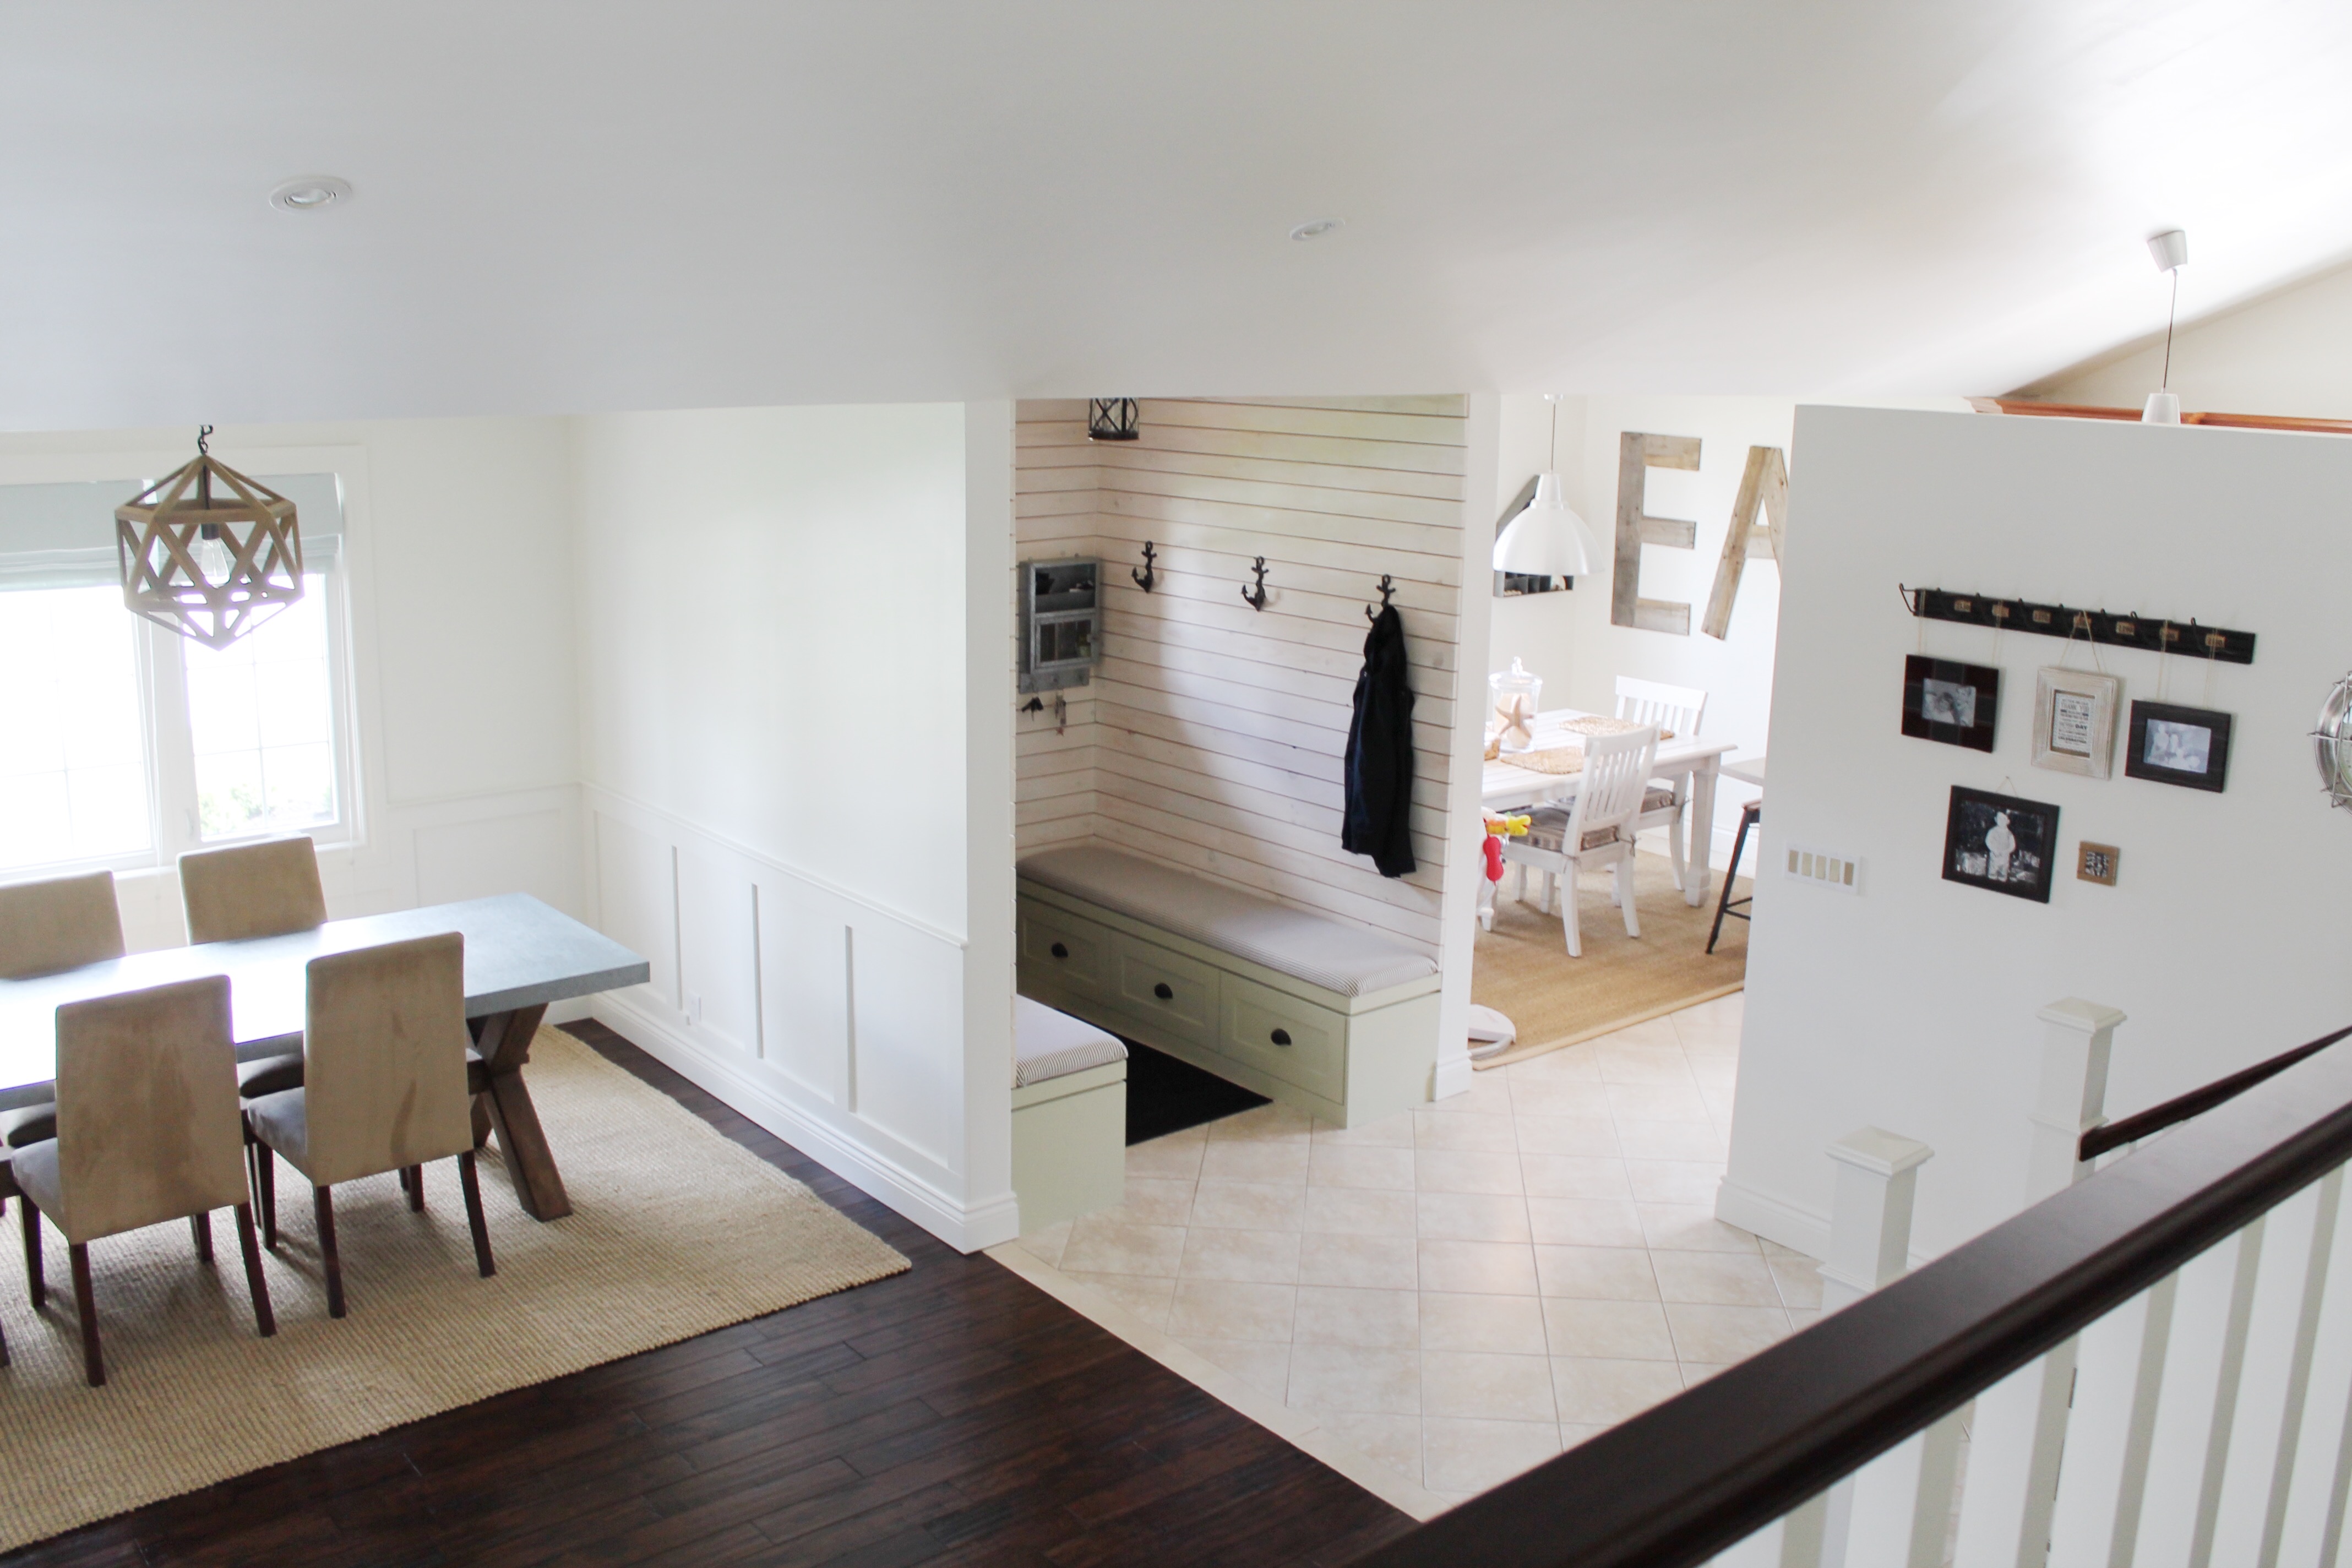
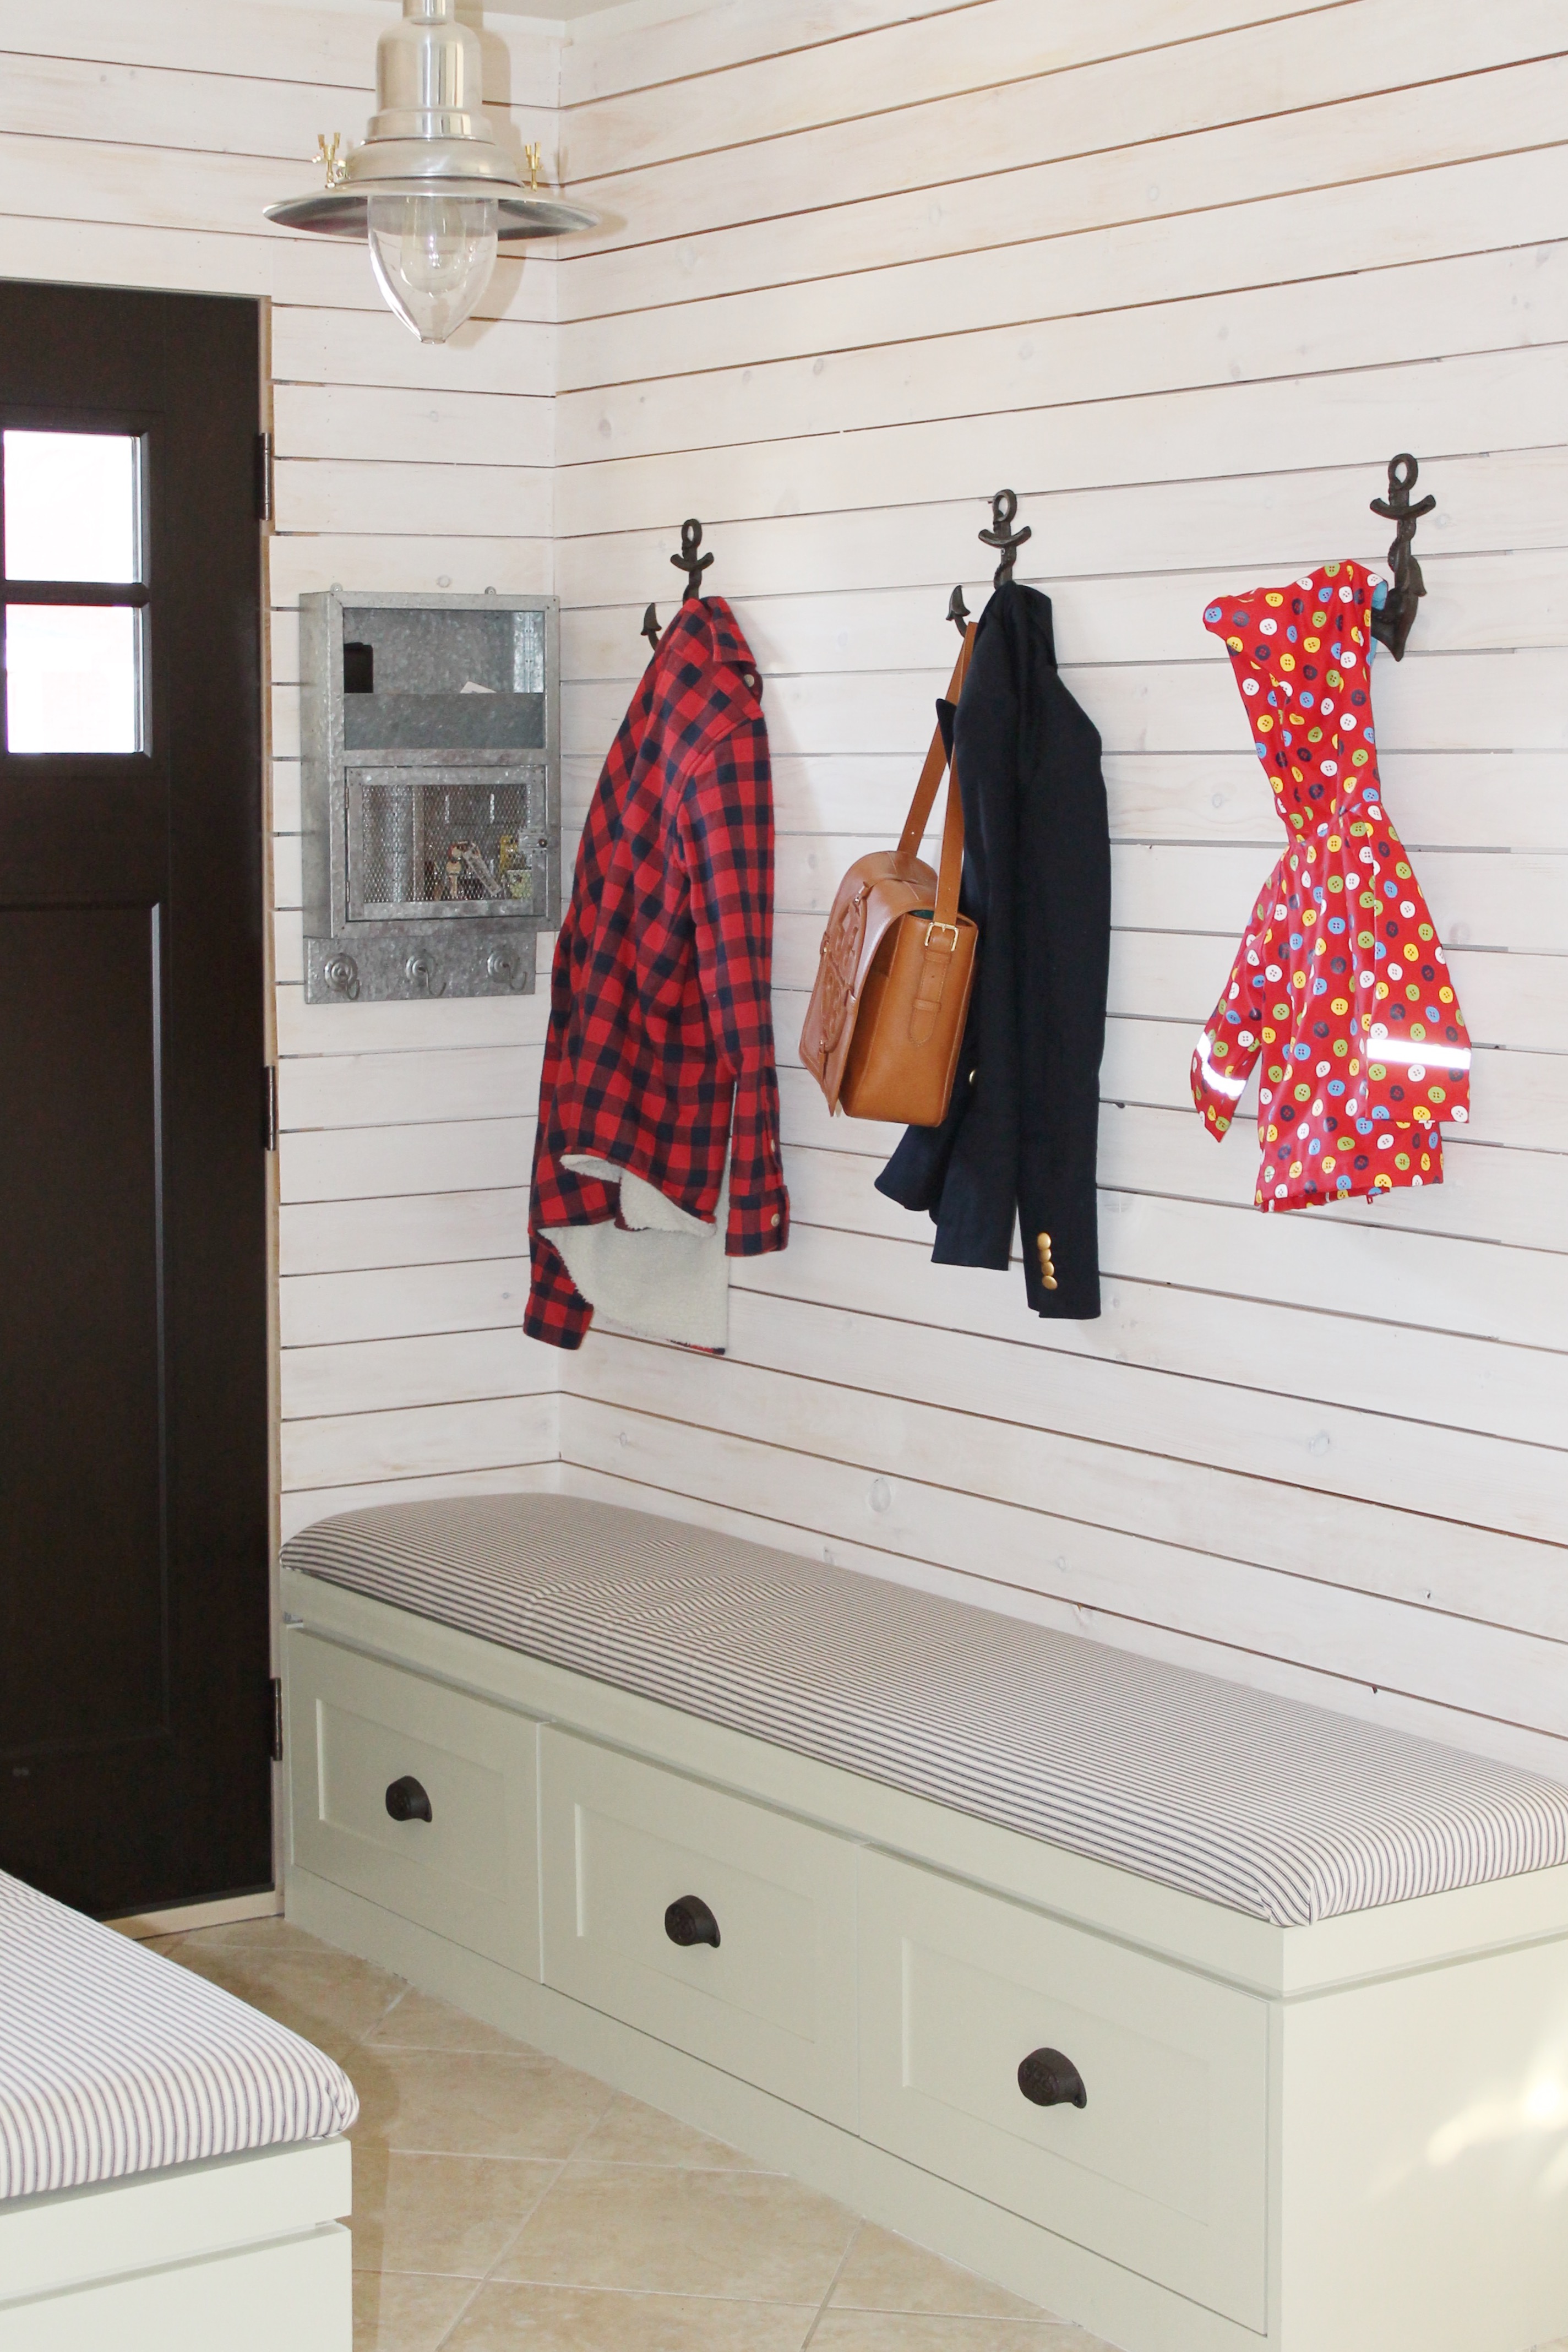
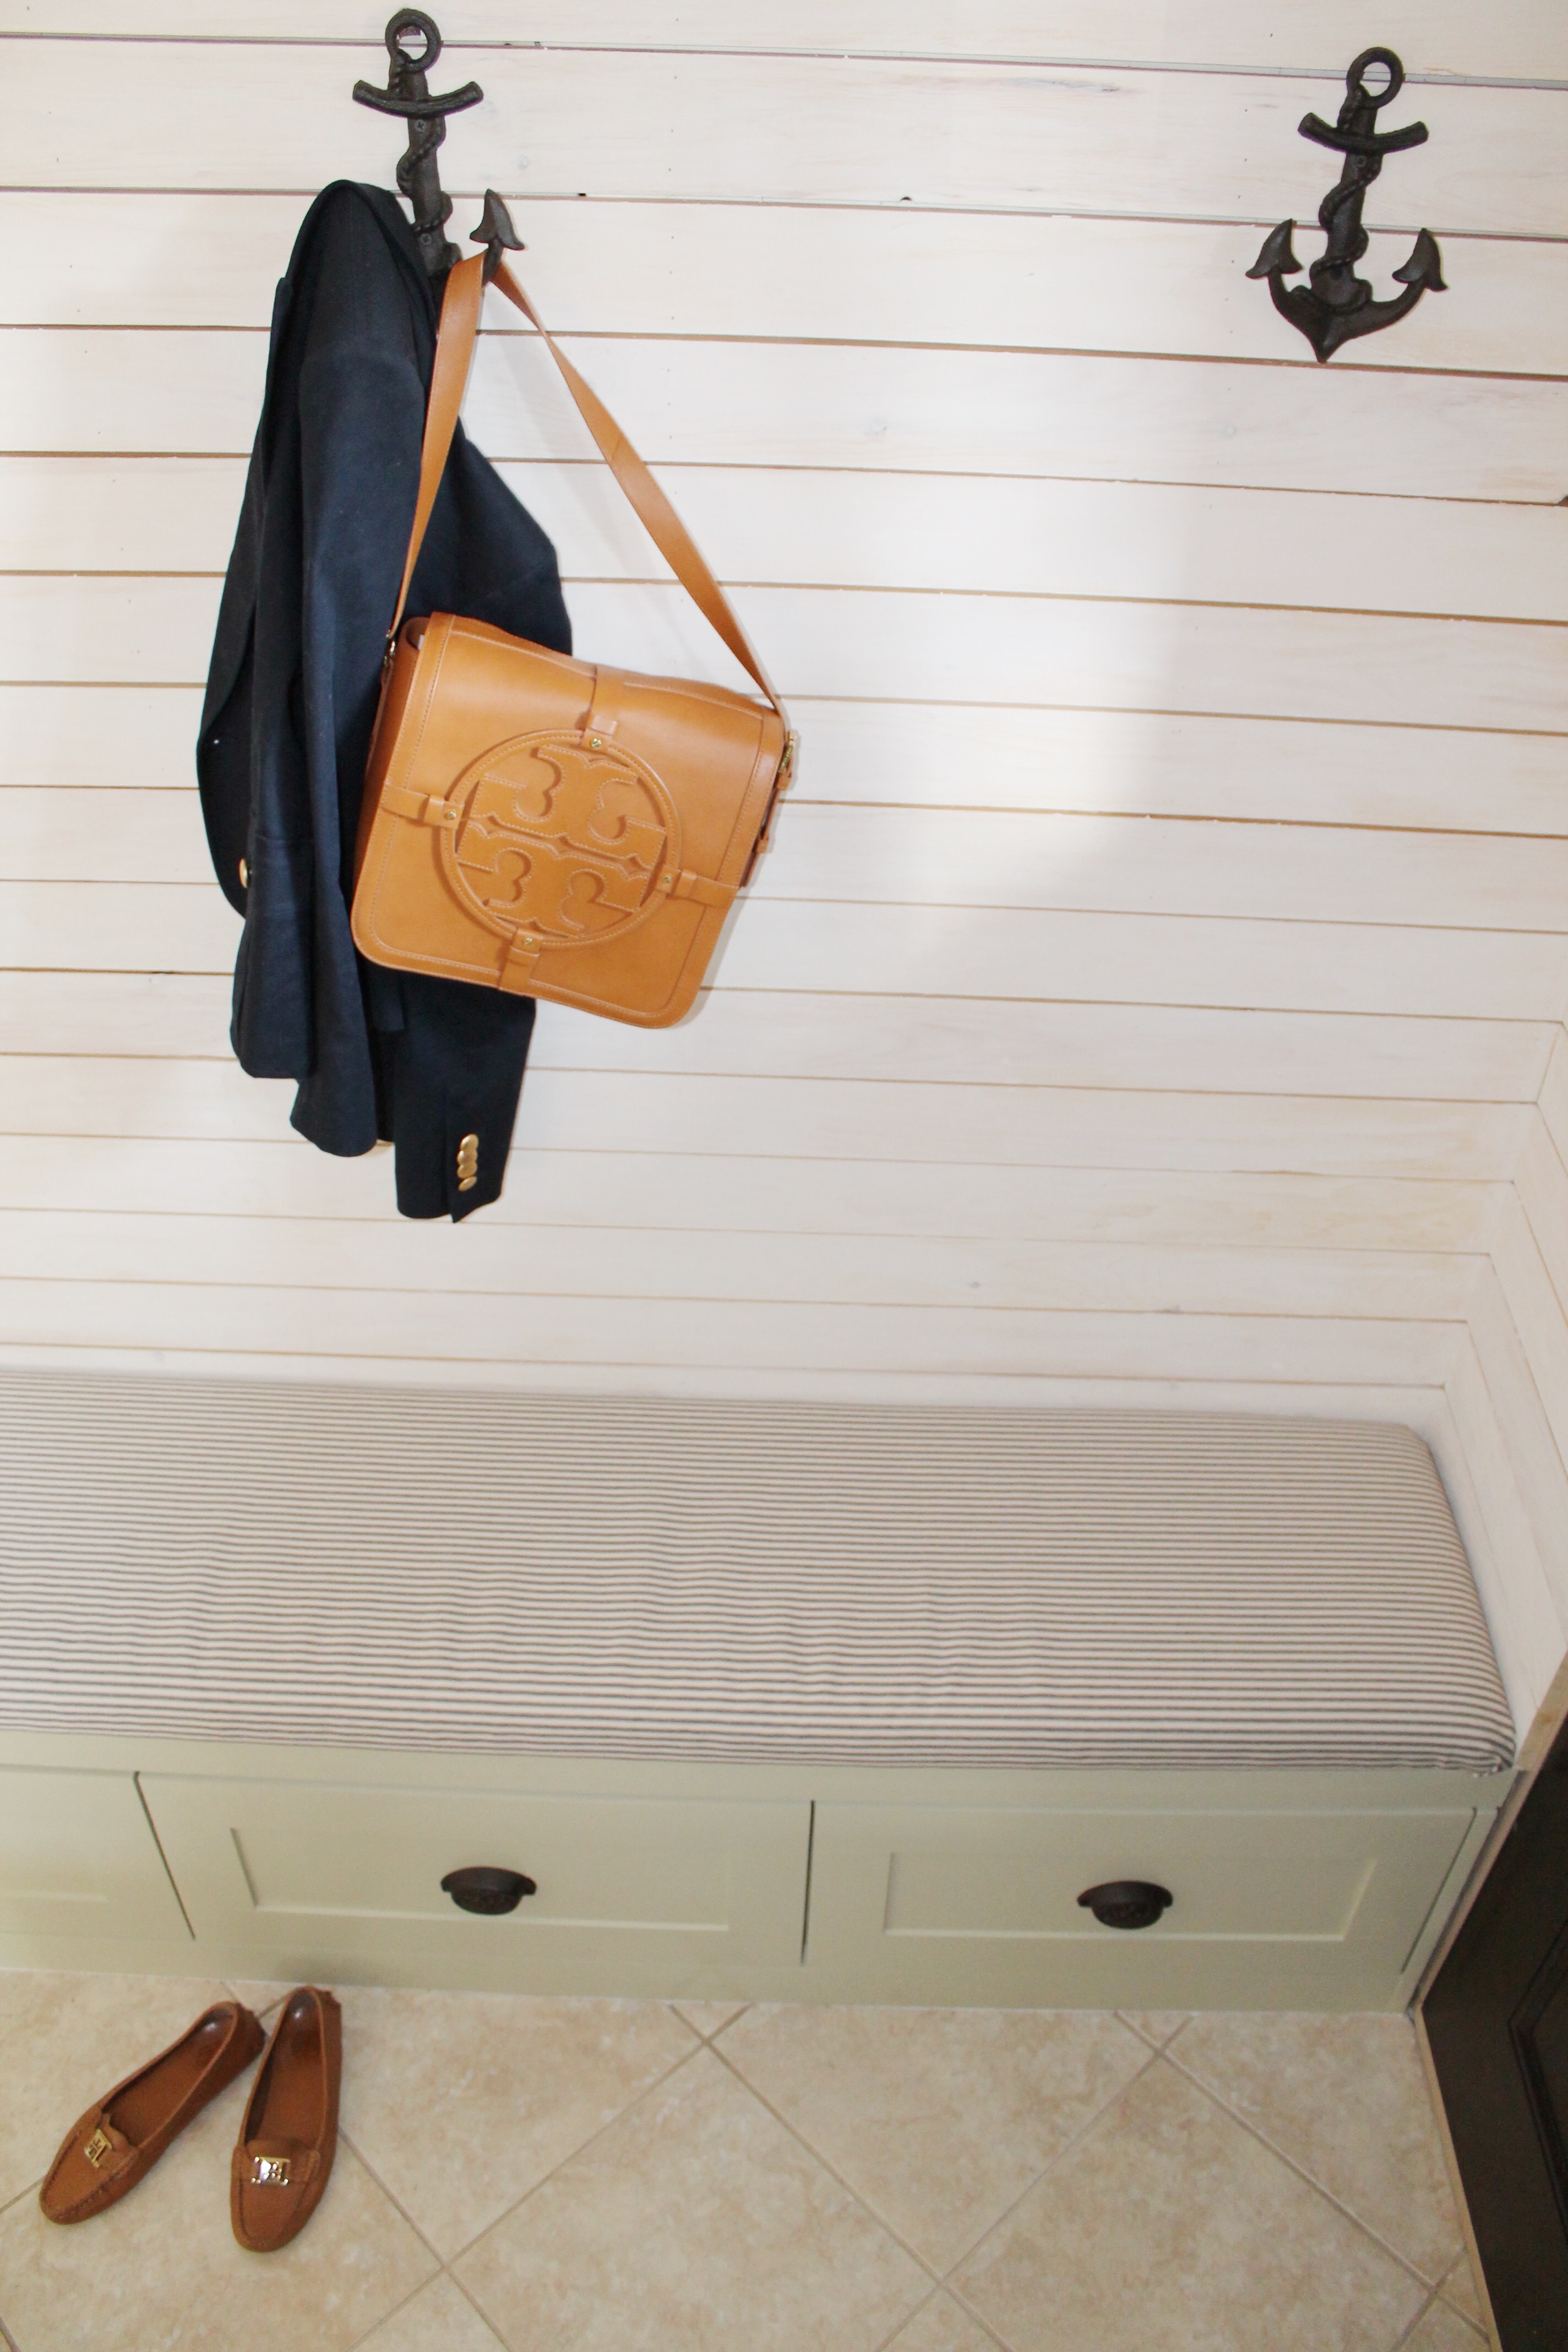
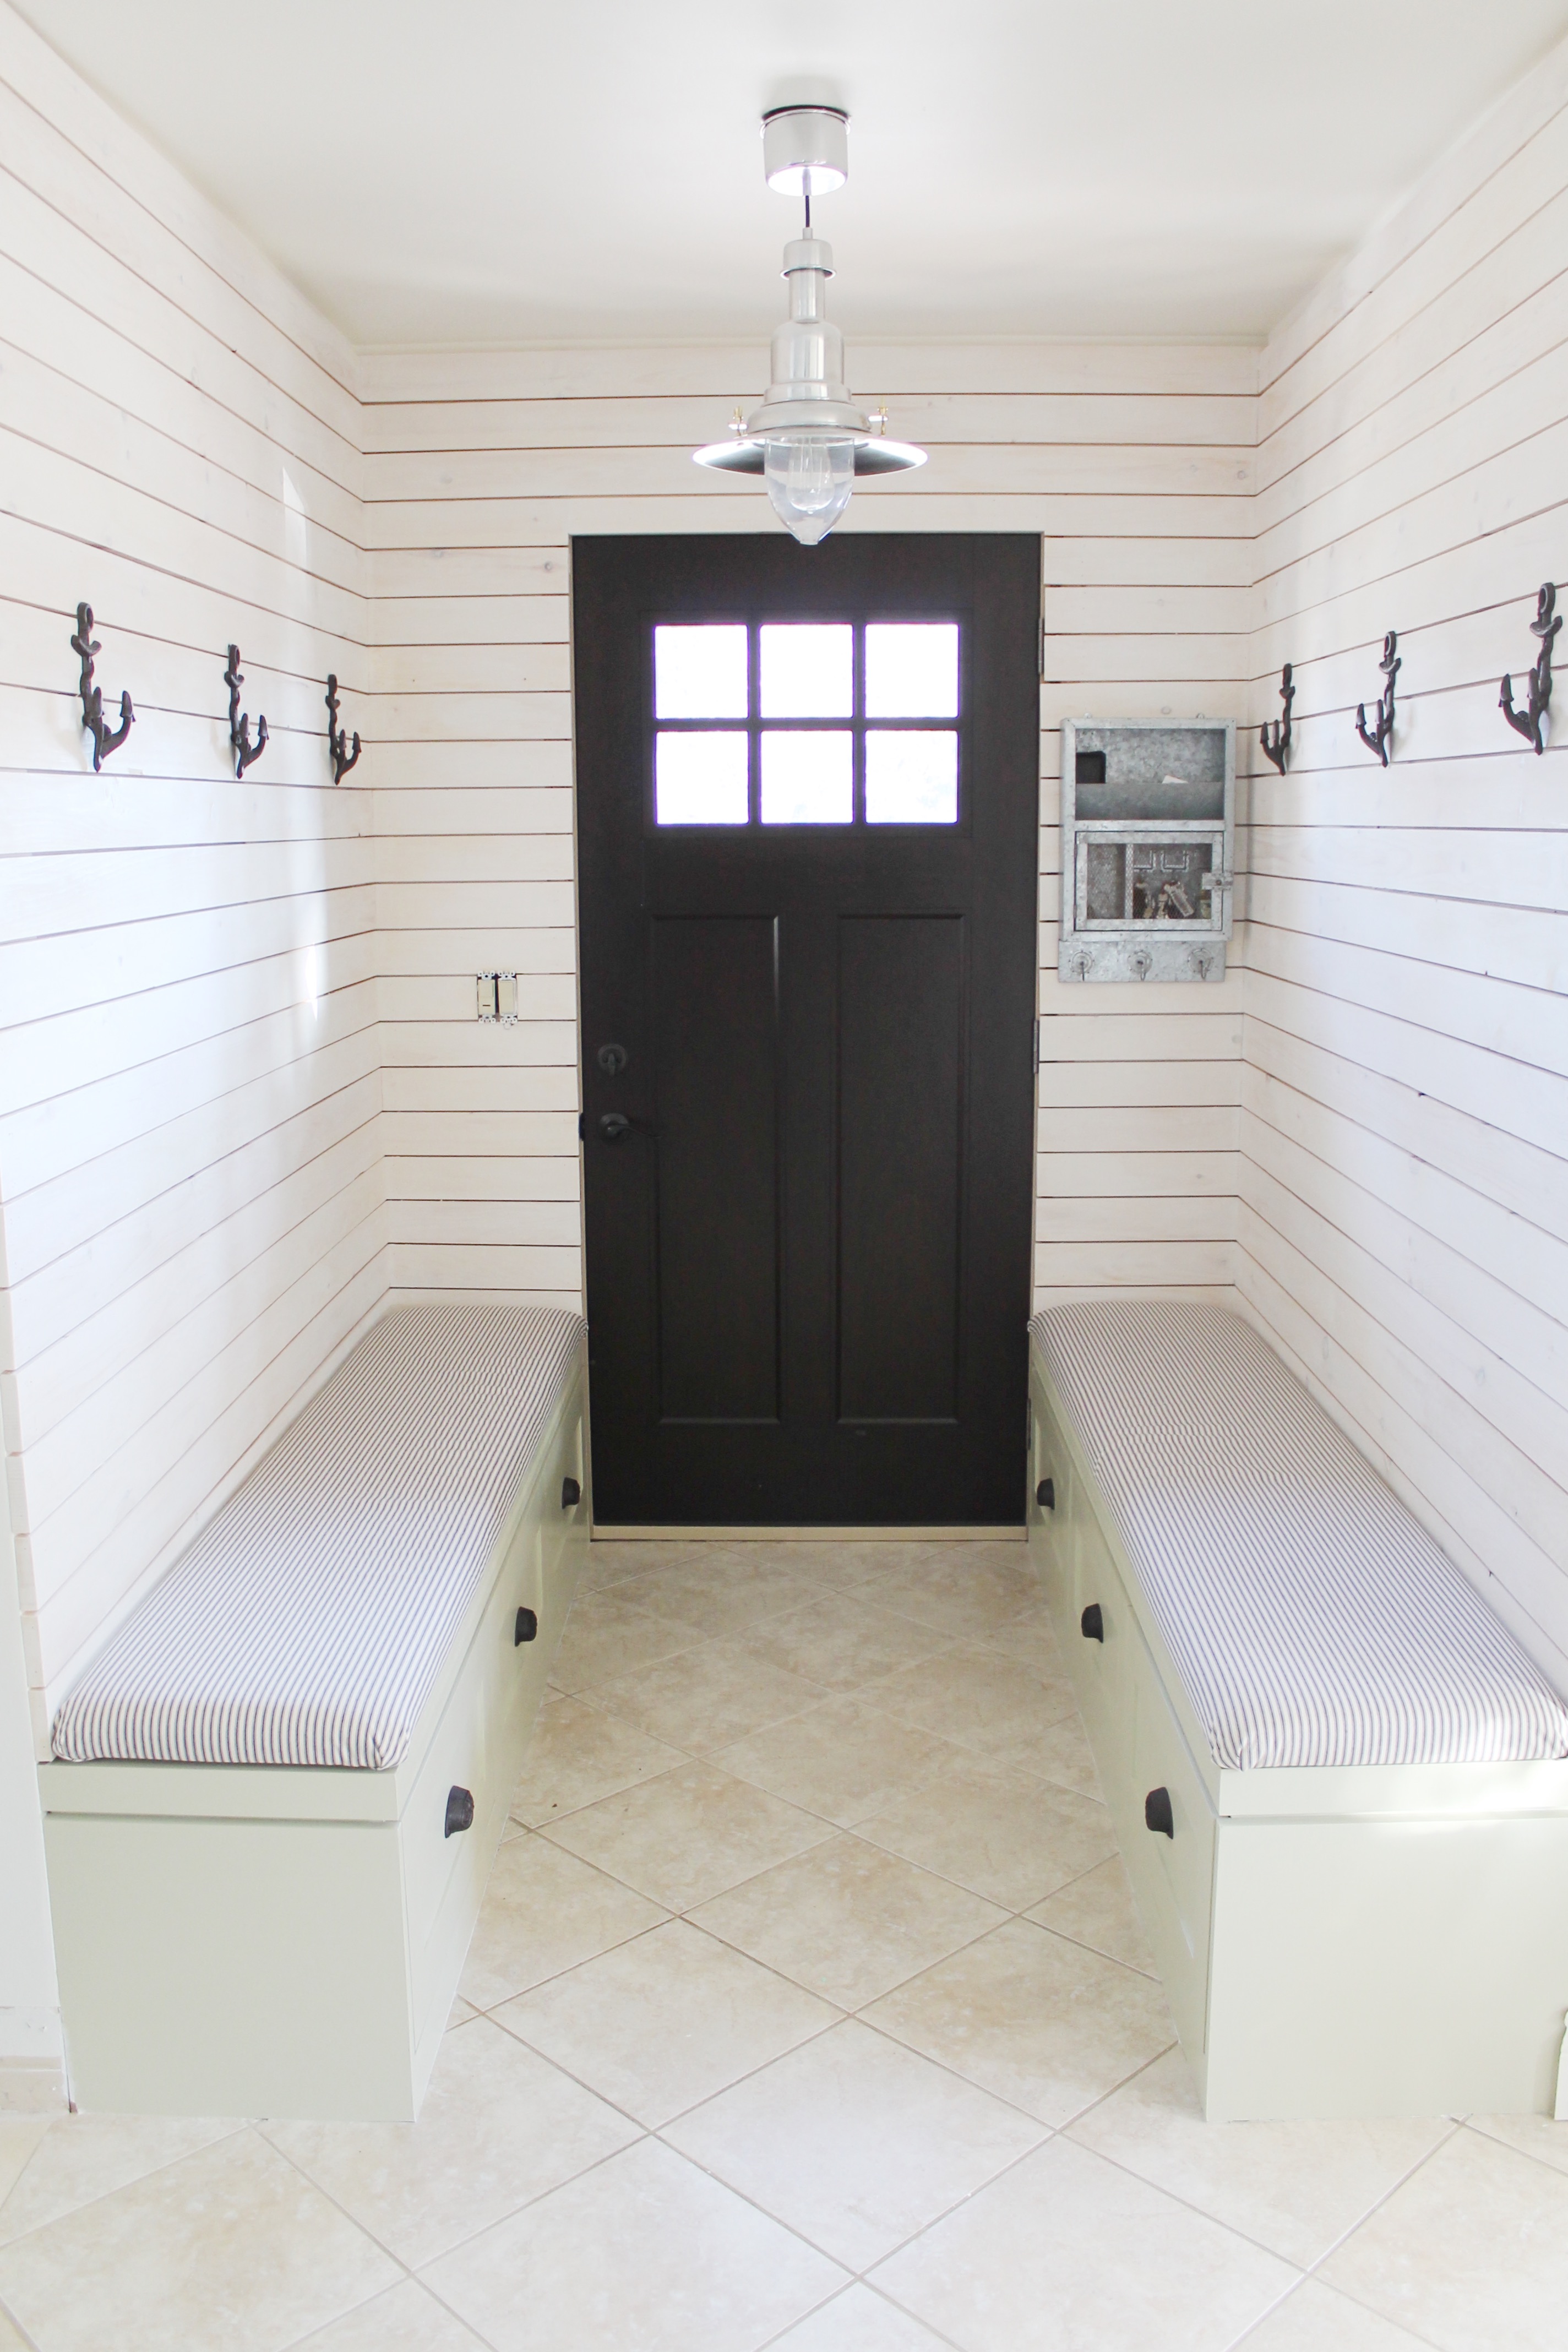
Oh my goodness I hated this house. I mean it kept me awake every second at night and occupied all of my thoughts during the day. The entrance had these arches and there was no closet at all, so I kept thinking we needed a mudroom. That Christmas my husband’s friend, Pete, helped us AGAIN to create a mudroom. He left after building the benches and we took a wood working class in order to finish the rest ourselves. We actually did the mudroom on New Year’s Eve! 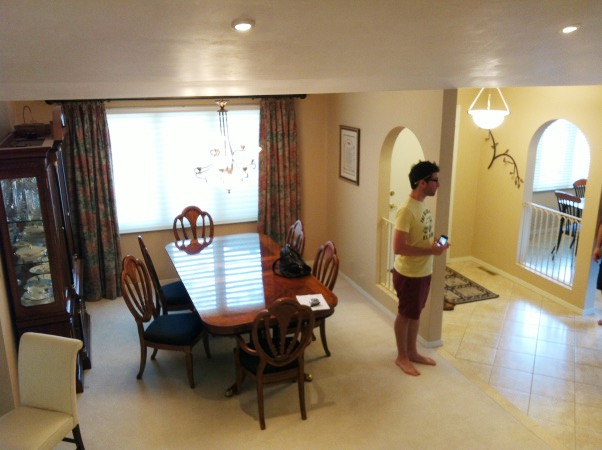
So first we removed the railings from the arches and painted…but we always piled stuff on them and sat on them and I just hated them, so finally I hung sheets over the openings to make sure filling them in was the right move and then we did!! It was the best thing ever! The entry become on of my favourite spots and it’s own little room.
This is a shot of Pete designing the benches right before we missioned it to home depot to get all the stuff on the day before New Year’s Eve. It’s also a good shot of how annoying those arches were despite my best attempts to shhhhush them!

It’s now midnight on New Year’s eve, the arches are filled in, the benches are built, and champagne is being poured! 

Here’s a look at how far we got before Pete headed back to Halifax and our building blitz was over. Ok one last look at the true “before”.
Lower Level
The last renovation we did on this home was the basement. It was terrible! One night after a couple drinks I smashed into the terrible drywall that covered the fireplace over to see what was behind it and ANOTHER epic project was born! I feel bad saying this but, Pete helped up AGAIN!
This is a screen grab taken from the original listing photos…I don’t even have a before because I hated it so much. It’s hard to tell from here but there is not only a popcorn ceiling but popcorn walls and uninsulated walls we would soon find out! The front wall with the tv/fireplace combo is where we could tell they had just drywalled over an existing brick wall. When we opened it we saw that it had been badly damaged, not to mention that it was off centre in a completely 70’s way that I could not get on board with. 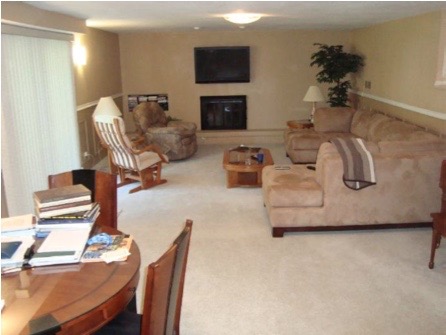
We gutted the basement, reframed, new drywall, potlights, builtins, and lighting fixtures. It became such a special place…I wish I had better pictures! 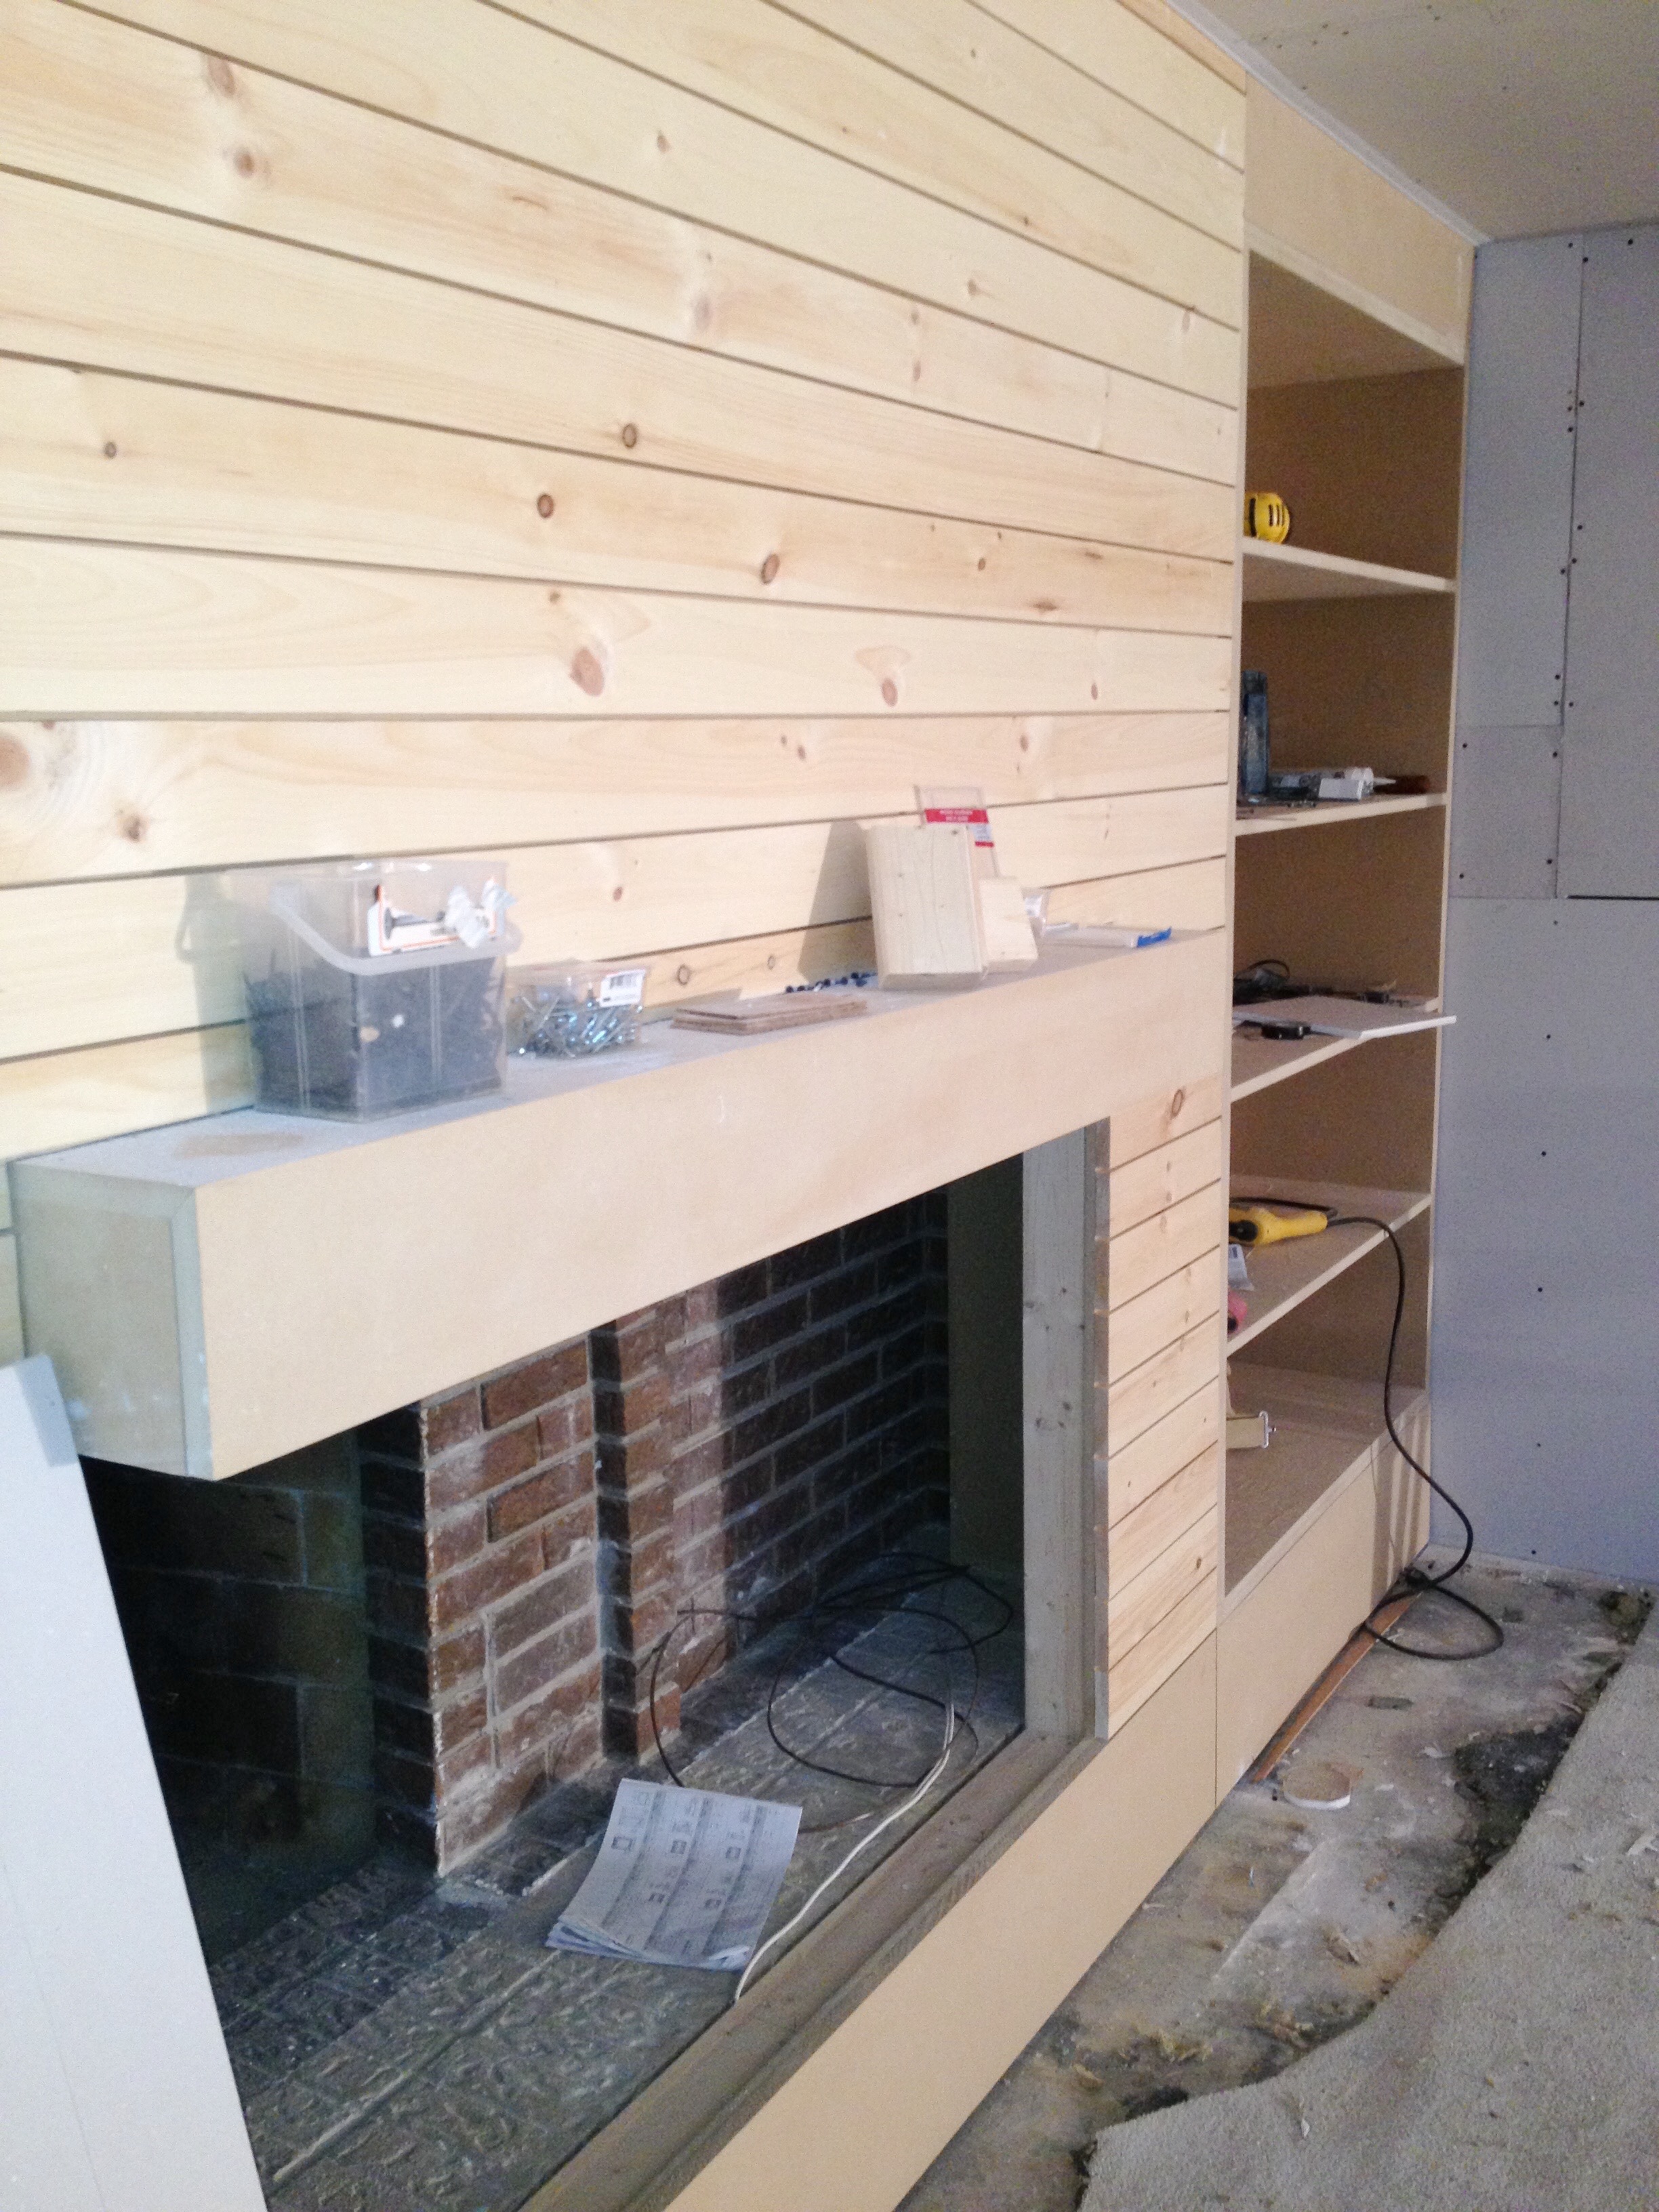
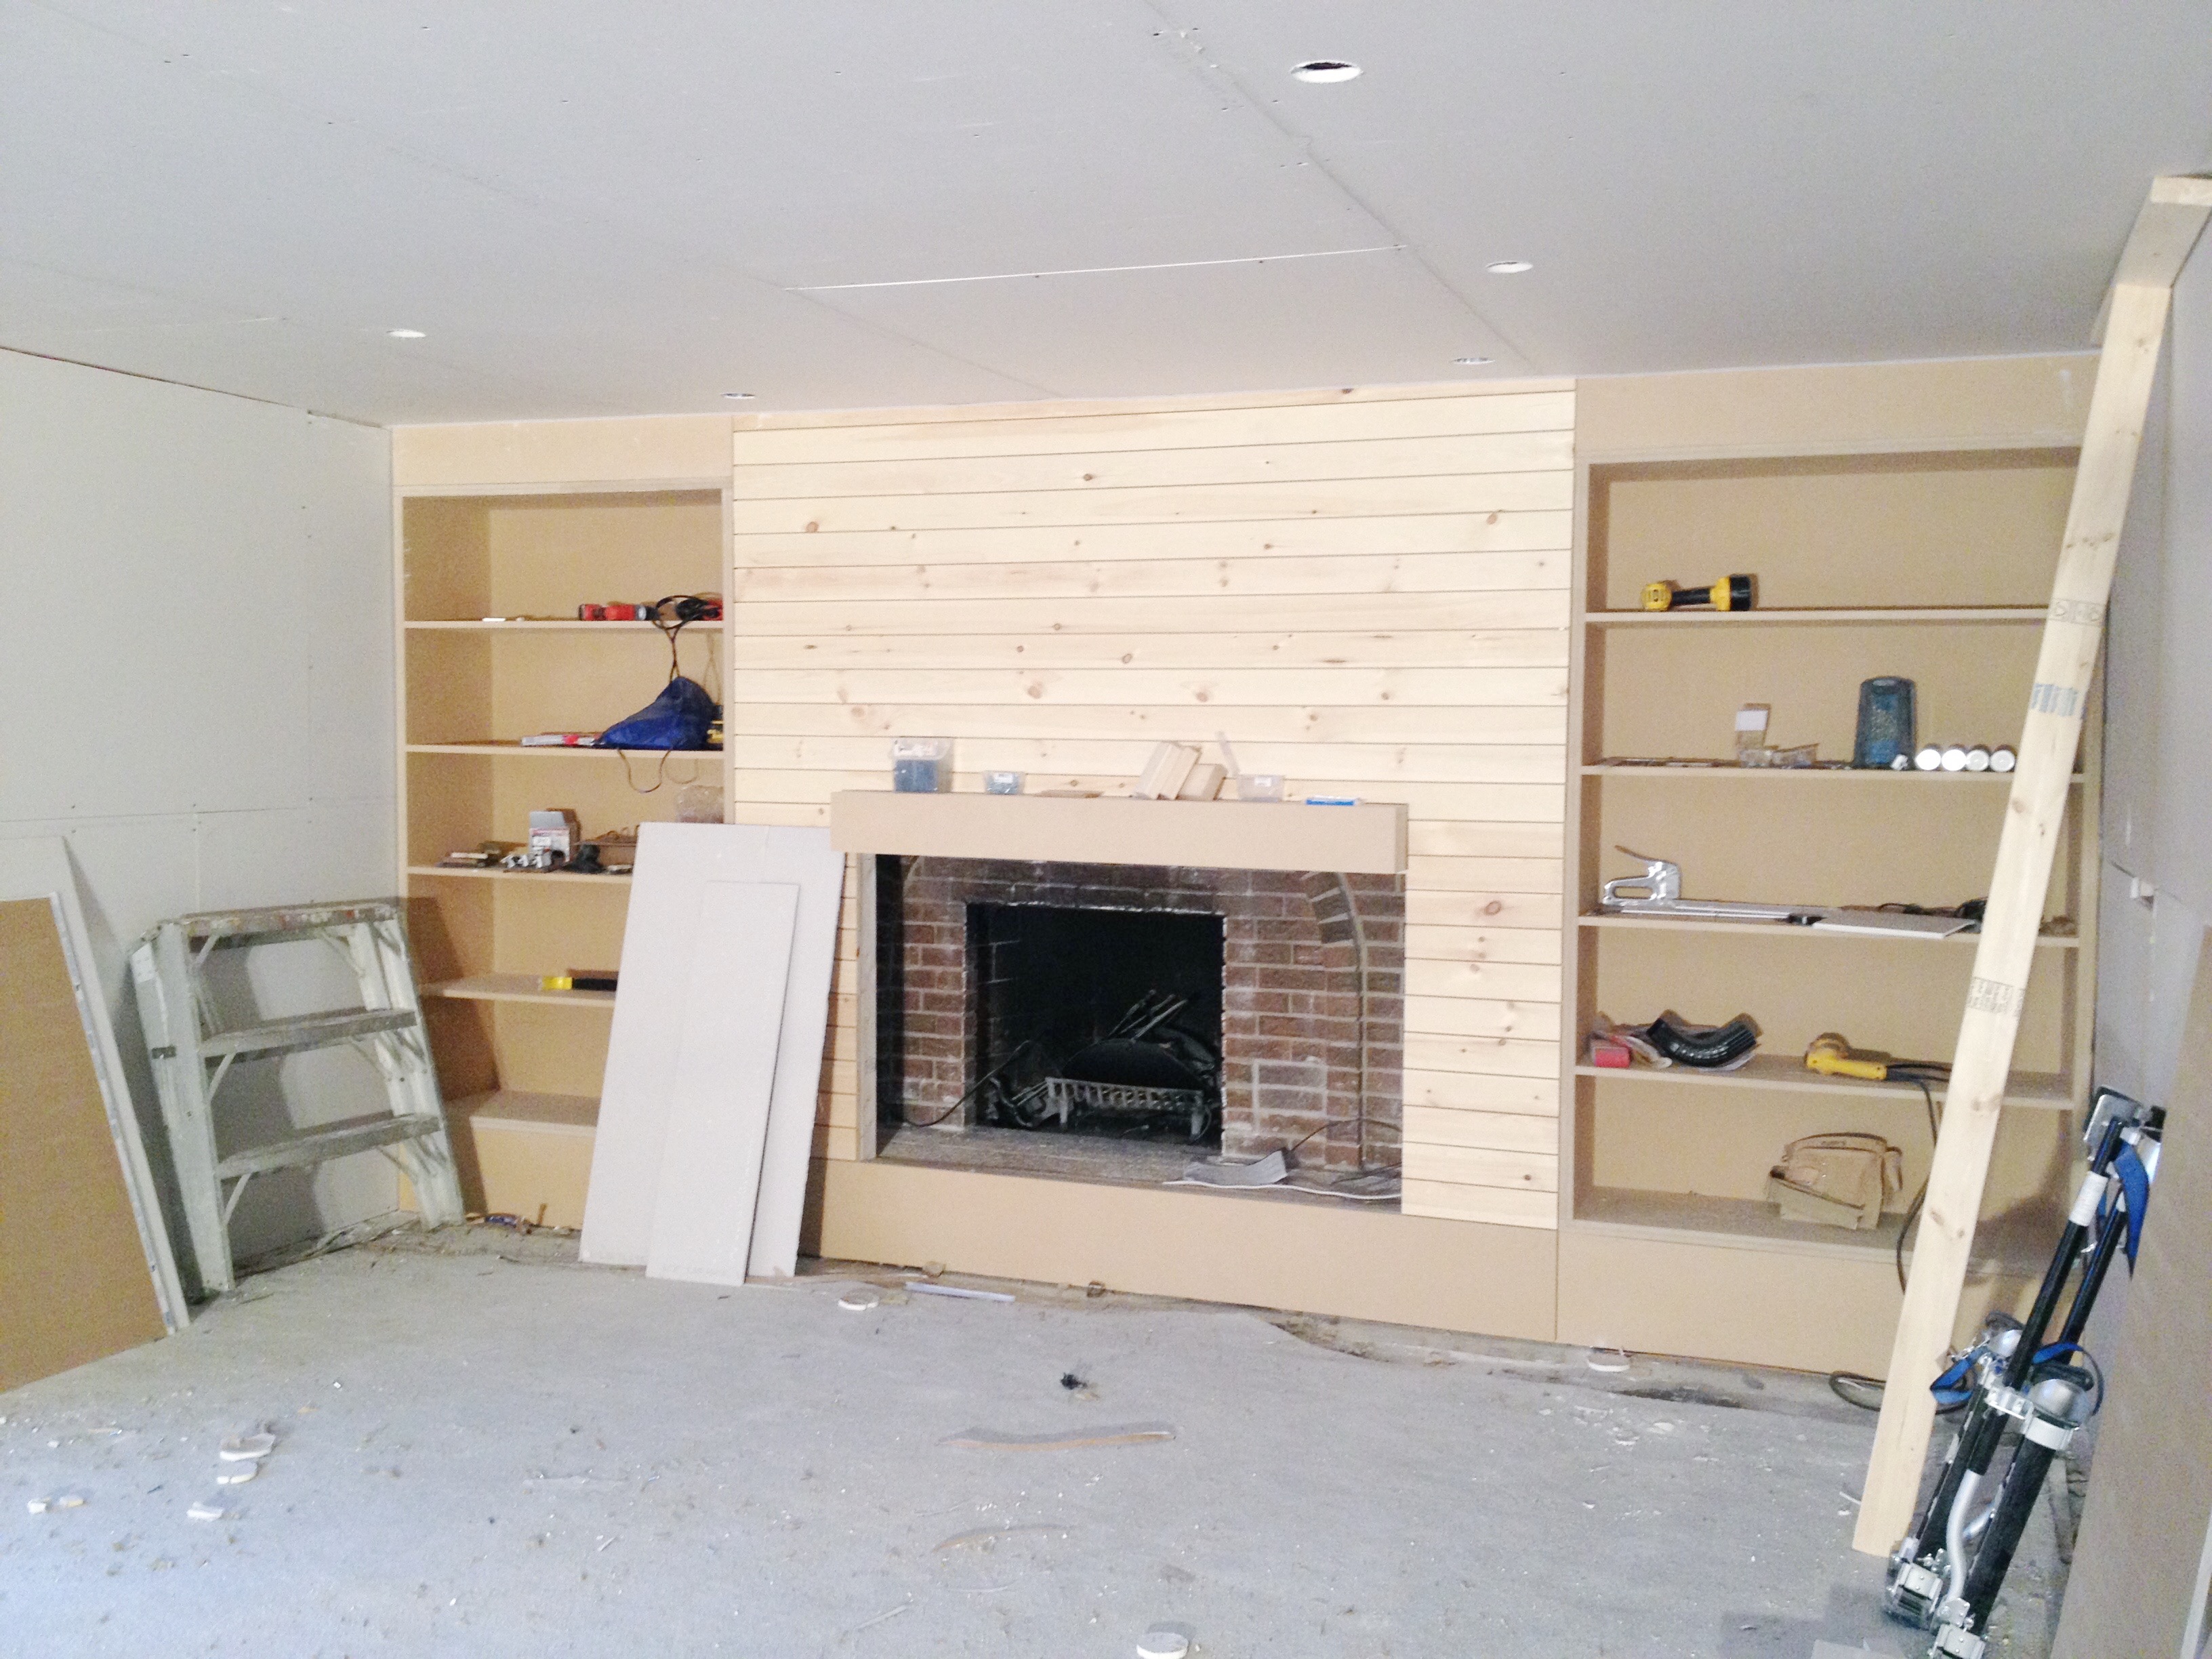
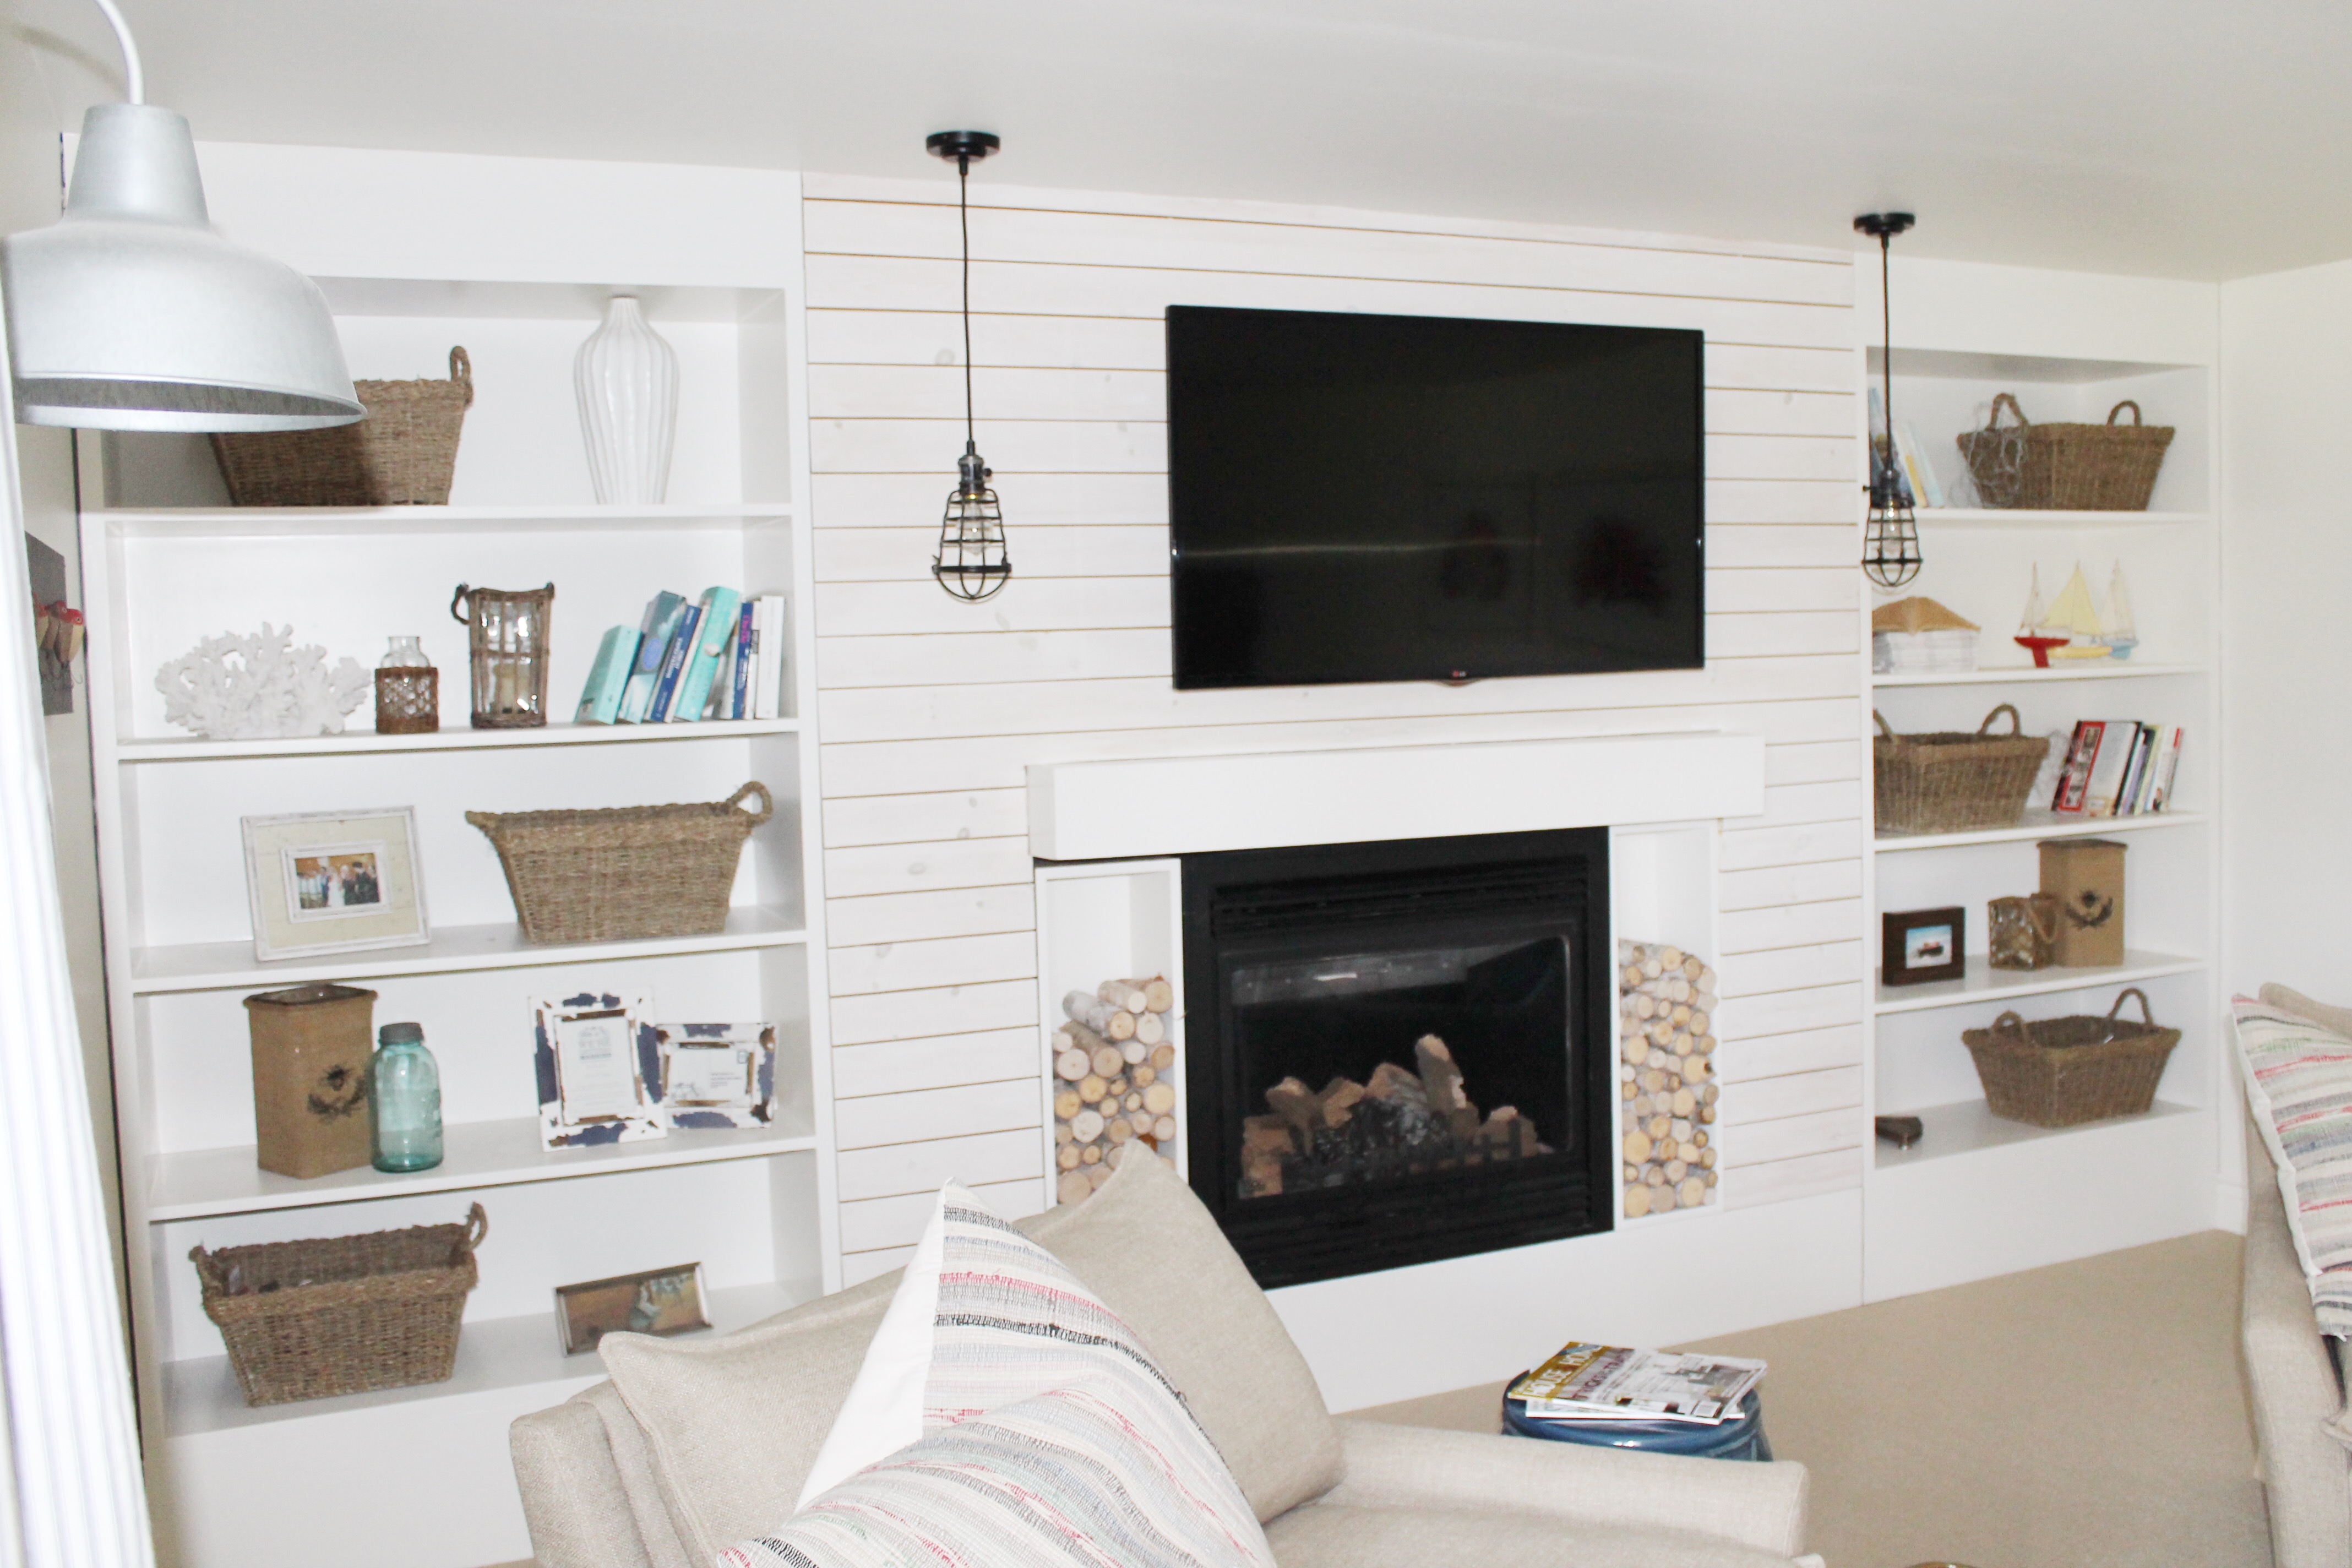
One more look at the before!

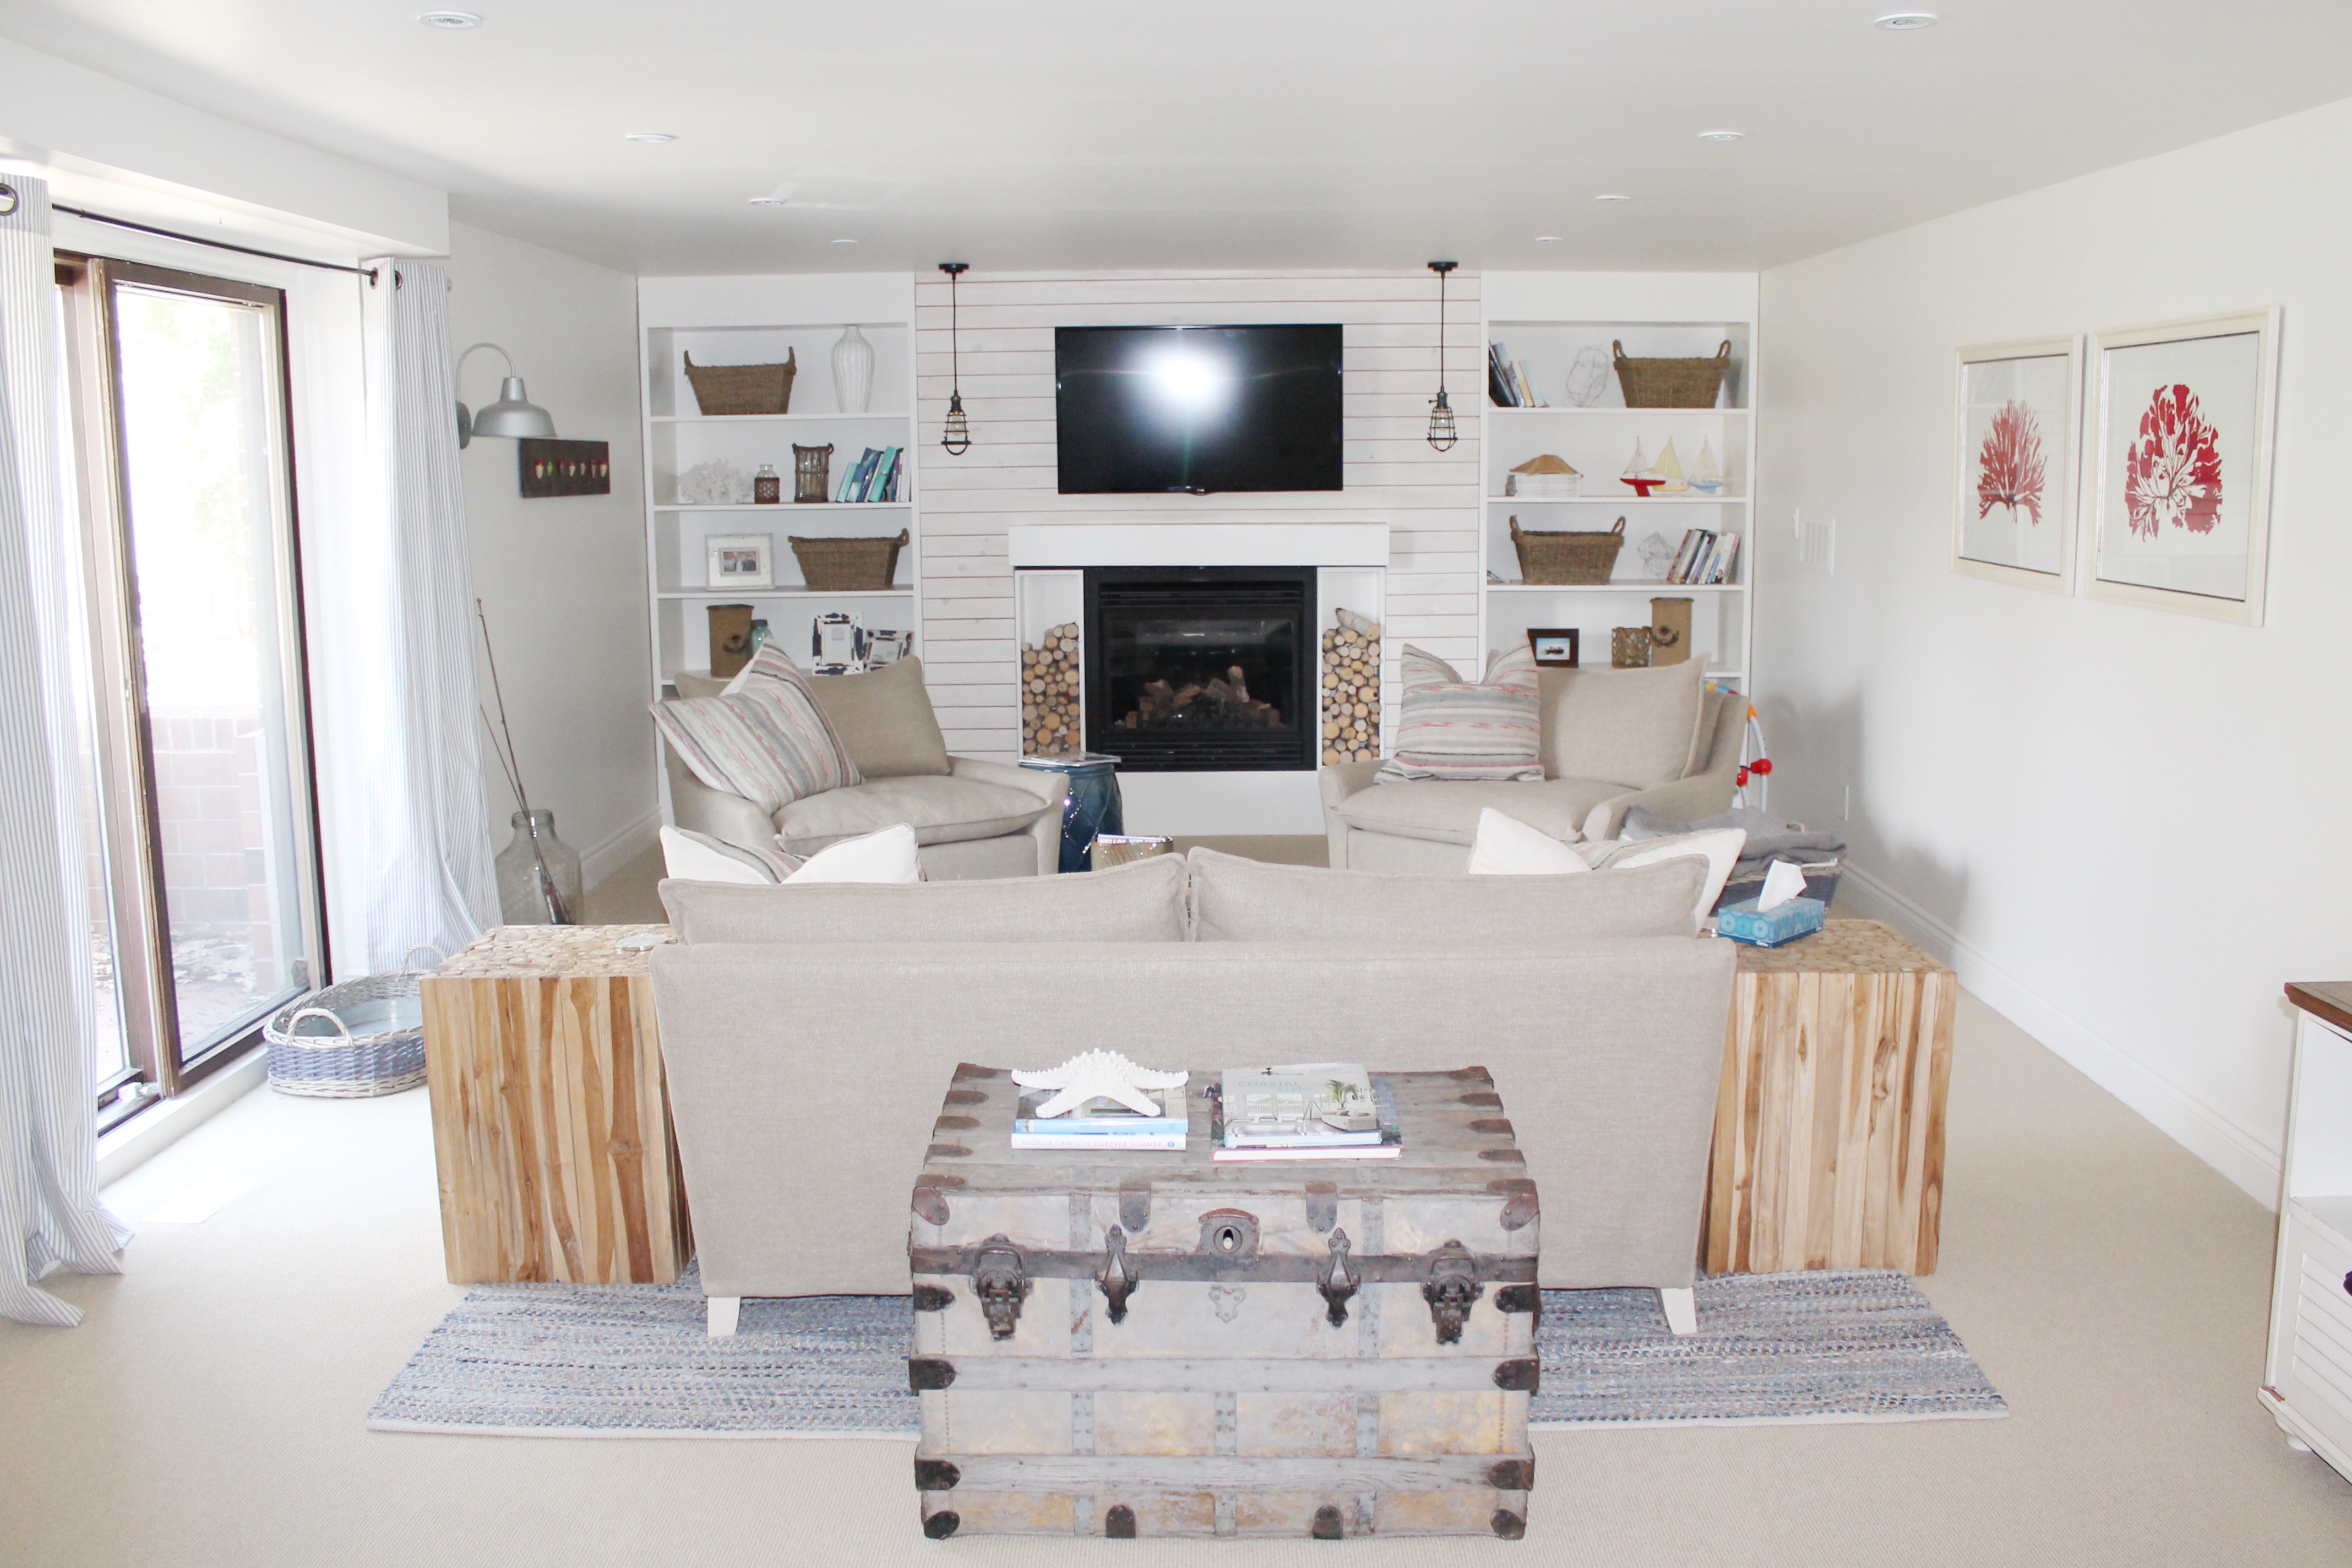
Please forgive that terrible t.v. glare! Seeing this big black t.v. in these photos of what WAS a perfectly white space had me enclose the t.v. in the next renovation, and then completely get rid of it in our current and I love being t.v. free! (k will still have a t.v. but it’s hidden! Win for the wife!)
Exterior
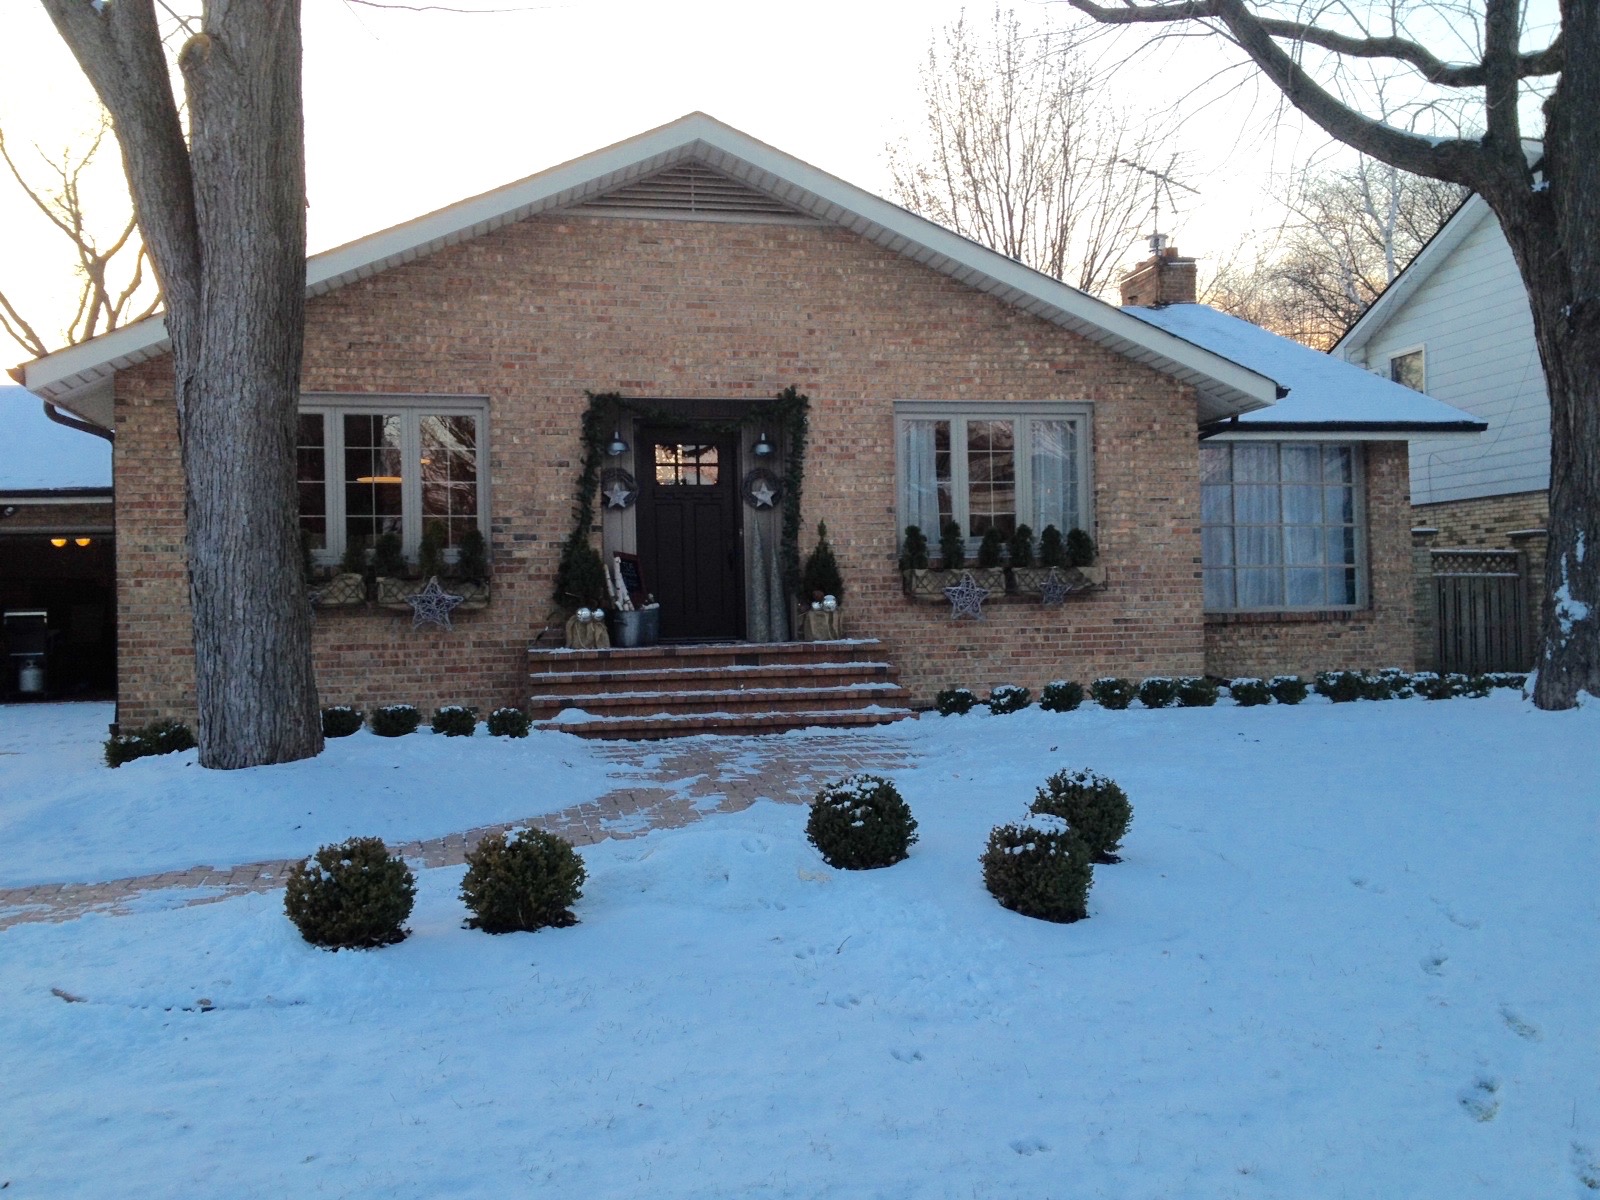
Ooh I almost forgot to share an ‘”after shot” of the exterior. We replaced the windows, and the door. Replacing your front door is the number one thing you need to do if you’re house is dated! This one is in stock at Home Depot and super affordable;)
Can’t wait to share the next home with you, Colonial Revival Reno, but if you can’t wait I’ve already blogged its Kitchen! so have a look!
I’d love it if you’d subscribe…we have soooo many more transformations to share!

I just love that you guys are teachers like me. I want you to be my blogging mentor 🙂 I love the banister transformation the most. We are going to replace our floors and they won’t match our current banisters. We are debating what we should do about that. Paint them? Replace them? We have a post coming up this week or next with inspiration. Would love to know how hard it is to start over. We have LOTS of railings!
Here are our railings if you have any advice
http://www.ourcorneroftheworldblog.com/get-to-know-our-main-floor-and-see-how-floors-affect-everything/
Hi there – love what you did to cover up the big flat brick fireplace. We have 2 of these in our home! Did you put a fake insert or a gas insert? I can’t really tell from the picture what you did there. thanks
Hi thanks! We used a real gas insert. It was a model that allowed you to vent it through the chimney but didn’t have to be sitting in the chimney since our fireplace wasn’t centred originally. Just have the dealer come out and let you know your options!
I already sent a comment, but I’m not sure if it went through! I’ve had issues with that before. Basically, as a fellow teacher and home blogger, I have so many questions for you! Right now, I’d love to know more about how you changed banisters. It seems like a really hard thing to do. We are going to need to do something with ours after we install hardwoods on our main floor that have a different wood tone. I’ve thought about painting, but replacing might also be an option depending on cost. Here is what we are working with if you have any advice:
http://www.ourcorneroftheworldblog.com/get-to-know-our-main-floor-and-see-how-floors-affect-everything/
Hi Jalene,
great question. In the renovation that I just posted we had old railings and carpet. So the railings were removed and carpet. We put down new hardwood floors and then installed railings. You’d have to have the person installing your railings let you know if they could do that in your already existing holes-if you removed your existing spindles.
In another renovation we simply sanded the stair treads then stained them to match the floors and sprayed the spindles, handrail in white. You can see those stairs if you search Farmhouse Kitchen Renovation.
Hope that helps and thanks for your comment!
Thanks! Sorry for the double comment!
Leslie, Wow…when “everyone else” is opening up this wall, that wall, every wall….you closed those openings up ! And oh my…what a superb success! Who would have eliminated the arches – not me that’s for sure – and the results are stunning…a great entry was born out of your gutsy move! And then….moving on the the family room opening to the basement…again I would have thought “no, no…that will close in the area, reduce the light, be all wrong”….and once again a brilliant change! Bravo to you! Enjoy seeing your posts! Dara
Hi Dara! Oh thanks so much! That was SO scary closing in those arches lol!! You’re are so encouraging…thank you! That was a fun house…I was looking for new projects yesterday and I don’t think I’ll come across a house that againg…I hope!! xoxo
We have a back split home and I’ve been struggling with how to open it up. I love how you opened the top floor to the middle floor with the railing. Our house has a solid wall there. My question is where is your attic storage? Our attic access is in our upstairs hallway wall and the attic is above the front of the house. I’d love to open our house like you did but we have the attic issue.
Hi Megan,
I think our attic access was in the master bedroom closet, so along the back of the house. We didn’t ever use it though. Our storage was in the lowest basement. This house was a 4-level backsplit. Hopefully you can figure out a great way to open your space up!