I am so excited that our renovation has gotten to this point and it’s Living Room reveal time! Woohoo! We took possession of this 1886 Gothic Revival Home on July 21 and have been at it around the clock since! I define my style as airy, modern, and feminine and I wanted this home to embody my style. I don’t care what’s trendy or not. If I love it, then I’m going to include it. I’ll get into detail on the most exciting transformations in this space like the wainscoting, paint, and lighting!
If you followed along this summer, I showed you every single step of this project on my story. I wish I had more progress photos, but my phone crashed this summer and I lost a bunch…so sad!
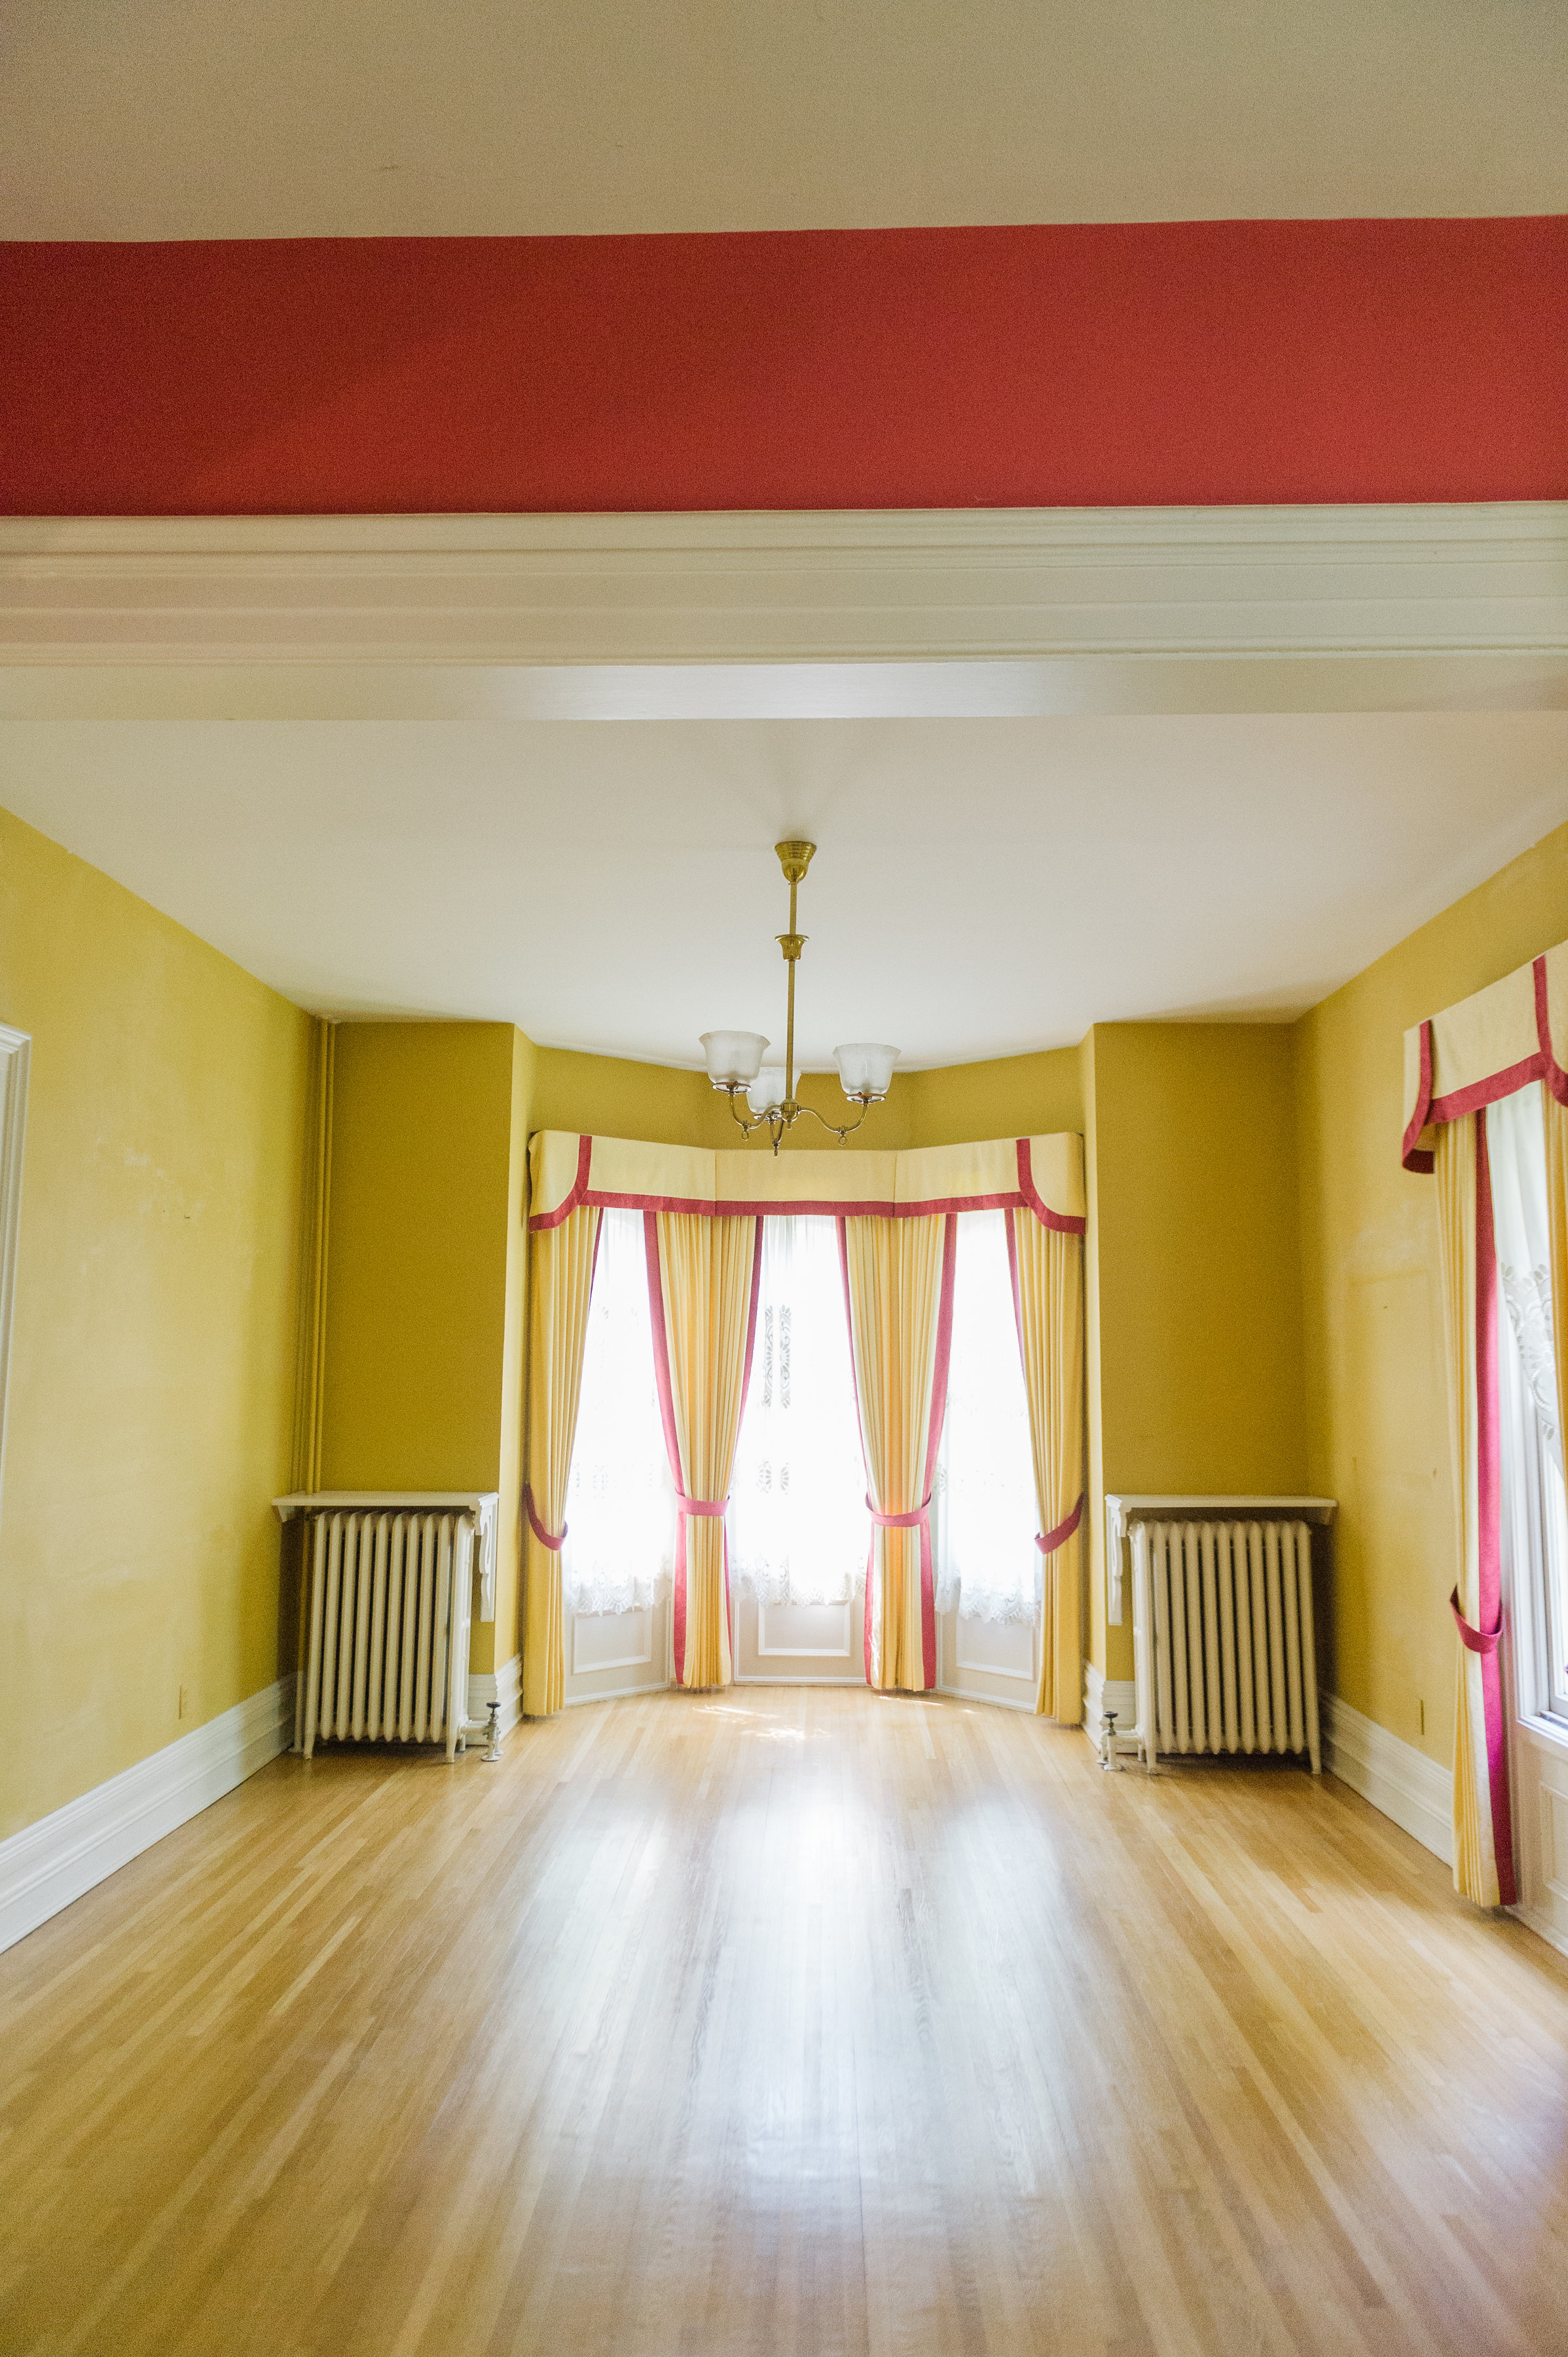
Here’s a look back at the space and then a couple of my favourite shots!!
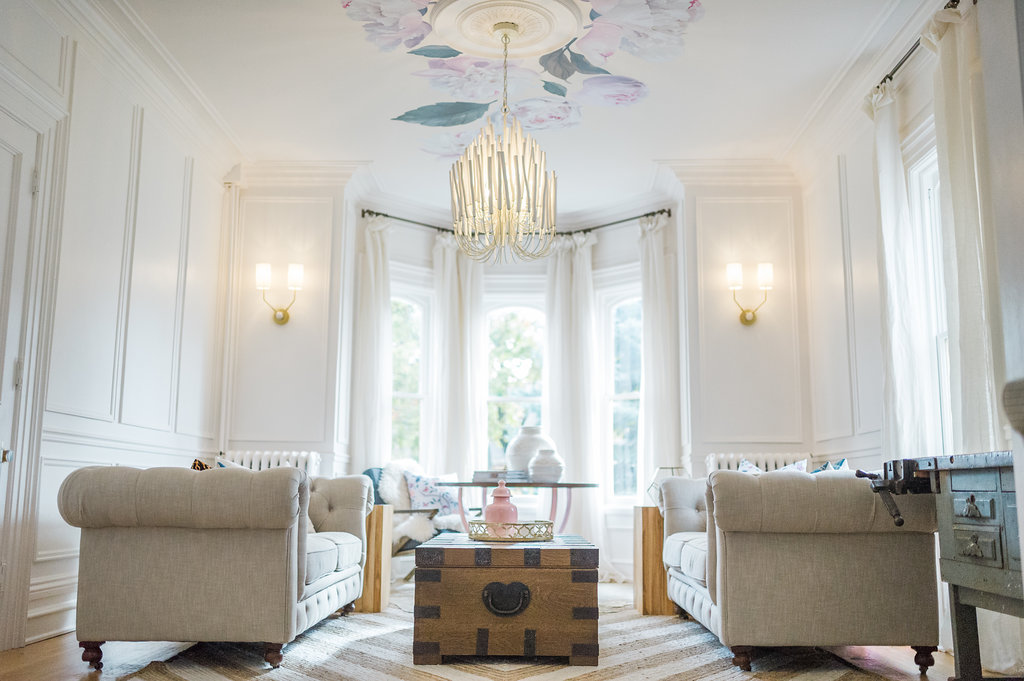
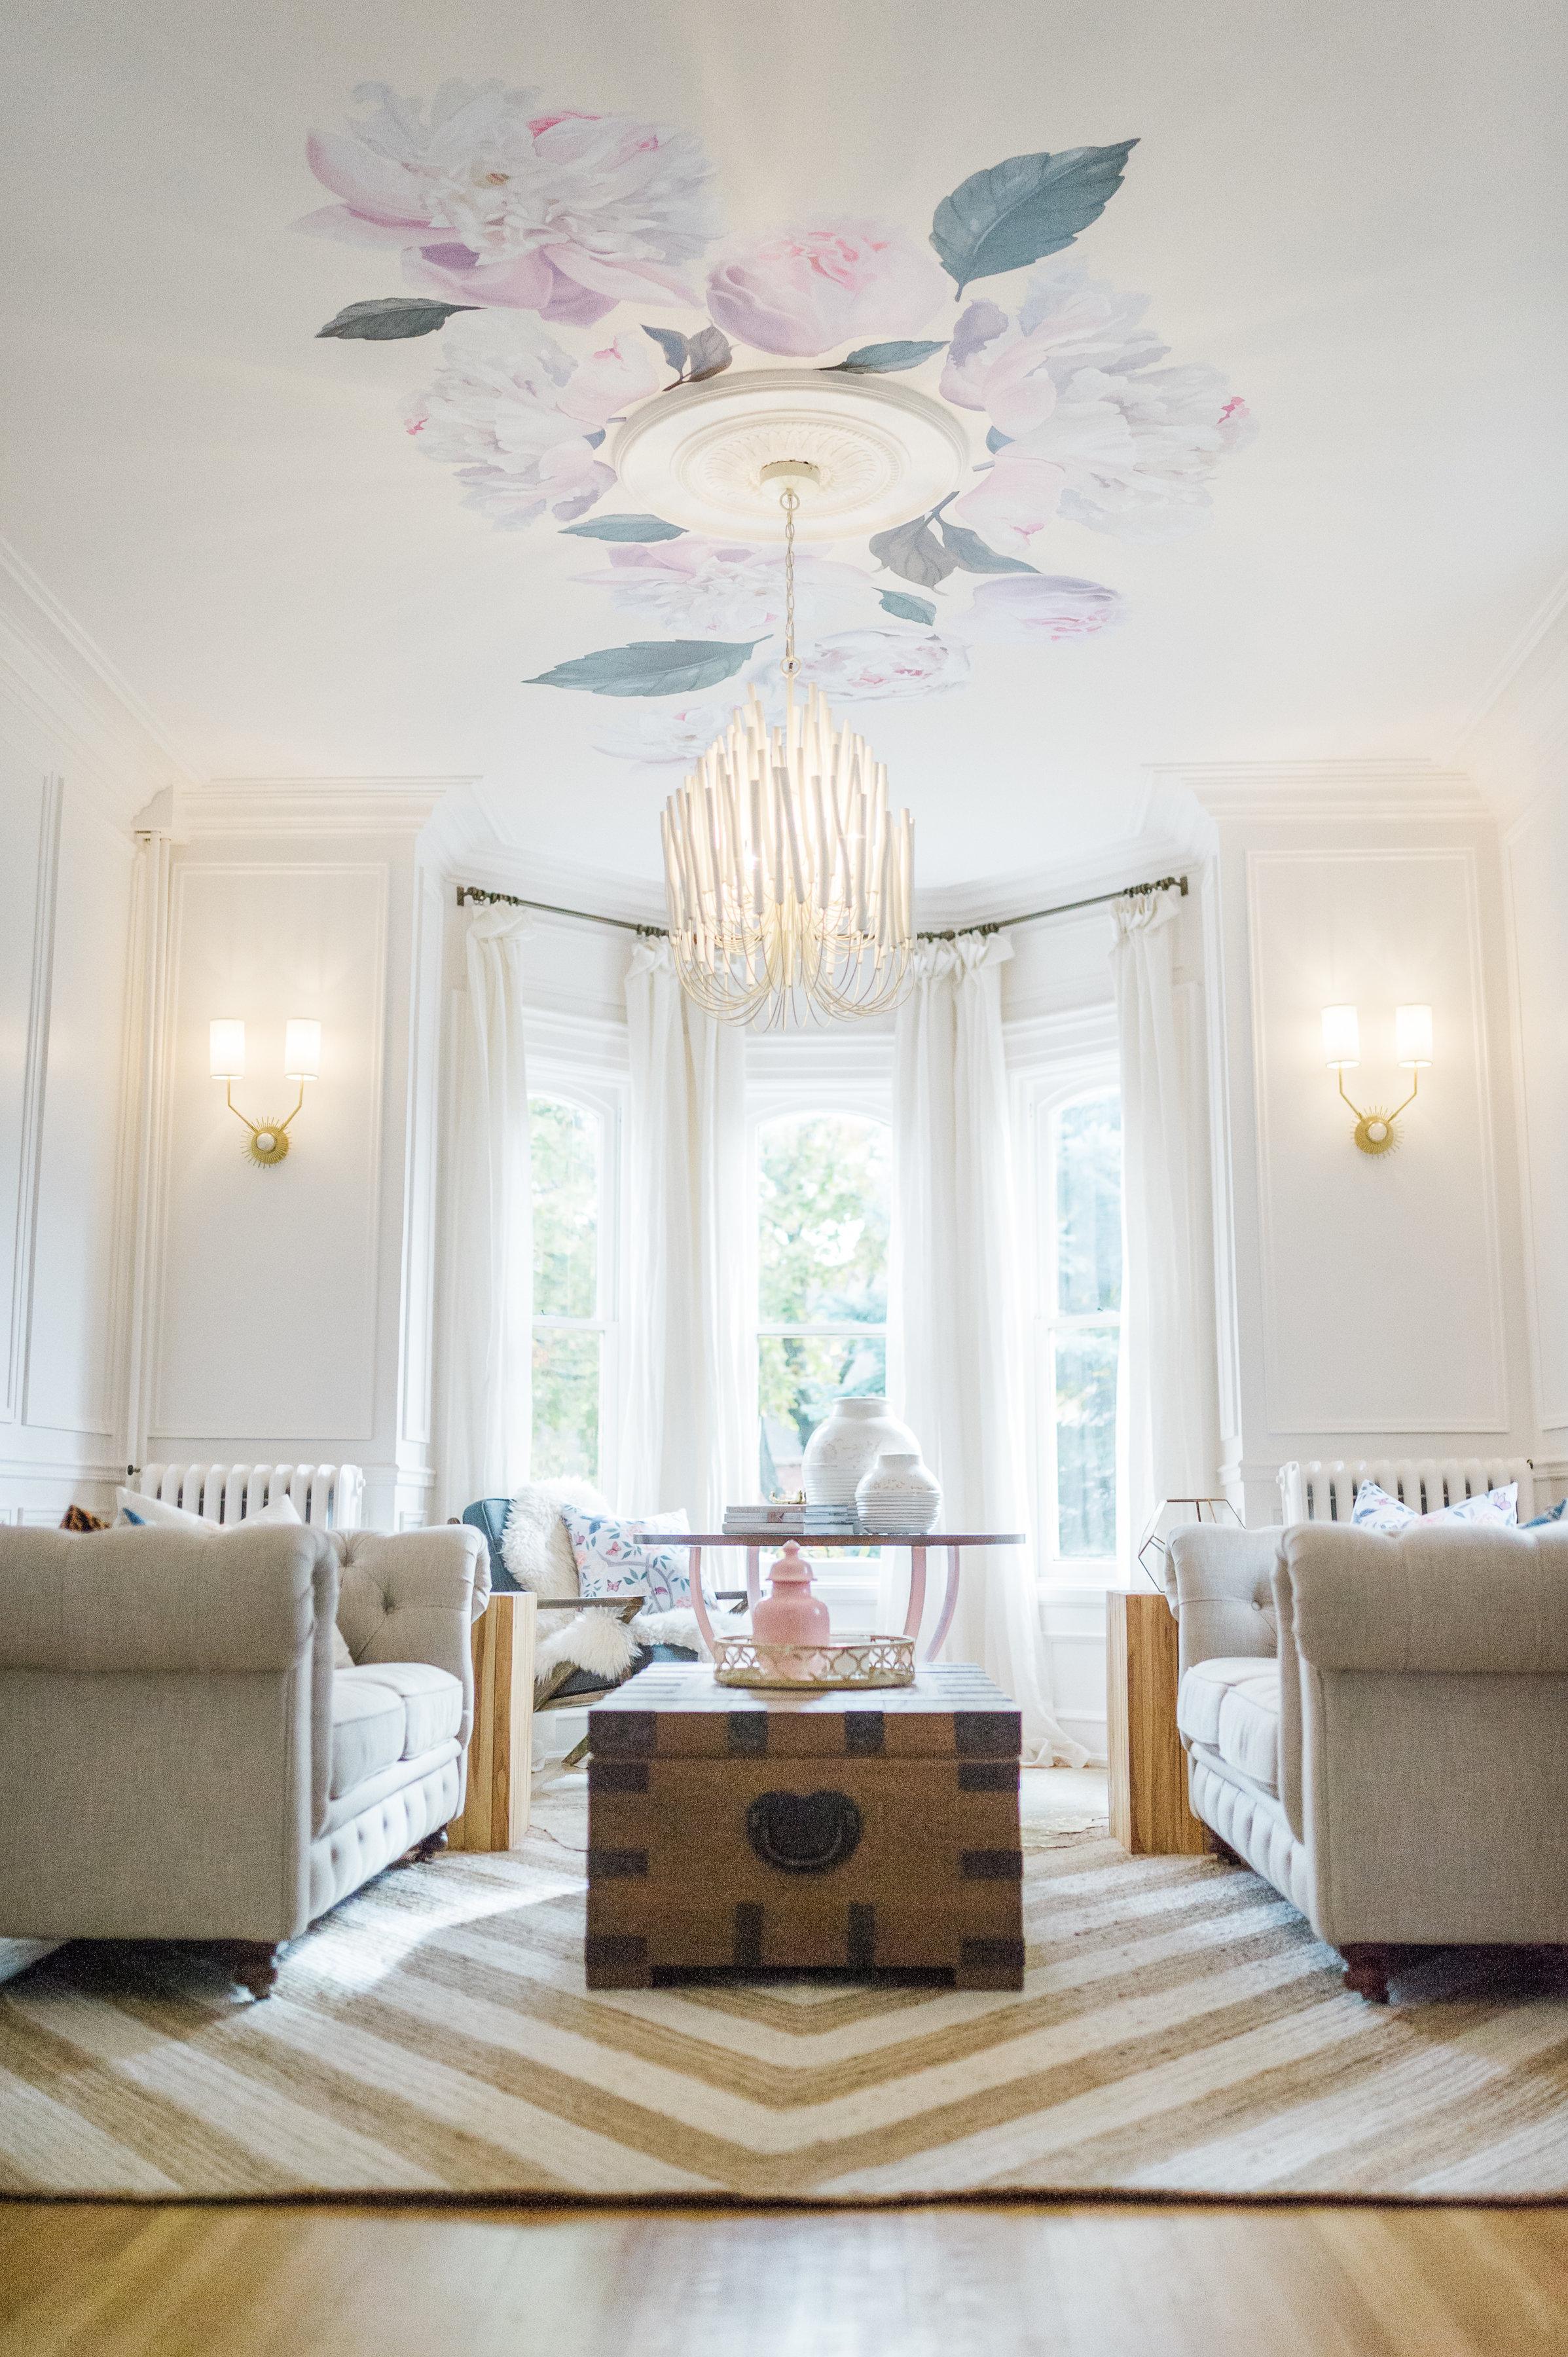
Wainscoting
If you look back to the before image, you’ll notice that the only trim in the space was the baseboard. I knew that trim would play a huge role in this transformation so I partnered with Metrie on this project. Metrie makes the most ahhhhmazing trim and so many of my favourite designers use them, like my favourite of all who is known for her epic trim, Christine Dovey!
I LOVE wainscoting (which is the “picture frame” detail on the walls). Traditionally, wainscoting is built out from the wall and the actual box is a recessed space. We did that type of wainscoting in our Colonial Revival Reno. Here’s a quick pic of that home to show you what I mean.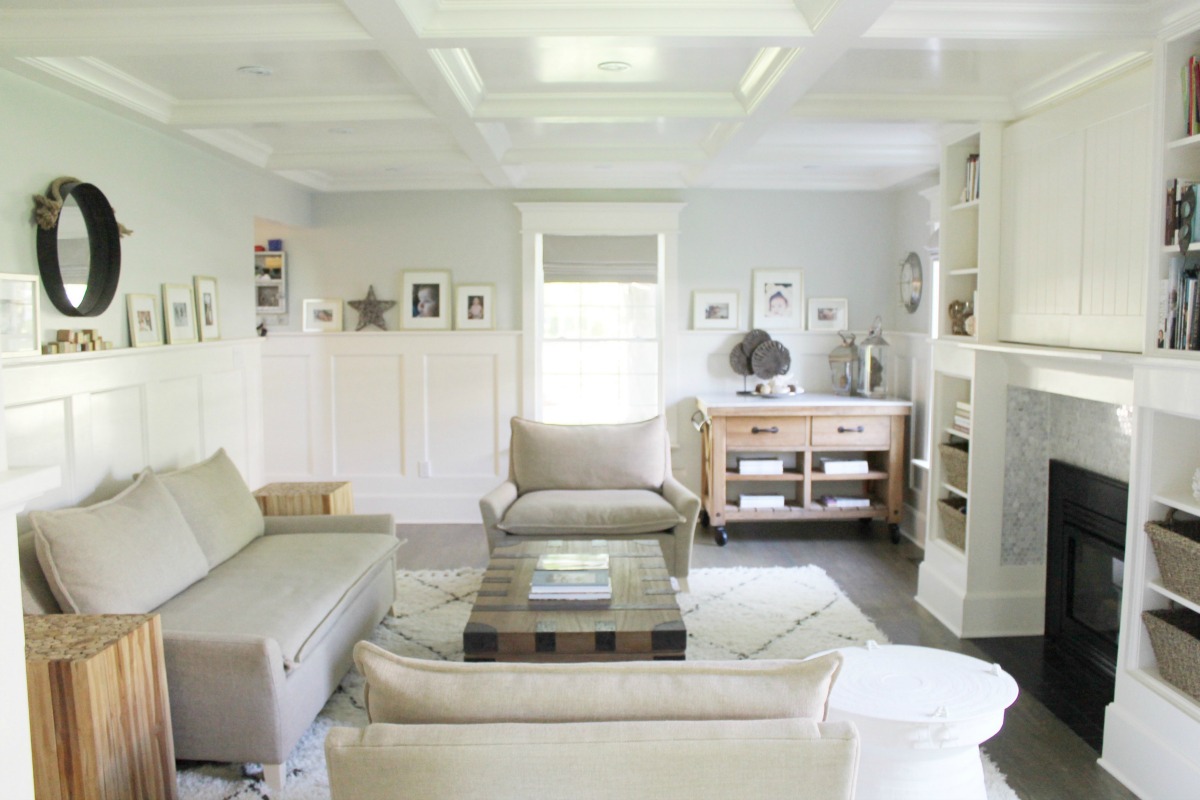
So to do that type of wainscoting, we would have had to pull off the baseboard and then put it back on over the flat stock. This pinterest image really shows how you would have your baseboard layered over the flatstock.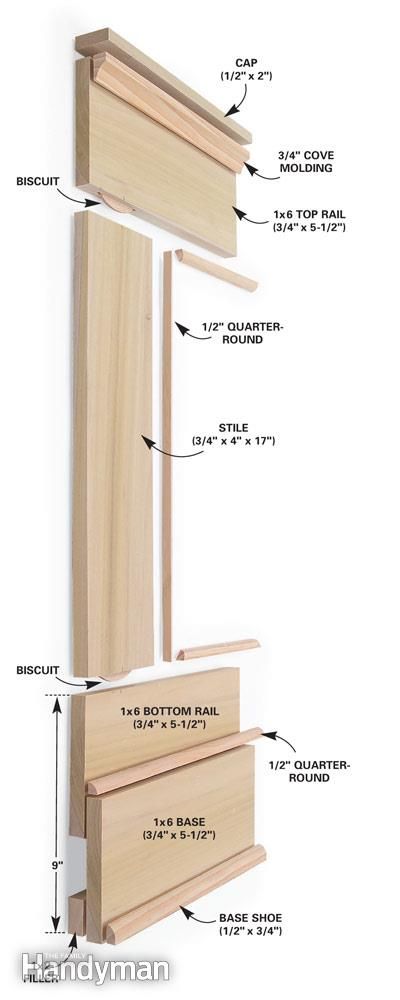
It’s a great look, but in our case we had incredible baseboard (really tall that I would never take off in a million years!) 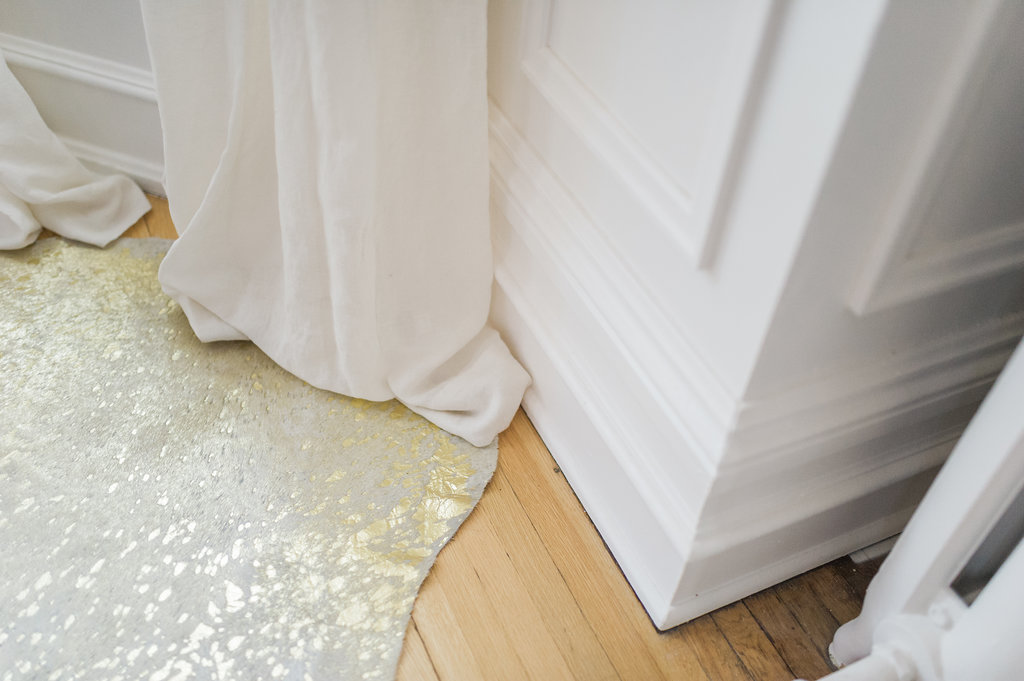 We chose to do the ‘picture frame’ style wainscoting. I love both looks, so there was no love lost! In our case, the picture frame style that we did feels more Parisian, which I love!
Modern Parisian on Main Street Inspiration
I called this home Modern Parisian on Main Street because I love the look of Paris salon style spaces and this home is on Main Street. I actually have a Pinterest board with a ton of my original inspiration pics if you’re interested! Just click here! The Pinterest board has a lot of variations of wainscoting that I pulled from to create our look. It’s my favourite board and I’m always adding to it, so follow along if you like this style!
Wainscoting Tips and Tricks
To achieve our look, you add a chair rail typically around 36″ from the floor, then add crown moulding. Then create your boxes between. To pull off the look you need to keep the spacing the same between the boxes. ***So the boxes can vary in width depending how many fit on a wall but the space outside the box (between box and baseboard, box and chair rail and between two boxes should all be the same. In our case it is 3 inches. That way everything feels perfectly balanced.  We did a cool addition to our crown moulding by adding another layer on the ceiling itself. (Again spacing it 3 inches between mouldings to keep harmony throughout the room.) I love how the second moulding makes the crown moulding feel twice the size! You can do so many fun variations by adding moulding to the ceiling! I actually did a full post about this ceiling if you’d like to learn more about how to add DIY drama to your ceiling! Just click here!

In case you want to re-create this look, I can help take the guess work out of the moulding selection, because there are so many profiles when you go to grab trim! All of our trim is from Metrie which is totally the go-to for trim for designers and available at most big box stores!



If you have any specific questions about how to’s ask me them in the comments and myself and get Matt Cornies (our contractor) can answer anything!
Paint
The most dramatic change in the space and the entire home, actually, came from paint. I’ve gotten a lot of questions about the paint. The entire house was done is Canadian Tire Premier Paint, in Snowy Owl.
In the case of this room, I used Satin on everything except the ceiling, where we used flat. Normally I would say to use semi-gloss on the trim work but because we went all the way to the ceiling and the room gets a ton of sunlight we used Satin. However, in most other cases you would use semi-gloss for wainscoting and we did that in the family room and for all of the trim throughout. On the walls that weren’t covered in trim we used eggshell, and always flat on every ceiling.
We have loved the paint and the white I chose. Snowy Owl, is the most amazing white I’ve ever used! I’ve used Benjamin Moore Cloud White and Simply White multiple times and I love this one more! It’s creamy but still really white.
Paint Tips and Tricks
Painting Trim
I always paint my trim in the same white as my walls. I have done that in every home and I have loved it every time. You see a ton of differentiation as a result of the different sheens. The semi-gloss trim really pops against an eggshell wall, but the feeling is very harmonious and cohesive…love it!
Painting Over Oil Paint
In our case, our trim was originally painted in oil paint. If you have oil paint you need to first sand your trim to get rid of chipped paint and to rough it up. We used a palm sander. Then you need to cover it in a coat of primer for oil paint. Whether or not the paint says paint plus primer, for oil paint, you need to take the extra precaution of a coat of the specific primer designed for oil paint, just ask the paint department. In a few rooms (before we got Tyler…our awesome painter from Fresh Coat) we didn’t properly prime and you can easily scratch the paint off with your nail.
Painting Over a Dark Wall Colour
The short answer is it’s going to take an extra coat. Whether you start with a primer or your paint with primer you’ll have an extra coat. So prime plus two coats of paint, or 3 coats of paint. The truth is you might even have a fourth coat. We only had that happen in one room. We had a room that was painted neon pink and it took 4 coats…we refer to it as our ghost because it still has a pink hue…lol!
However, we had incredibly dark navy and red walls in this home, and they took 3 coats. We just used the paint as our primer, except on the trim where we had to prime with the oil paint primer.
Tinting Ceiling Paint
Ceiling Paint is flat but you can get it in what’s called “ceiling white” or tintable. I get the tintable ceiling paint and have it tinted to my white, which is Snowy Owl in this case. I love the look! You have the same colour but a different sheen and it’s gorgeous and very harmonious.
Lighting
Honestly, lighting is always the driving force behind my renovations! Lighting is the first thing I start looking for and is usually the piece that my other ideas are based off of. Lighting is where I splurge and try to create a focal point for the room. In the end, the lighting is always the “oooh ahhh fireworks” in the room.
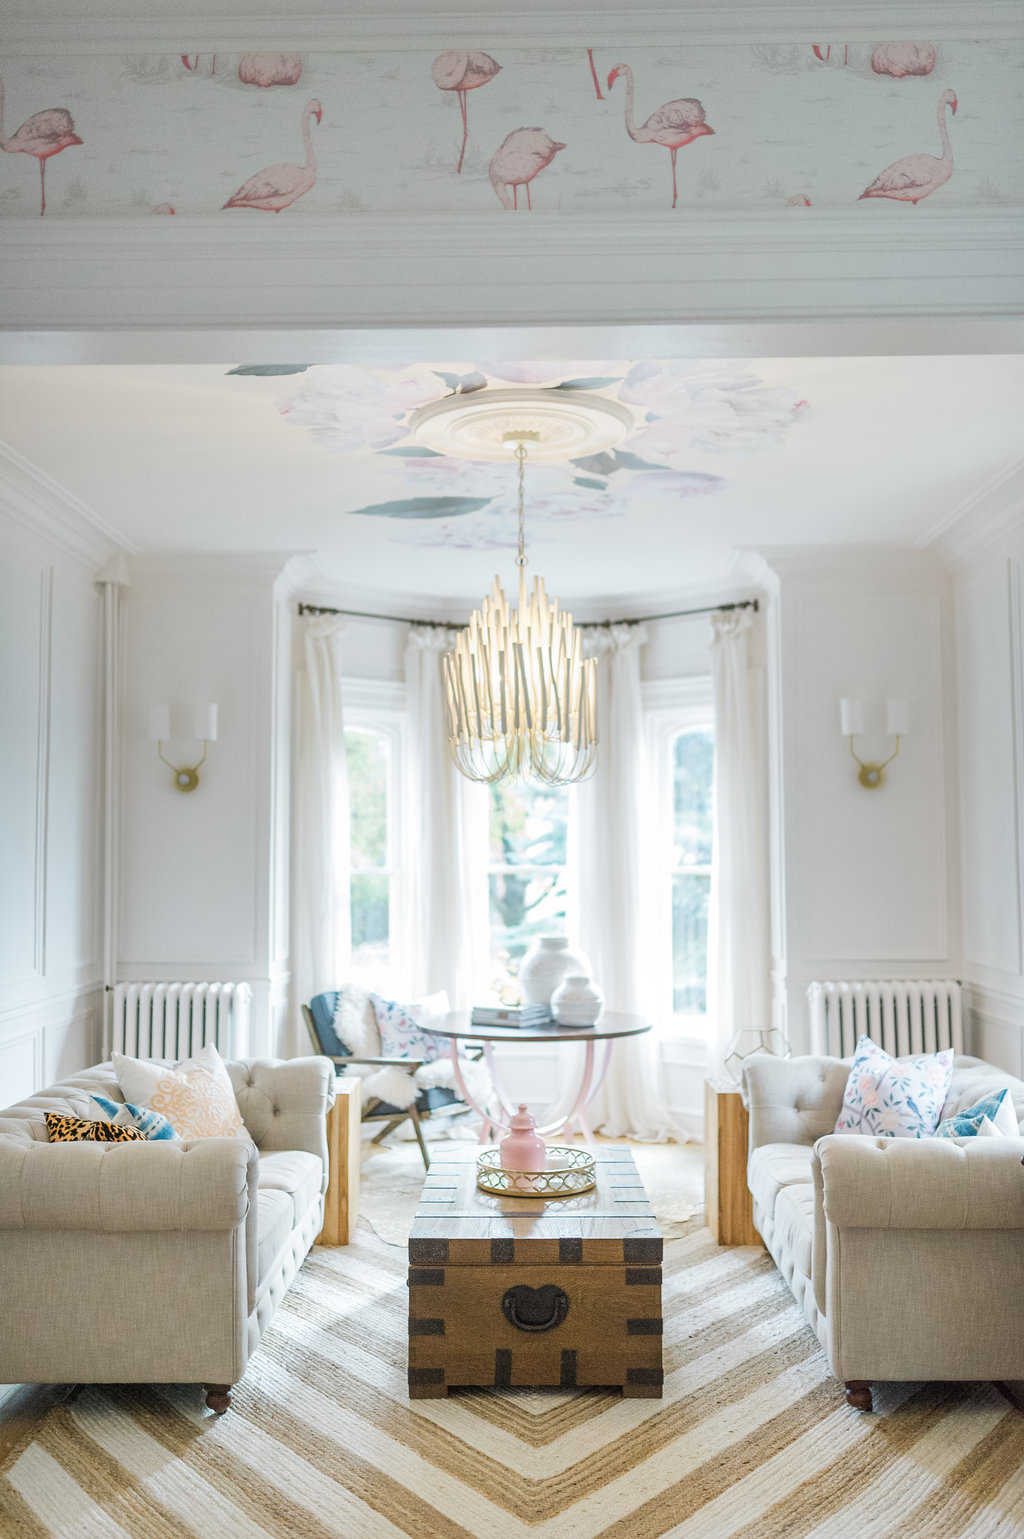
If you’re going to put money and time hunting somewhere, I suggest using it on statement lighting! It’s by far the biggest bang for your buck…I swear! If you don’t believe me, check out this before and after of my space, where does your eye go first?!
My Lighting Source
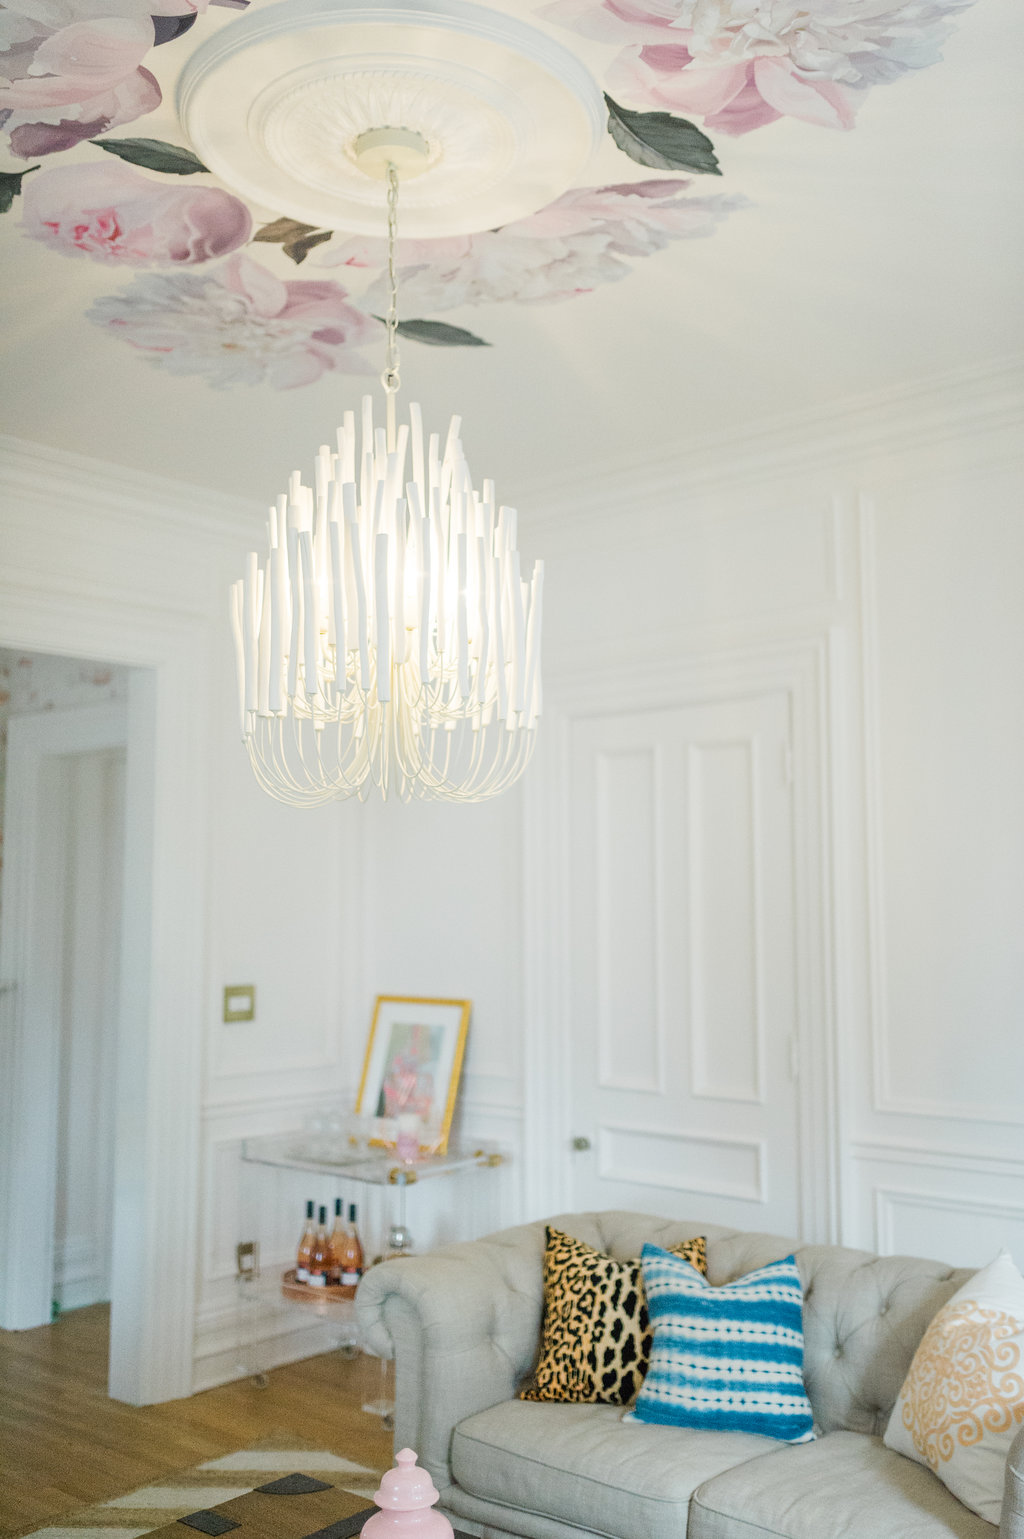
I’m not a psychic, but I’m pretty sure you noticed the chandelier first! I am so in love with the chandelier in this space and have actually wanted it for YEARS! I got it at Lighting Connection. I love Lighting Connection because they have every light that you could ever want and for the best price you can find!
I shared some of my favourite runners up for my light fixture along with a ton of details about the ceiling decals and the medallion in a recent post called 4 DIY Ceiling Ideas to Add Breathtaking Drama to Your Space….check it out if you’d like to recreate the look and see more photos!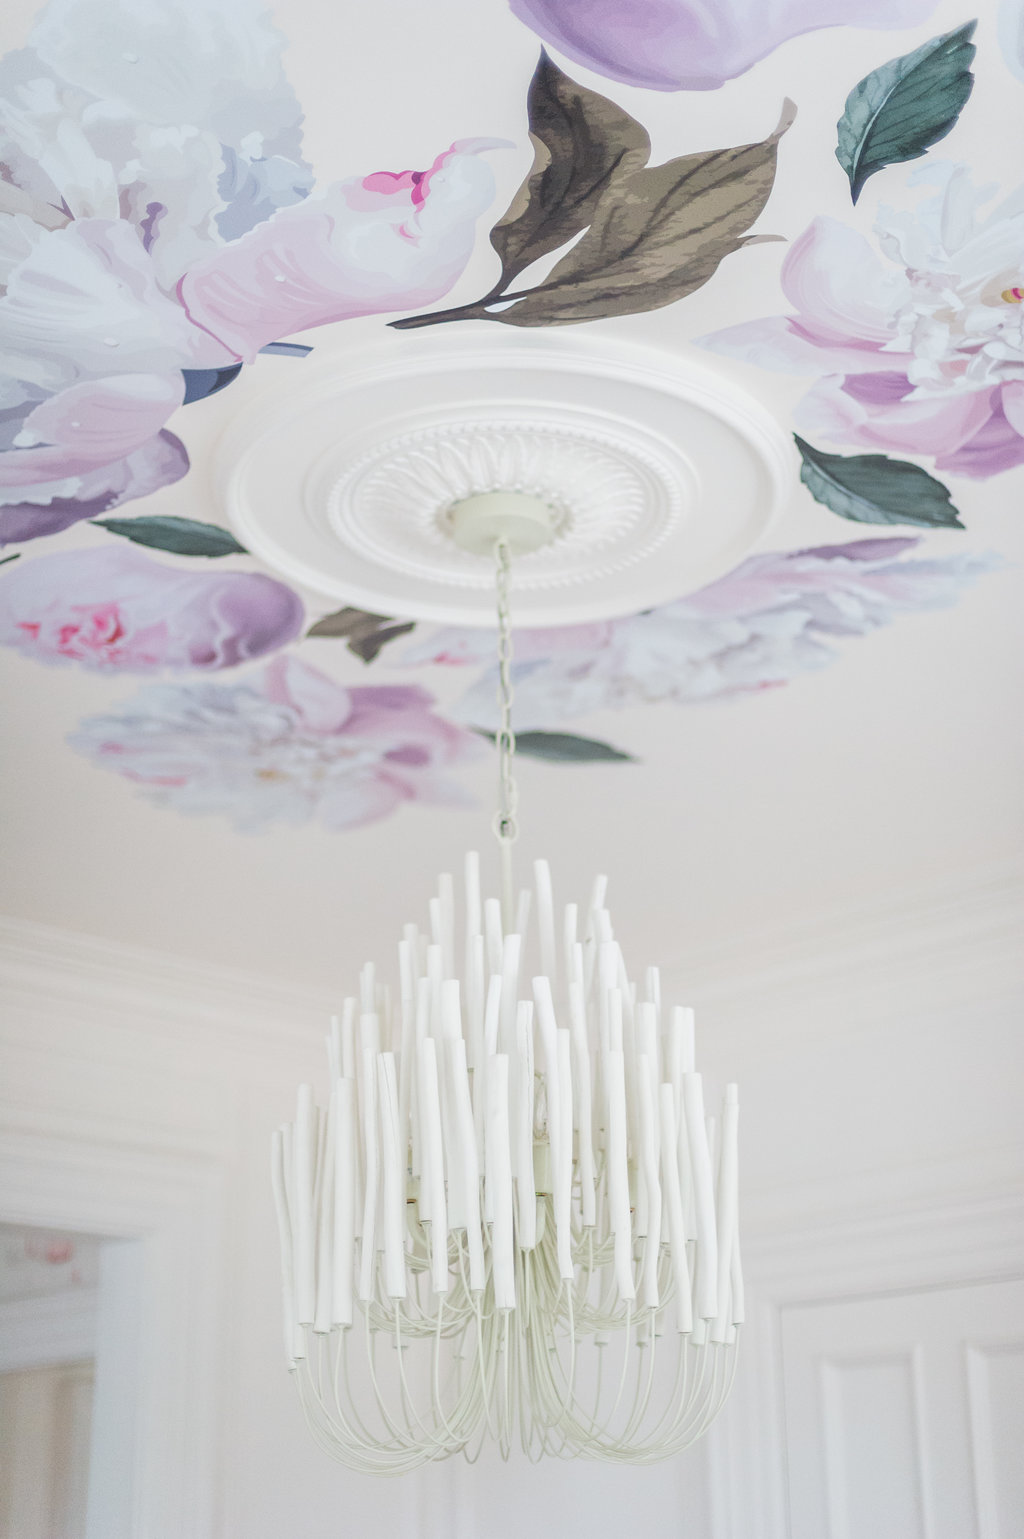
Sconces are also a part of my signature style…I used them in our last living room and bathrooms. I found these starburst sconces (pictured below) at Shop Candelabra. Here is a gorgeous close-up of the same sconce pictured in our family room. I used them in both spaces…spoiler alert!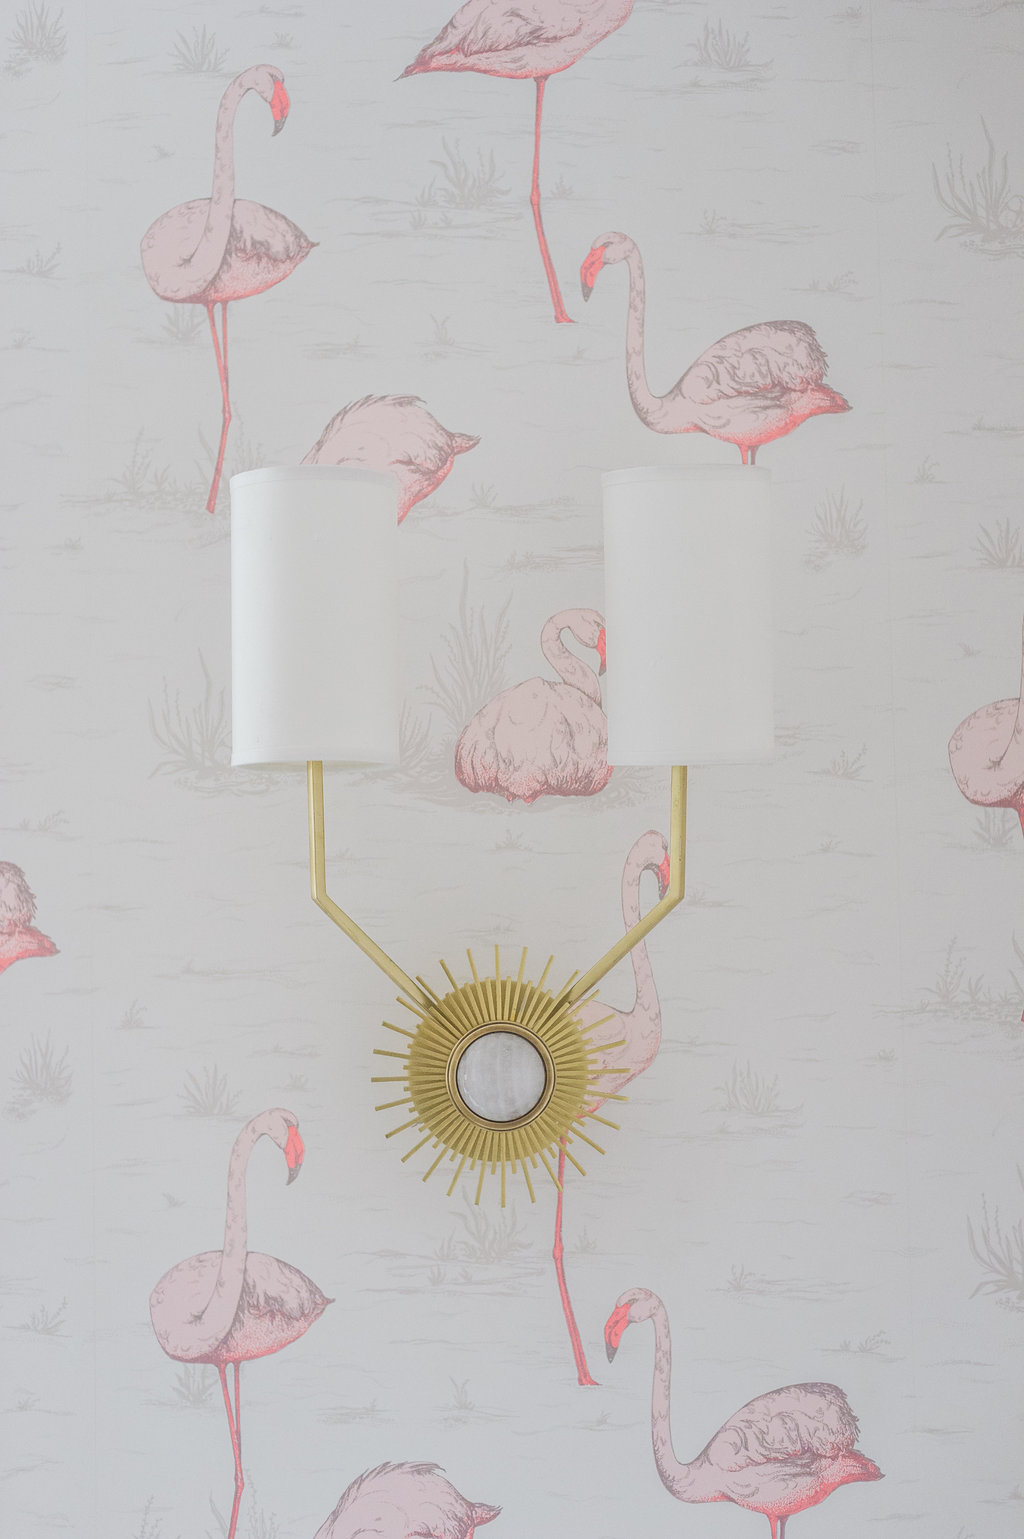
Details and Sources
Area Rug / Similar Sofas / Similar Coffee Table / Ceiling Wallpaper Decals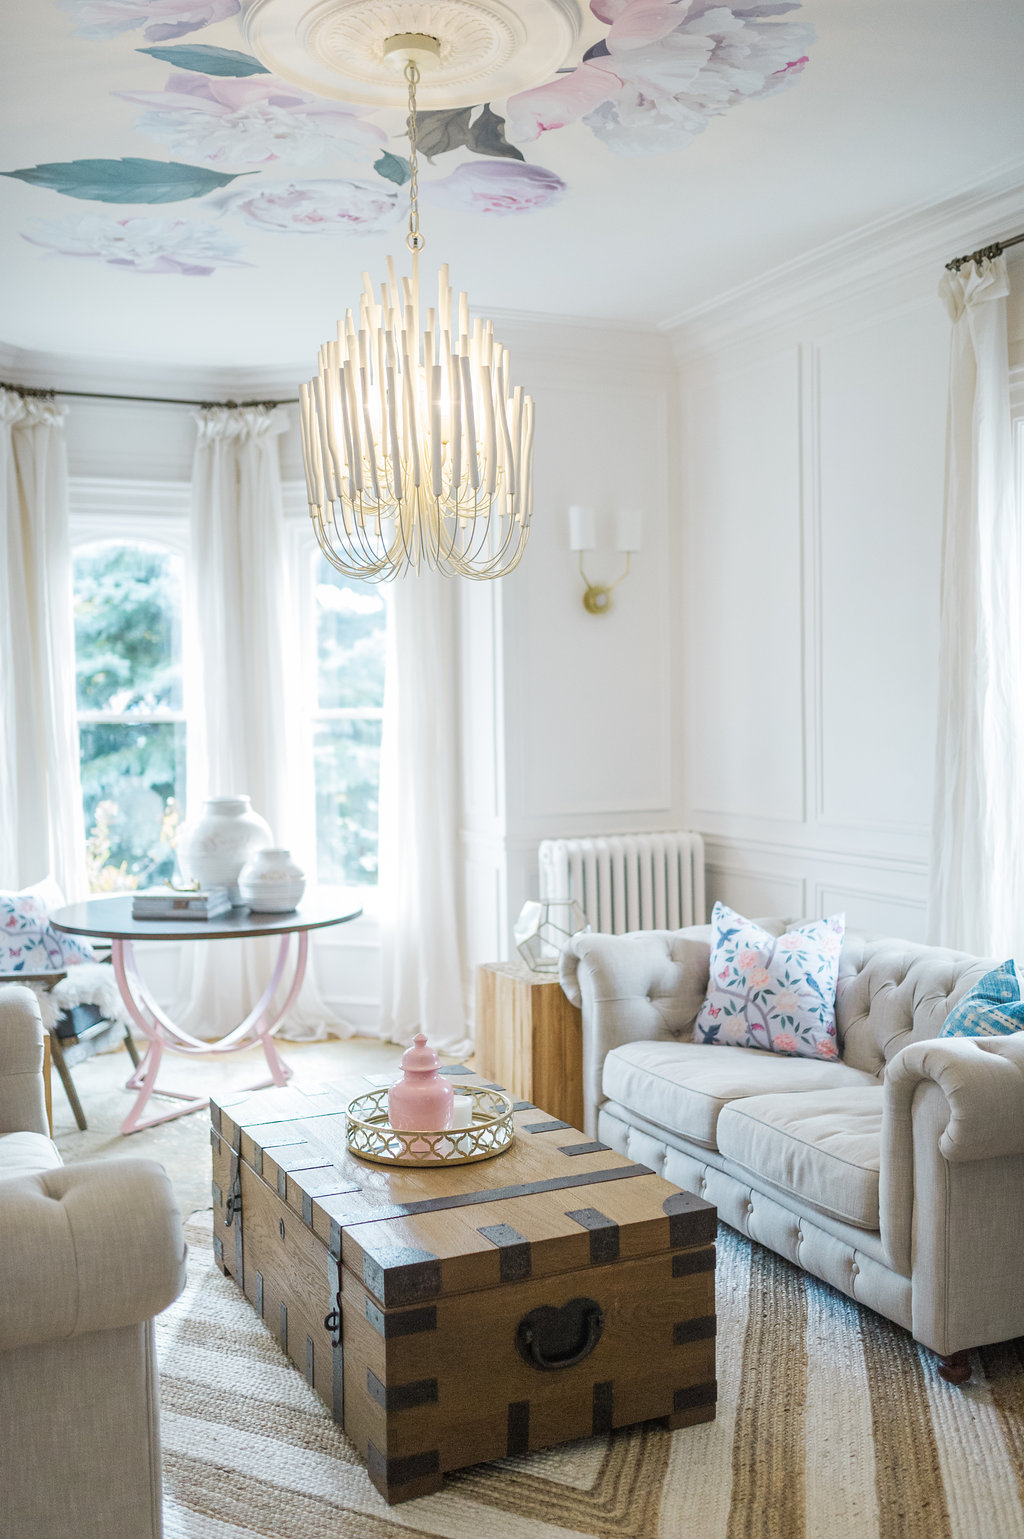
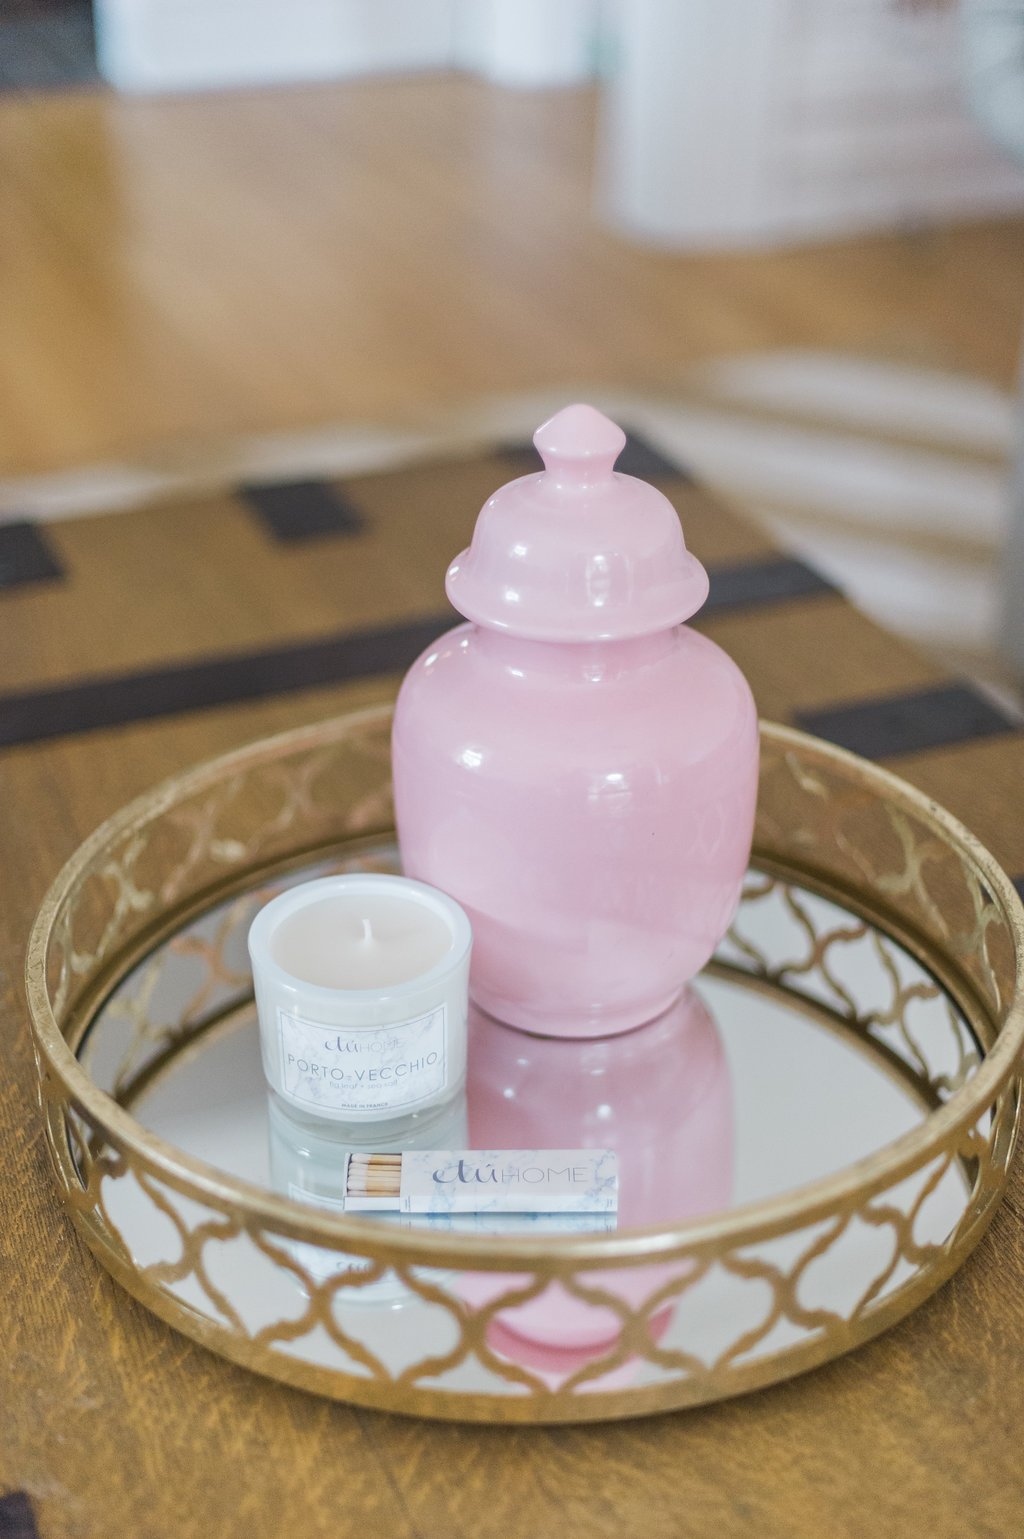
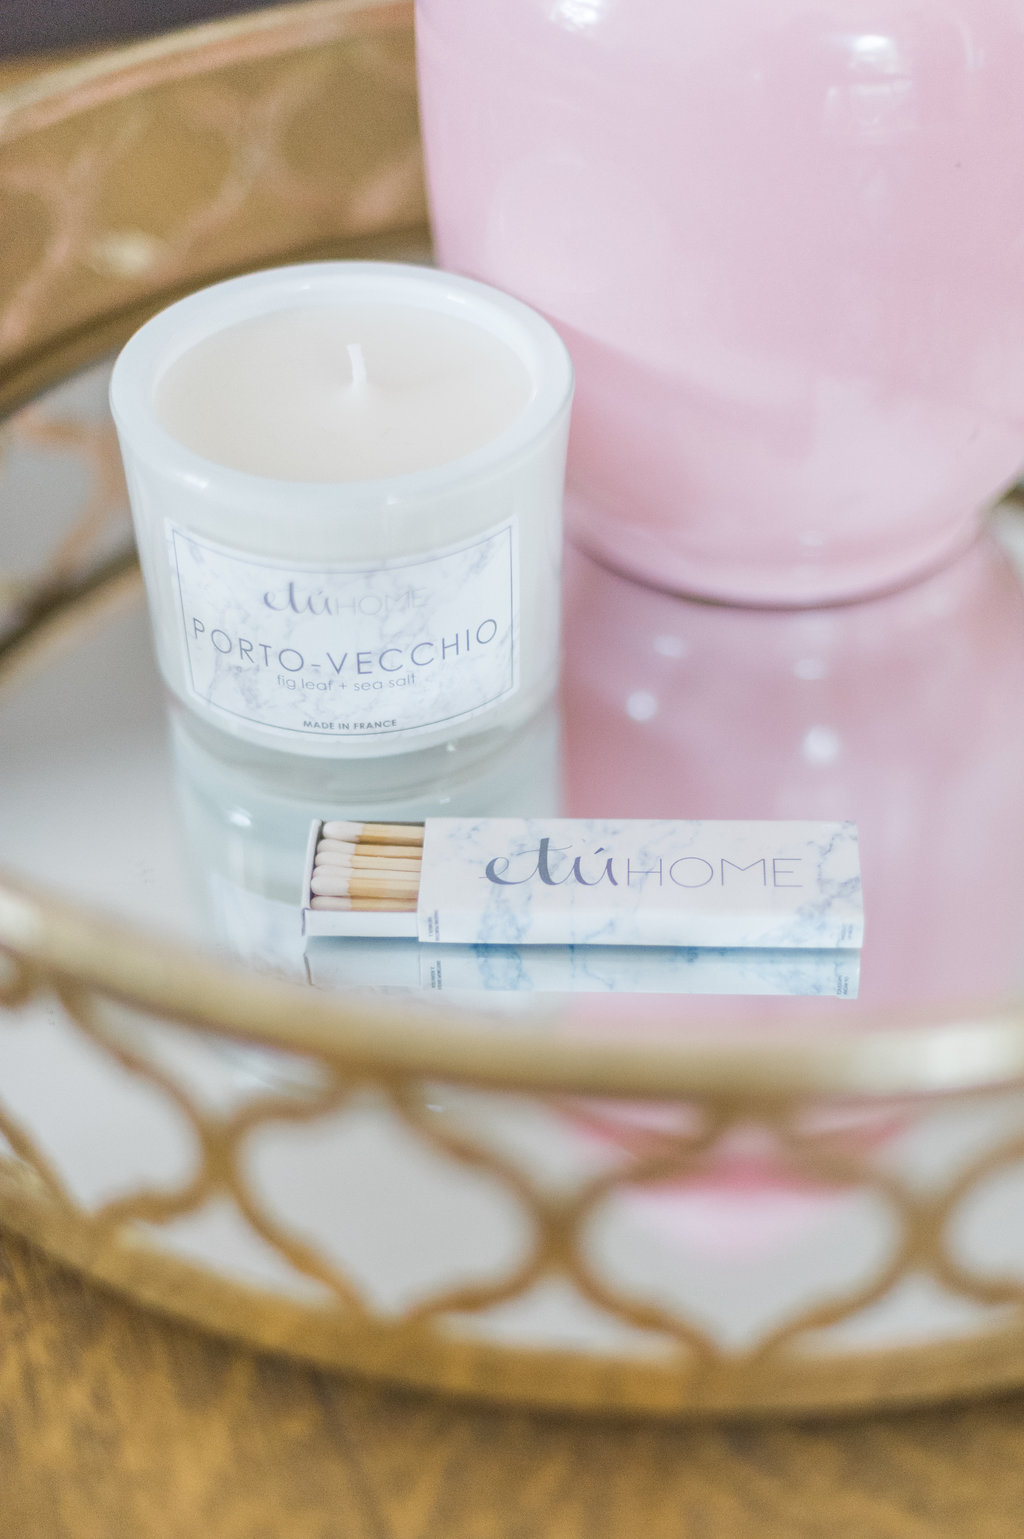
I freaking love this candle so much and if you need a Christmas gift…this is it! Made in France and smells like Heaven. They also have one called Aix-en-Provence and I lived there for a year in University, so it is my next purchase! You don’t even have to burn the candle for the scent to fill your house…obsessed. If I’m being honest, I actually want everything that etúHOME sells…you gotta check them out!
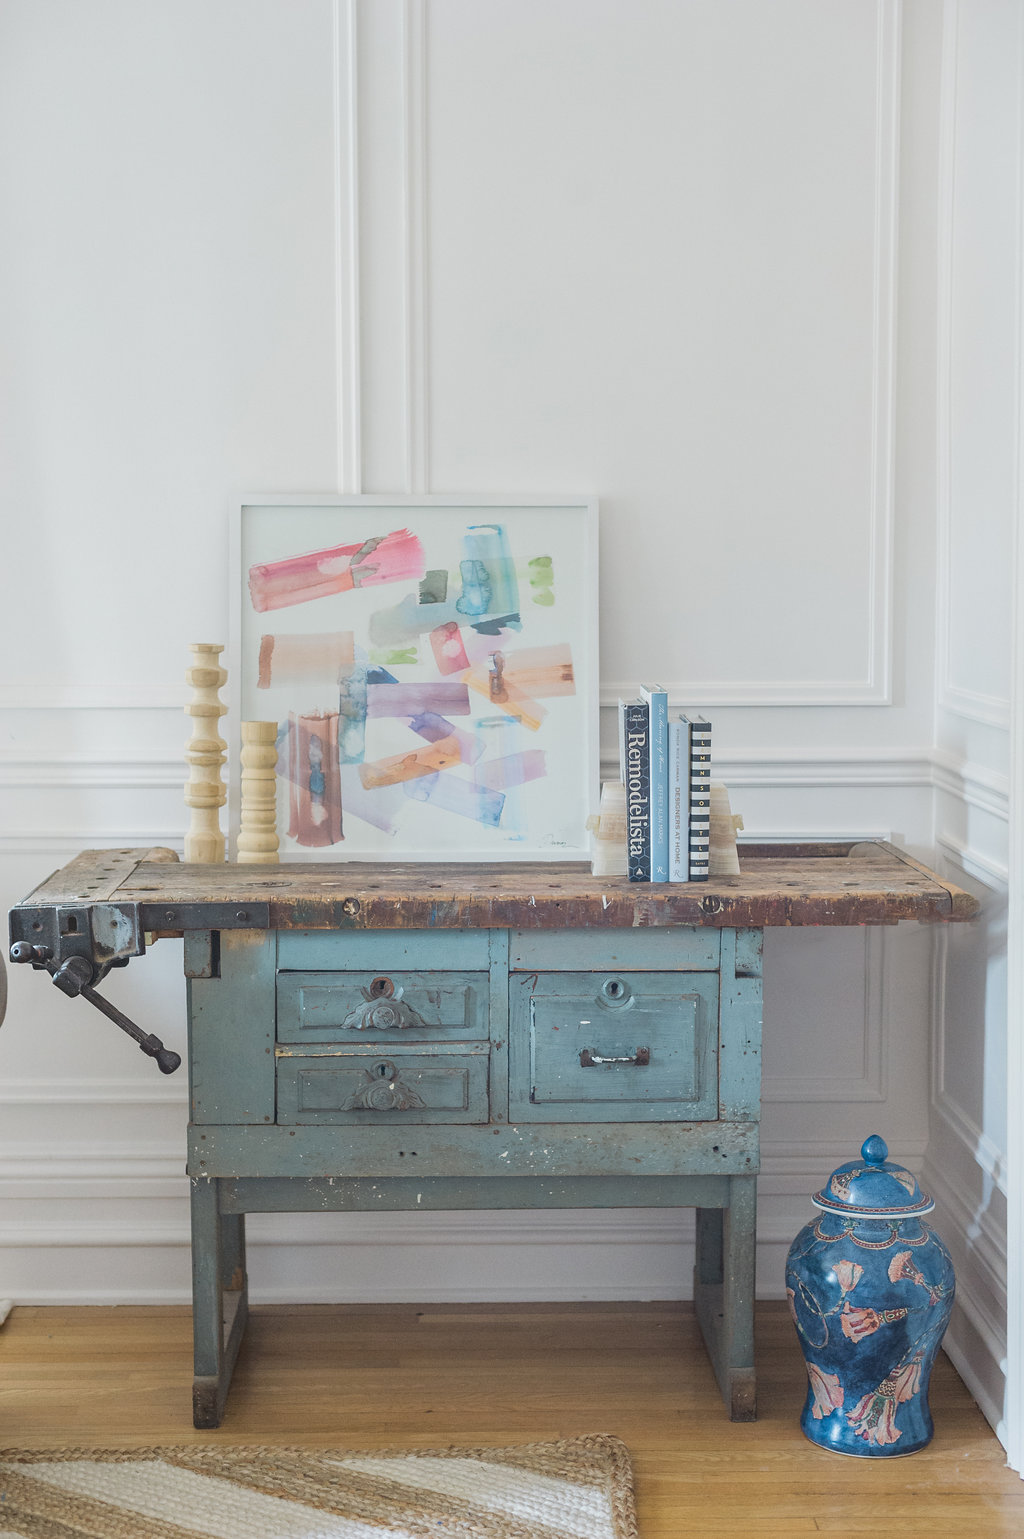


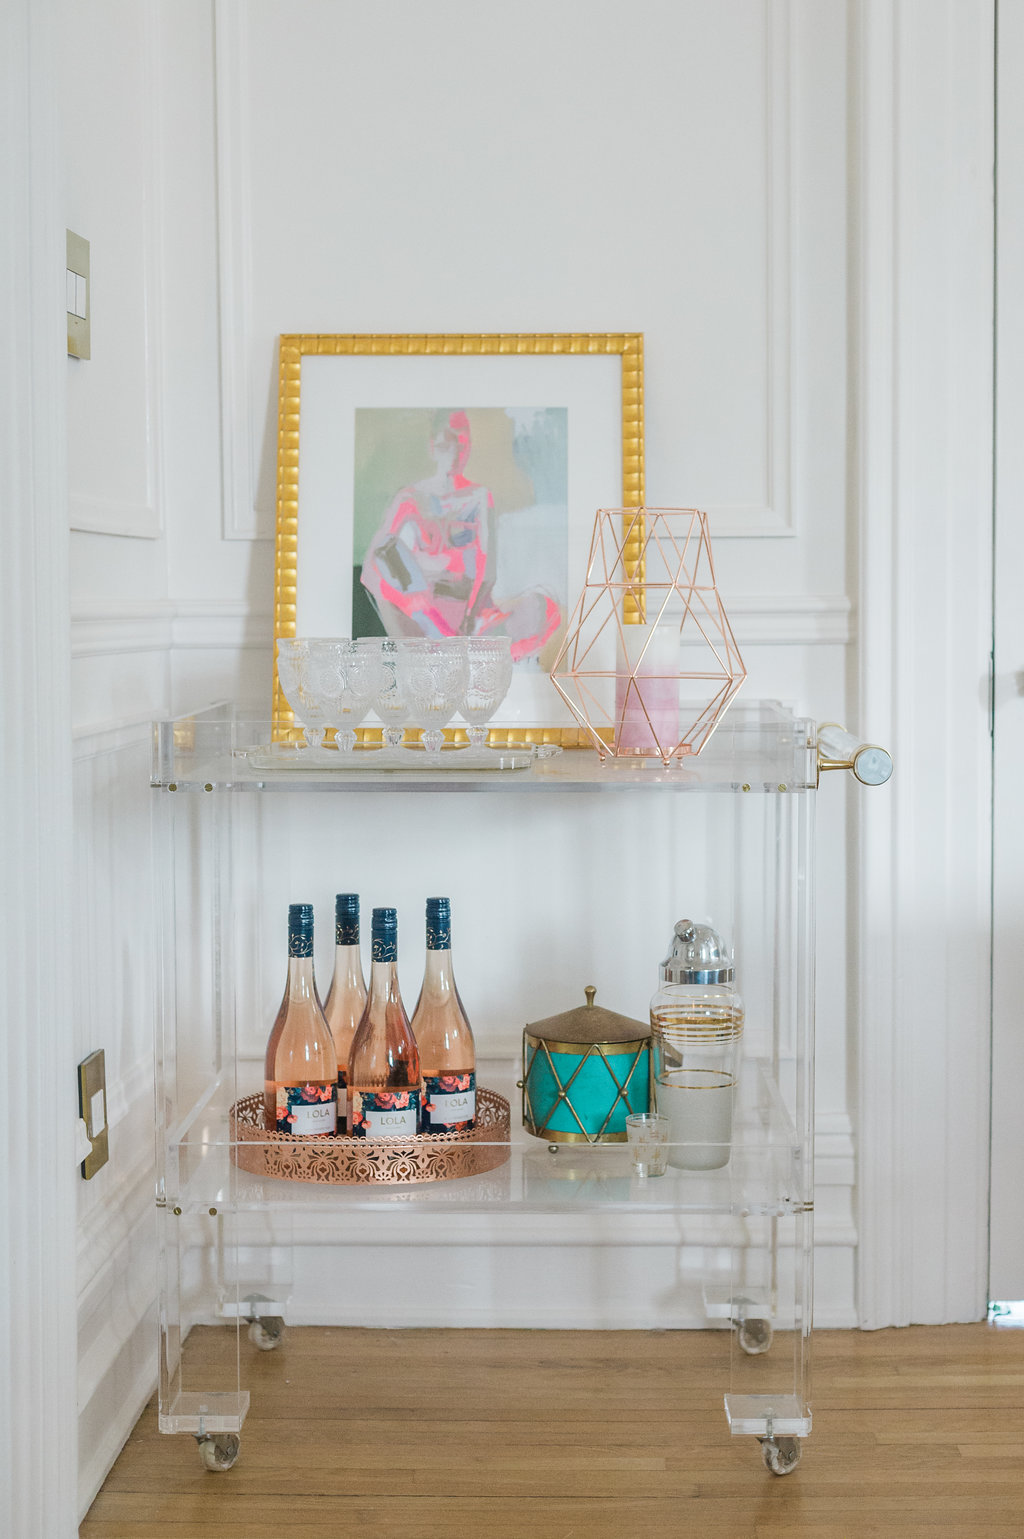
Lucite Bar Cart / Rose Gold Tray / Candle Holder / Art Work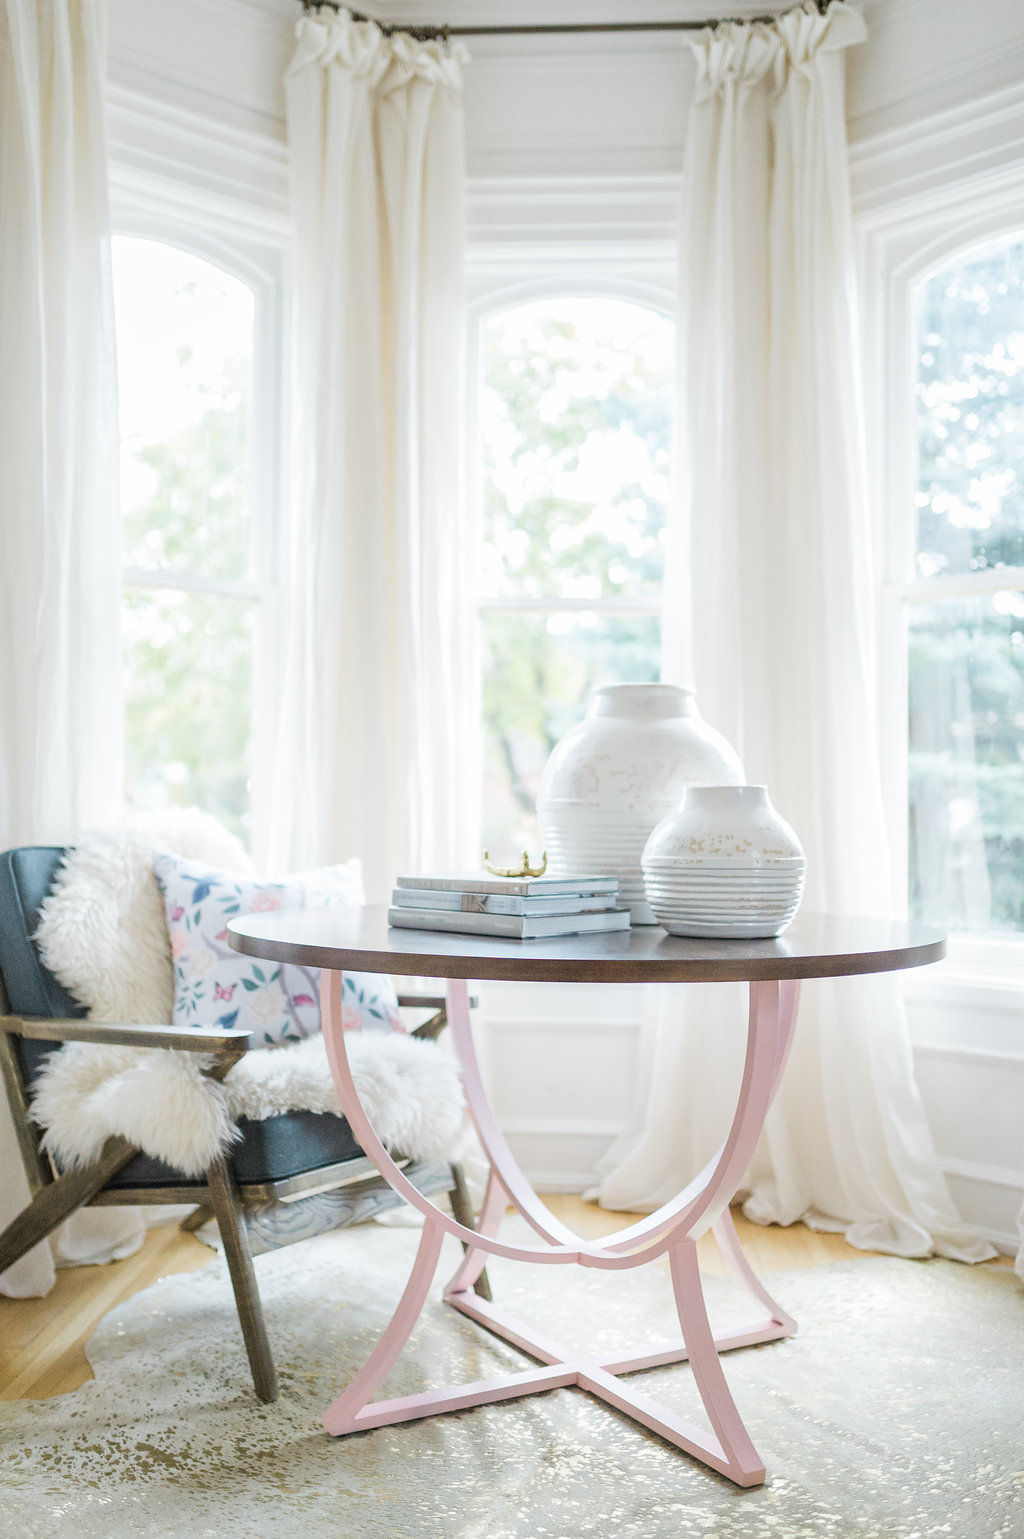
This table actually used to be black…I painted it blush pink in a DIY spray paint hack…click here to read that blog post!
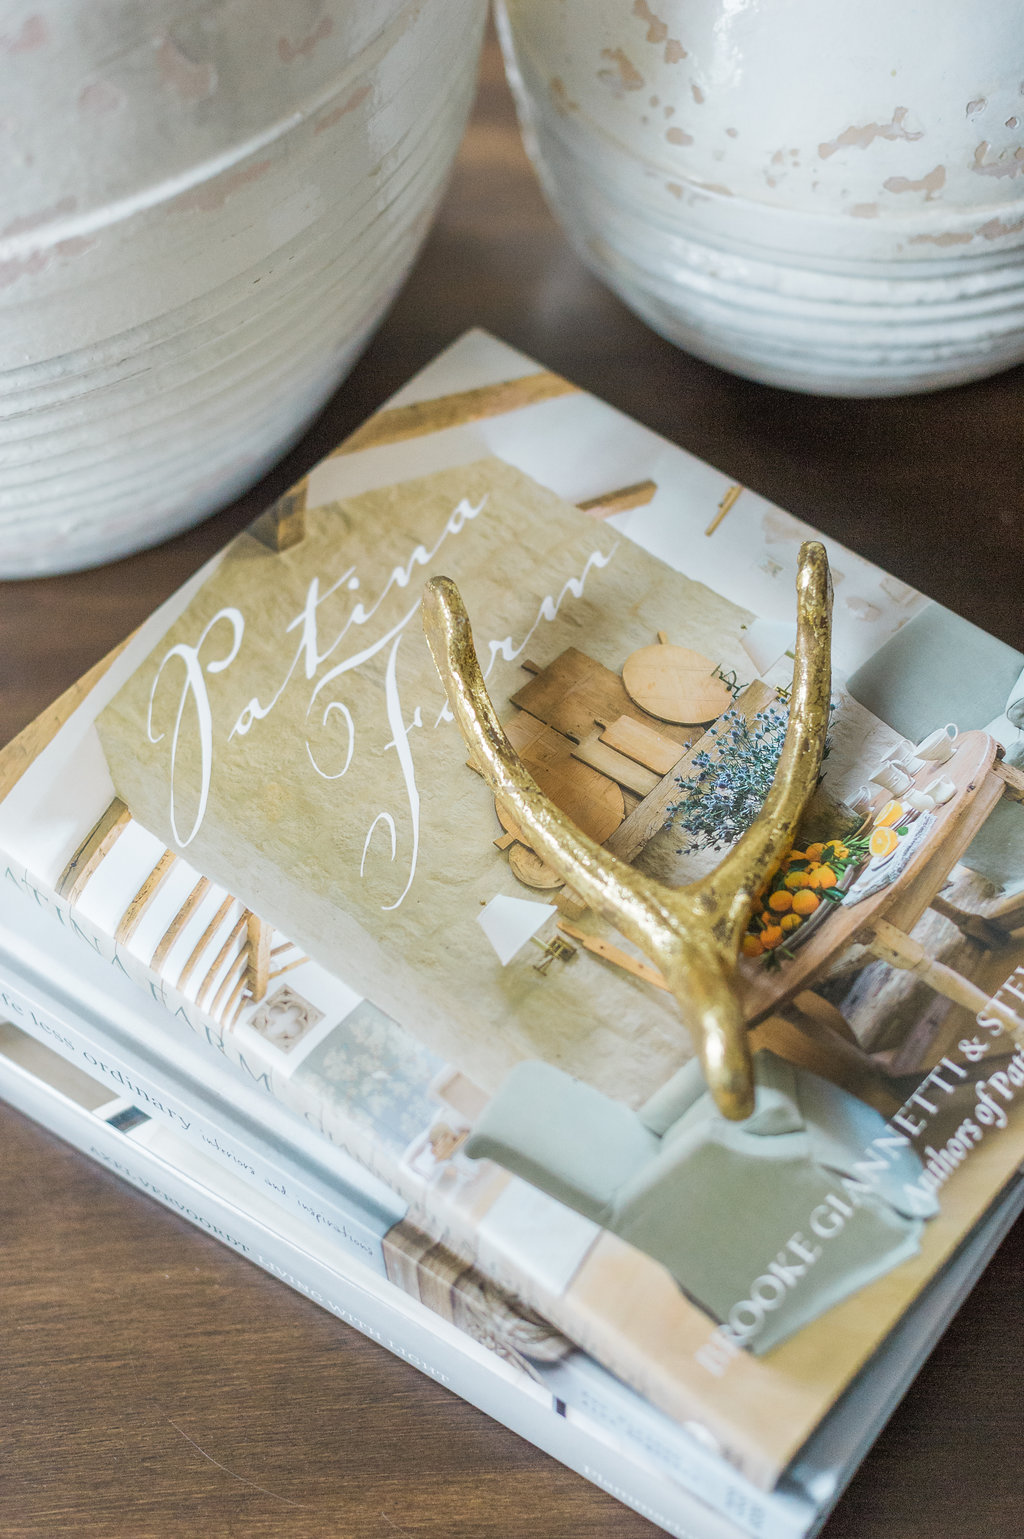
Rug / Chair / Table / Pillow / similar Drapes (my colour of drape is Ivory)
similar Curtain Rod Finials, Rods, Rings


One last look at where we started!

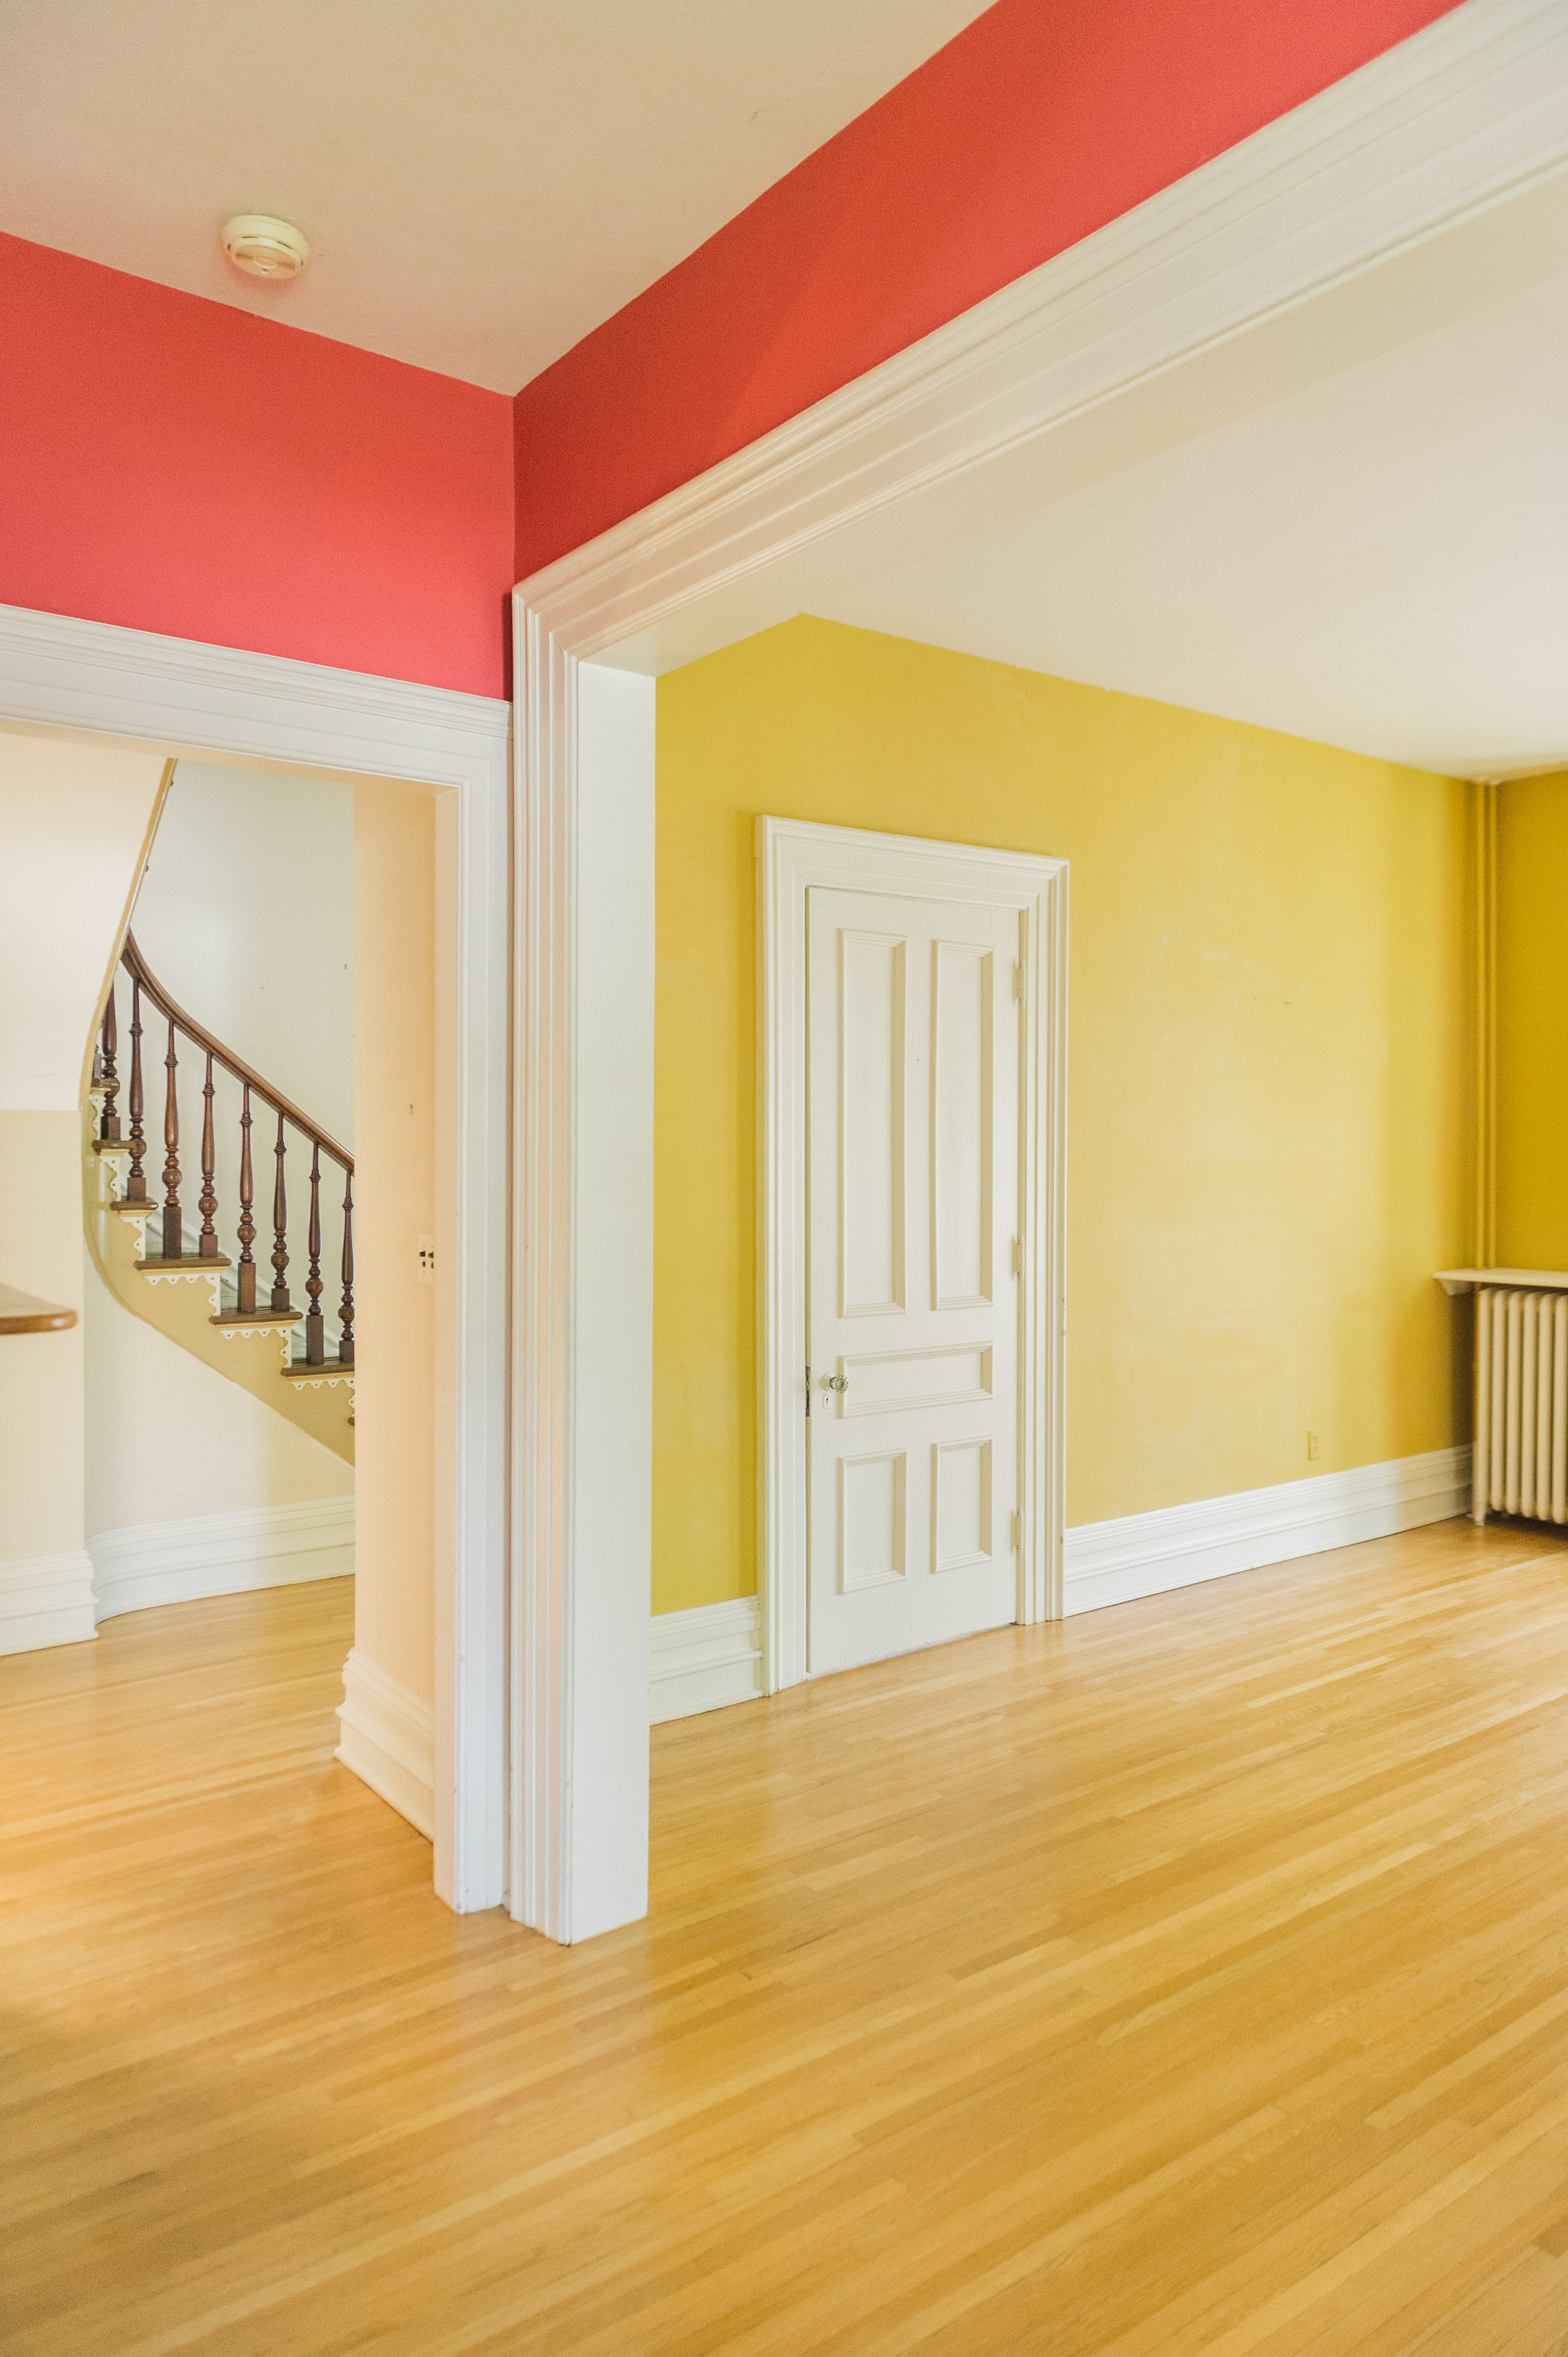
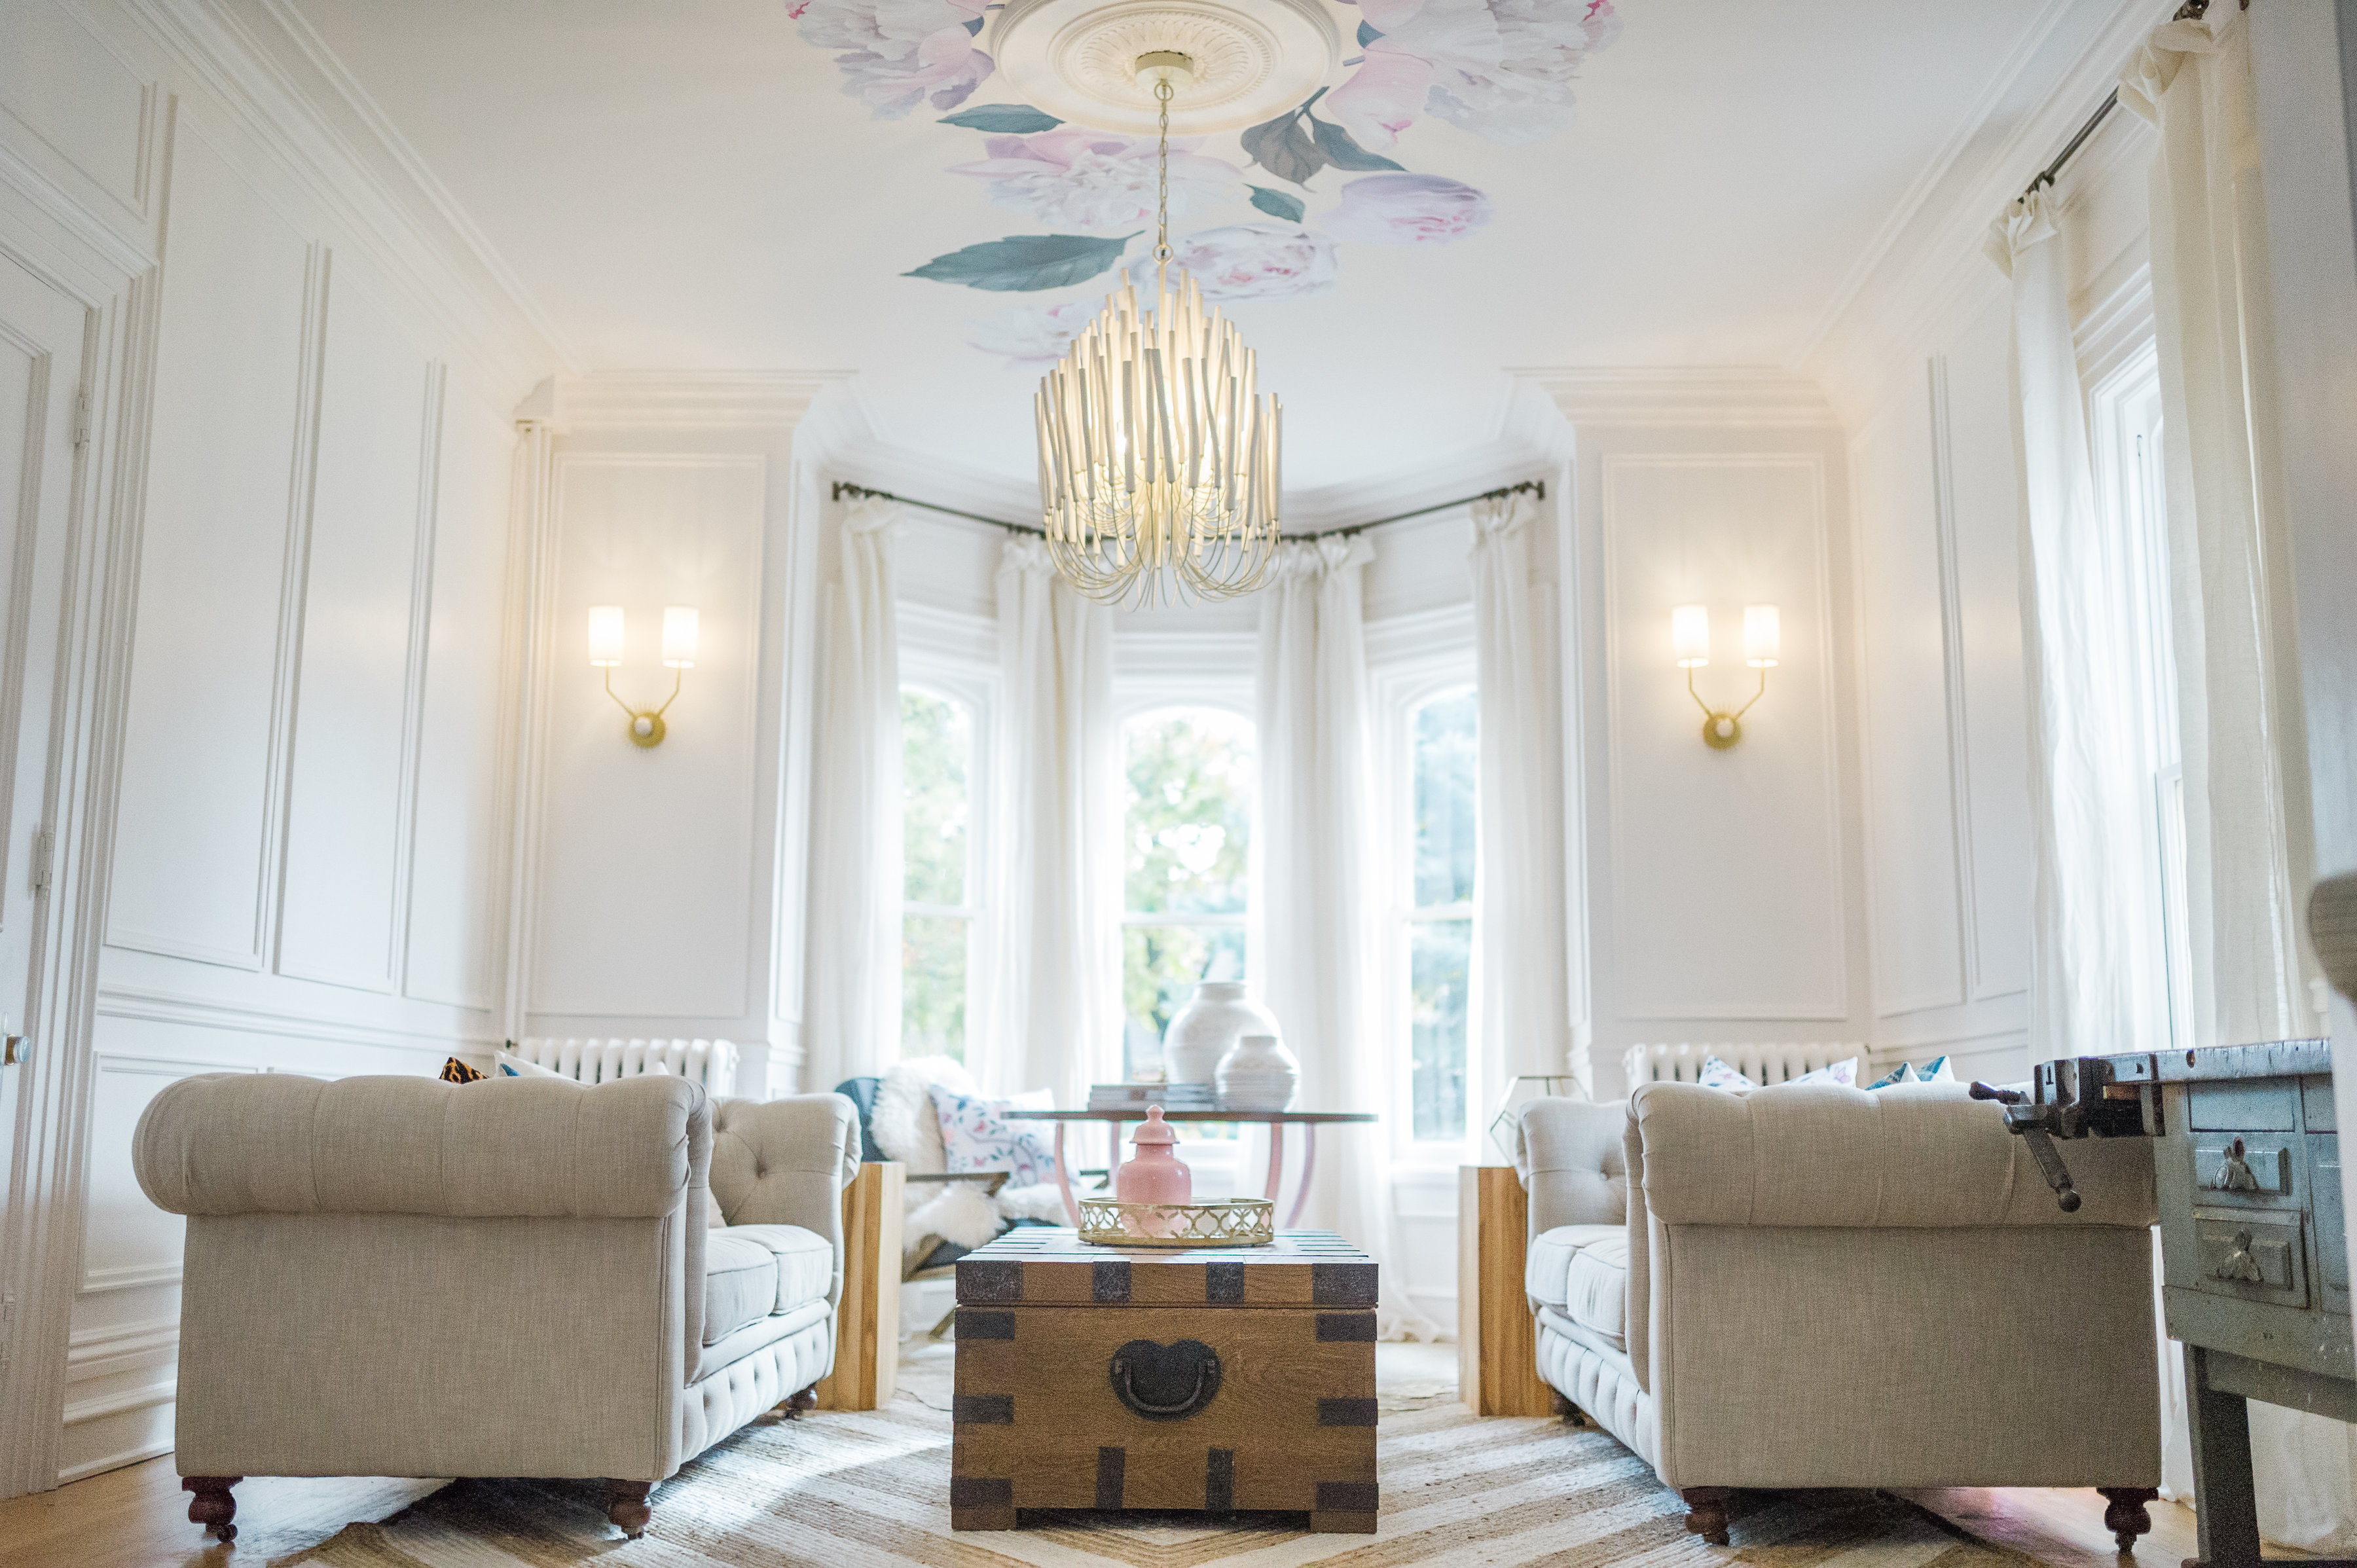
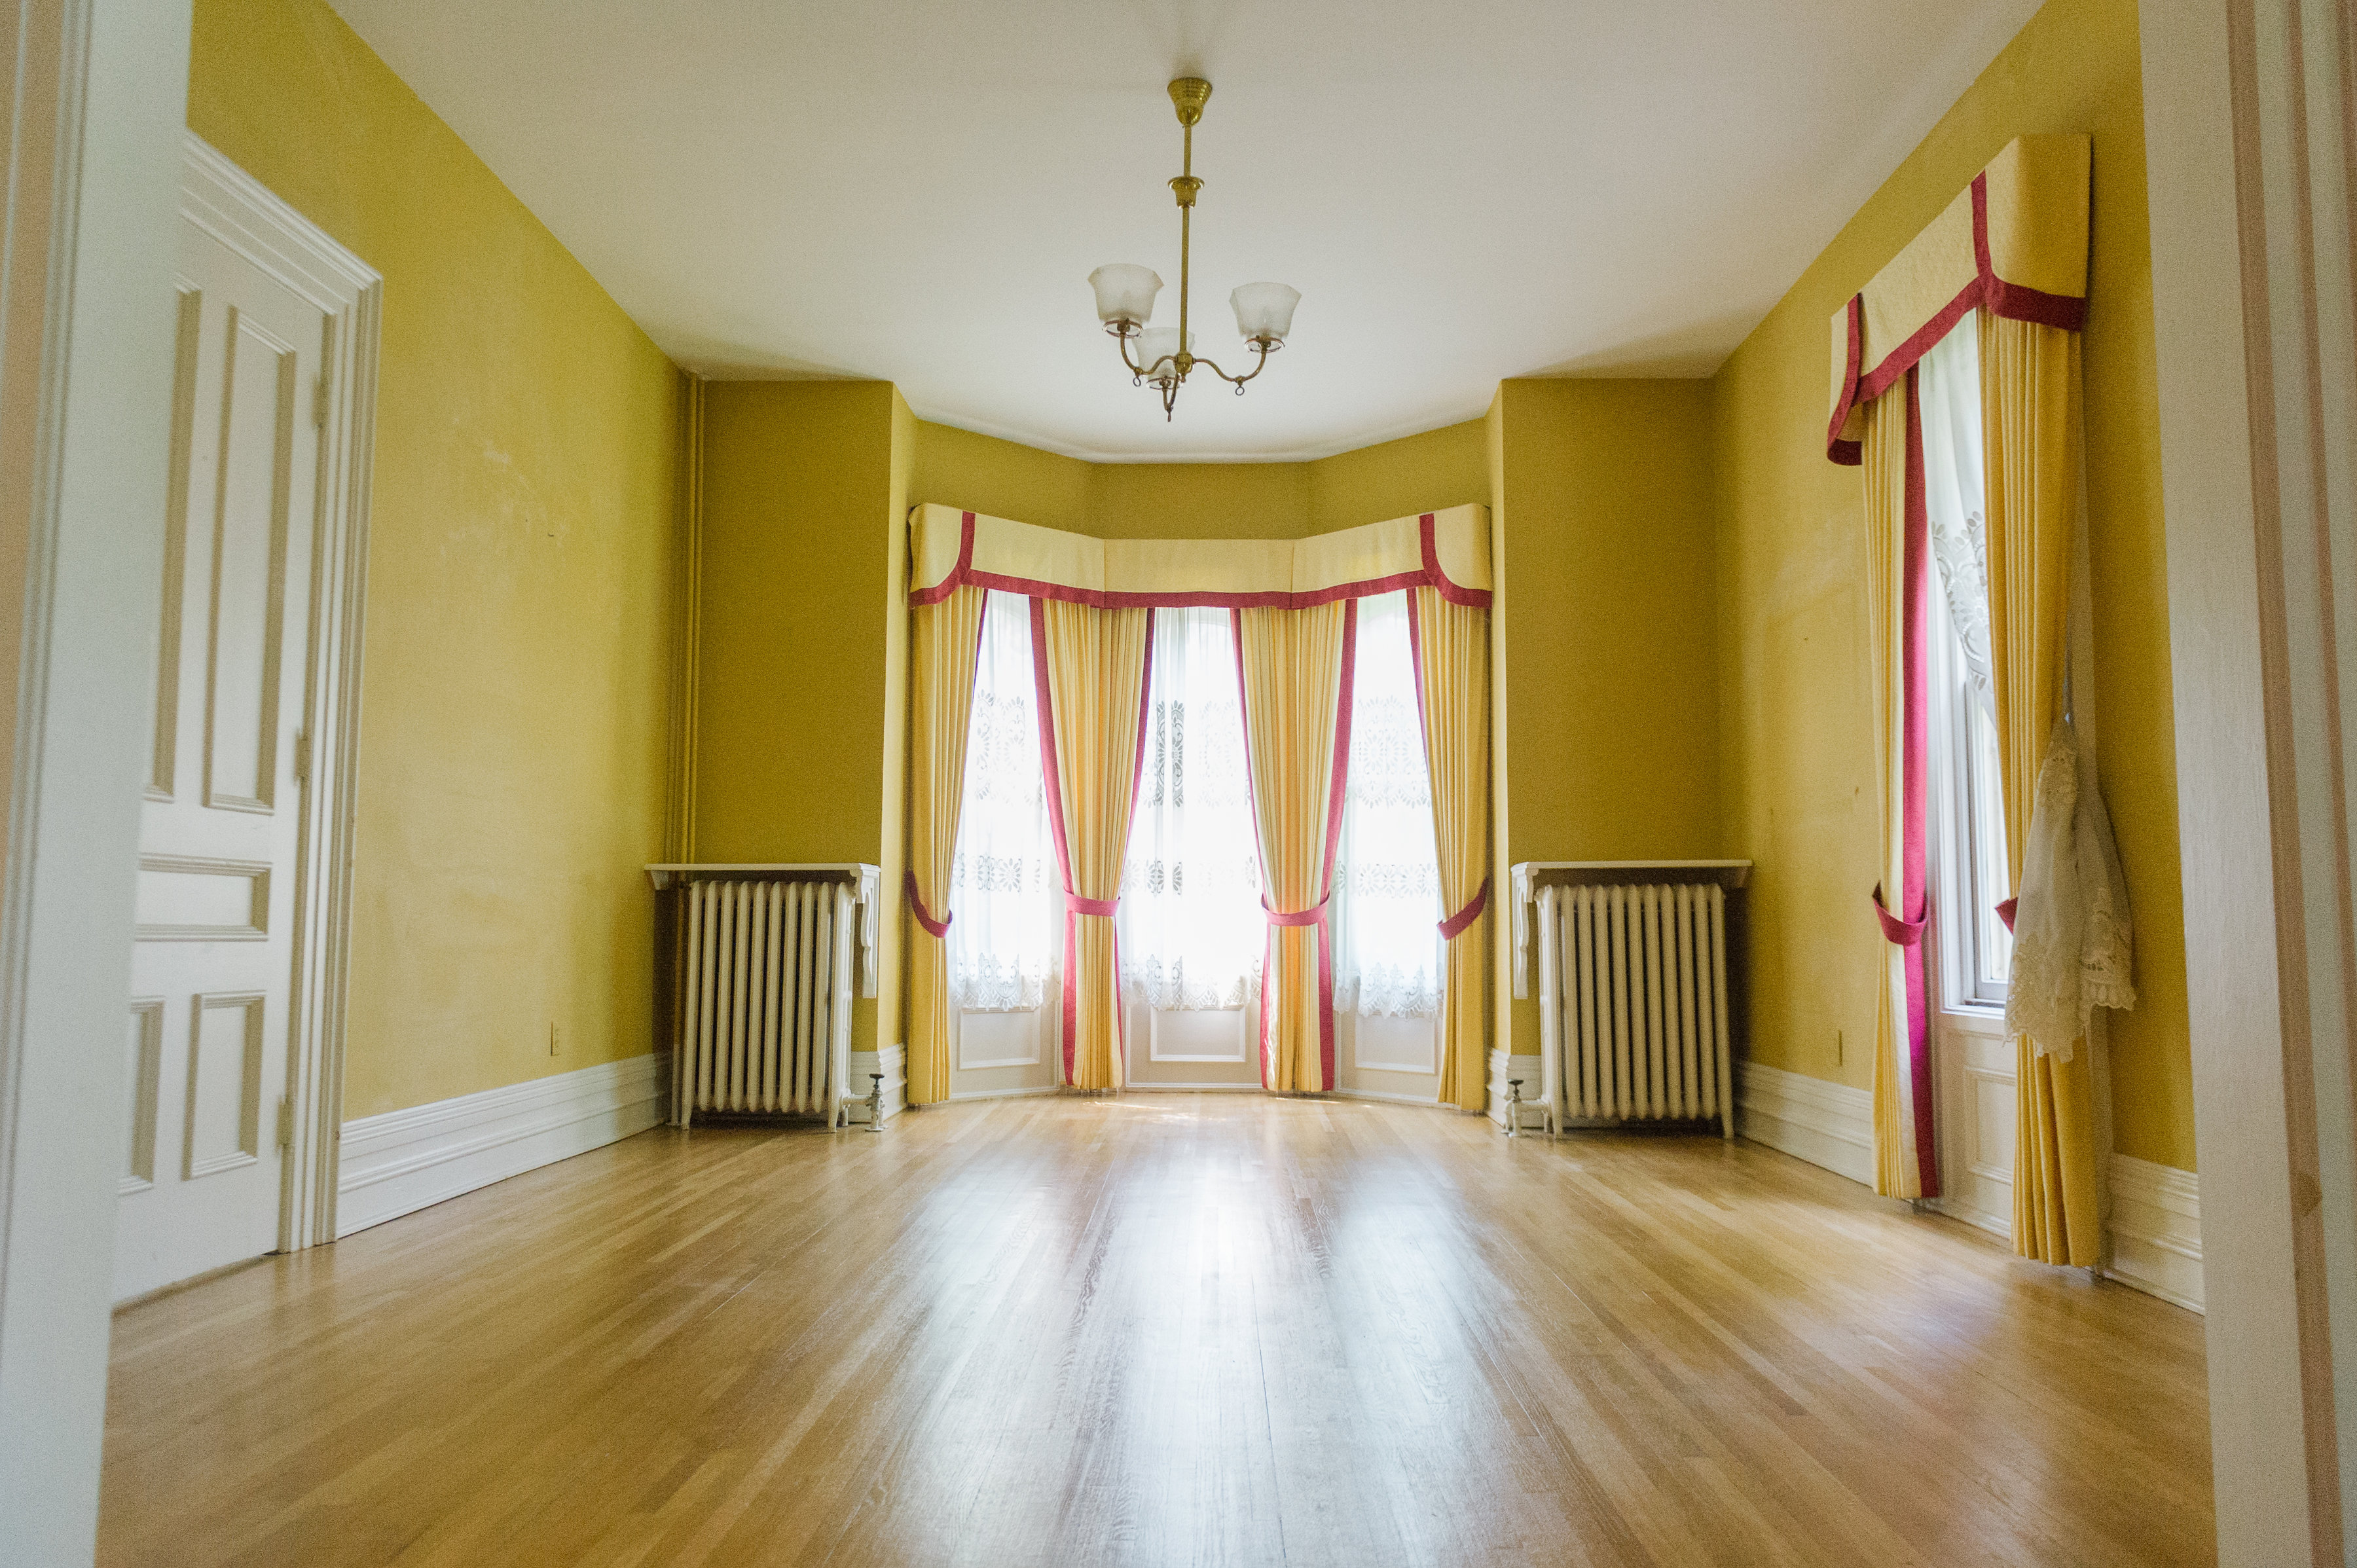
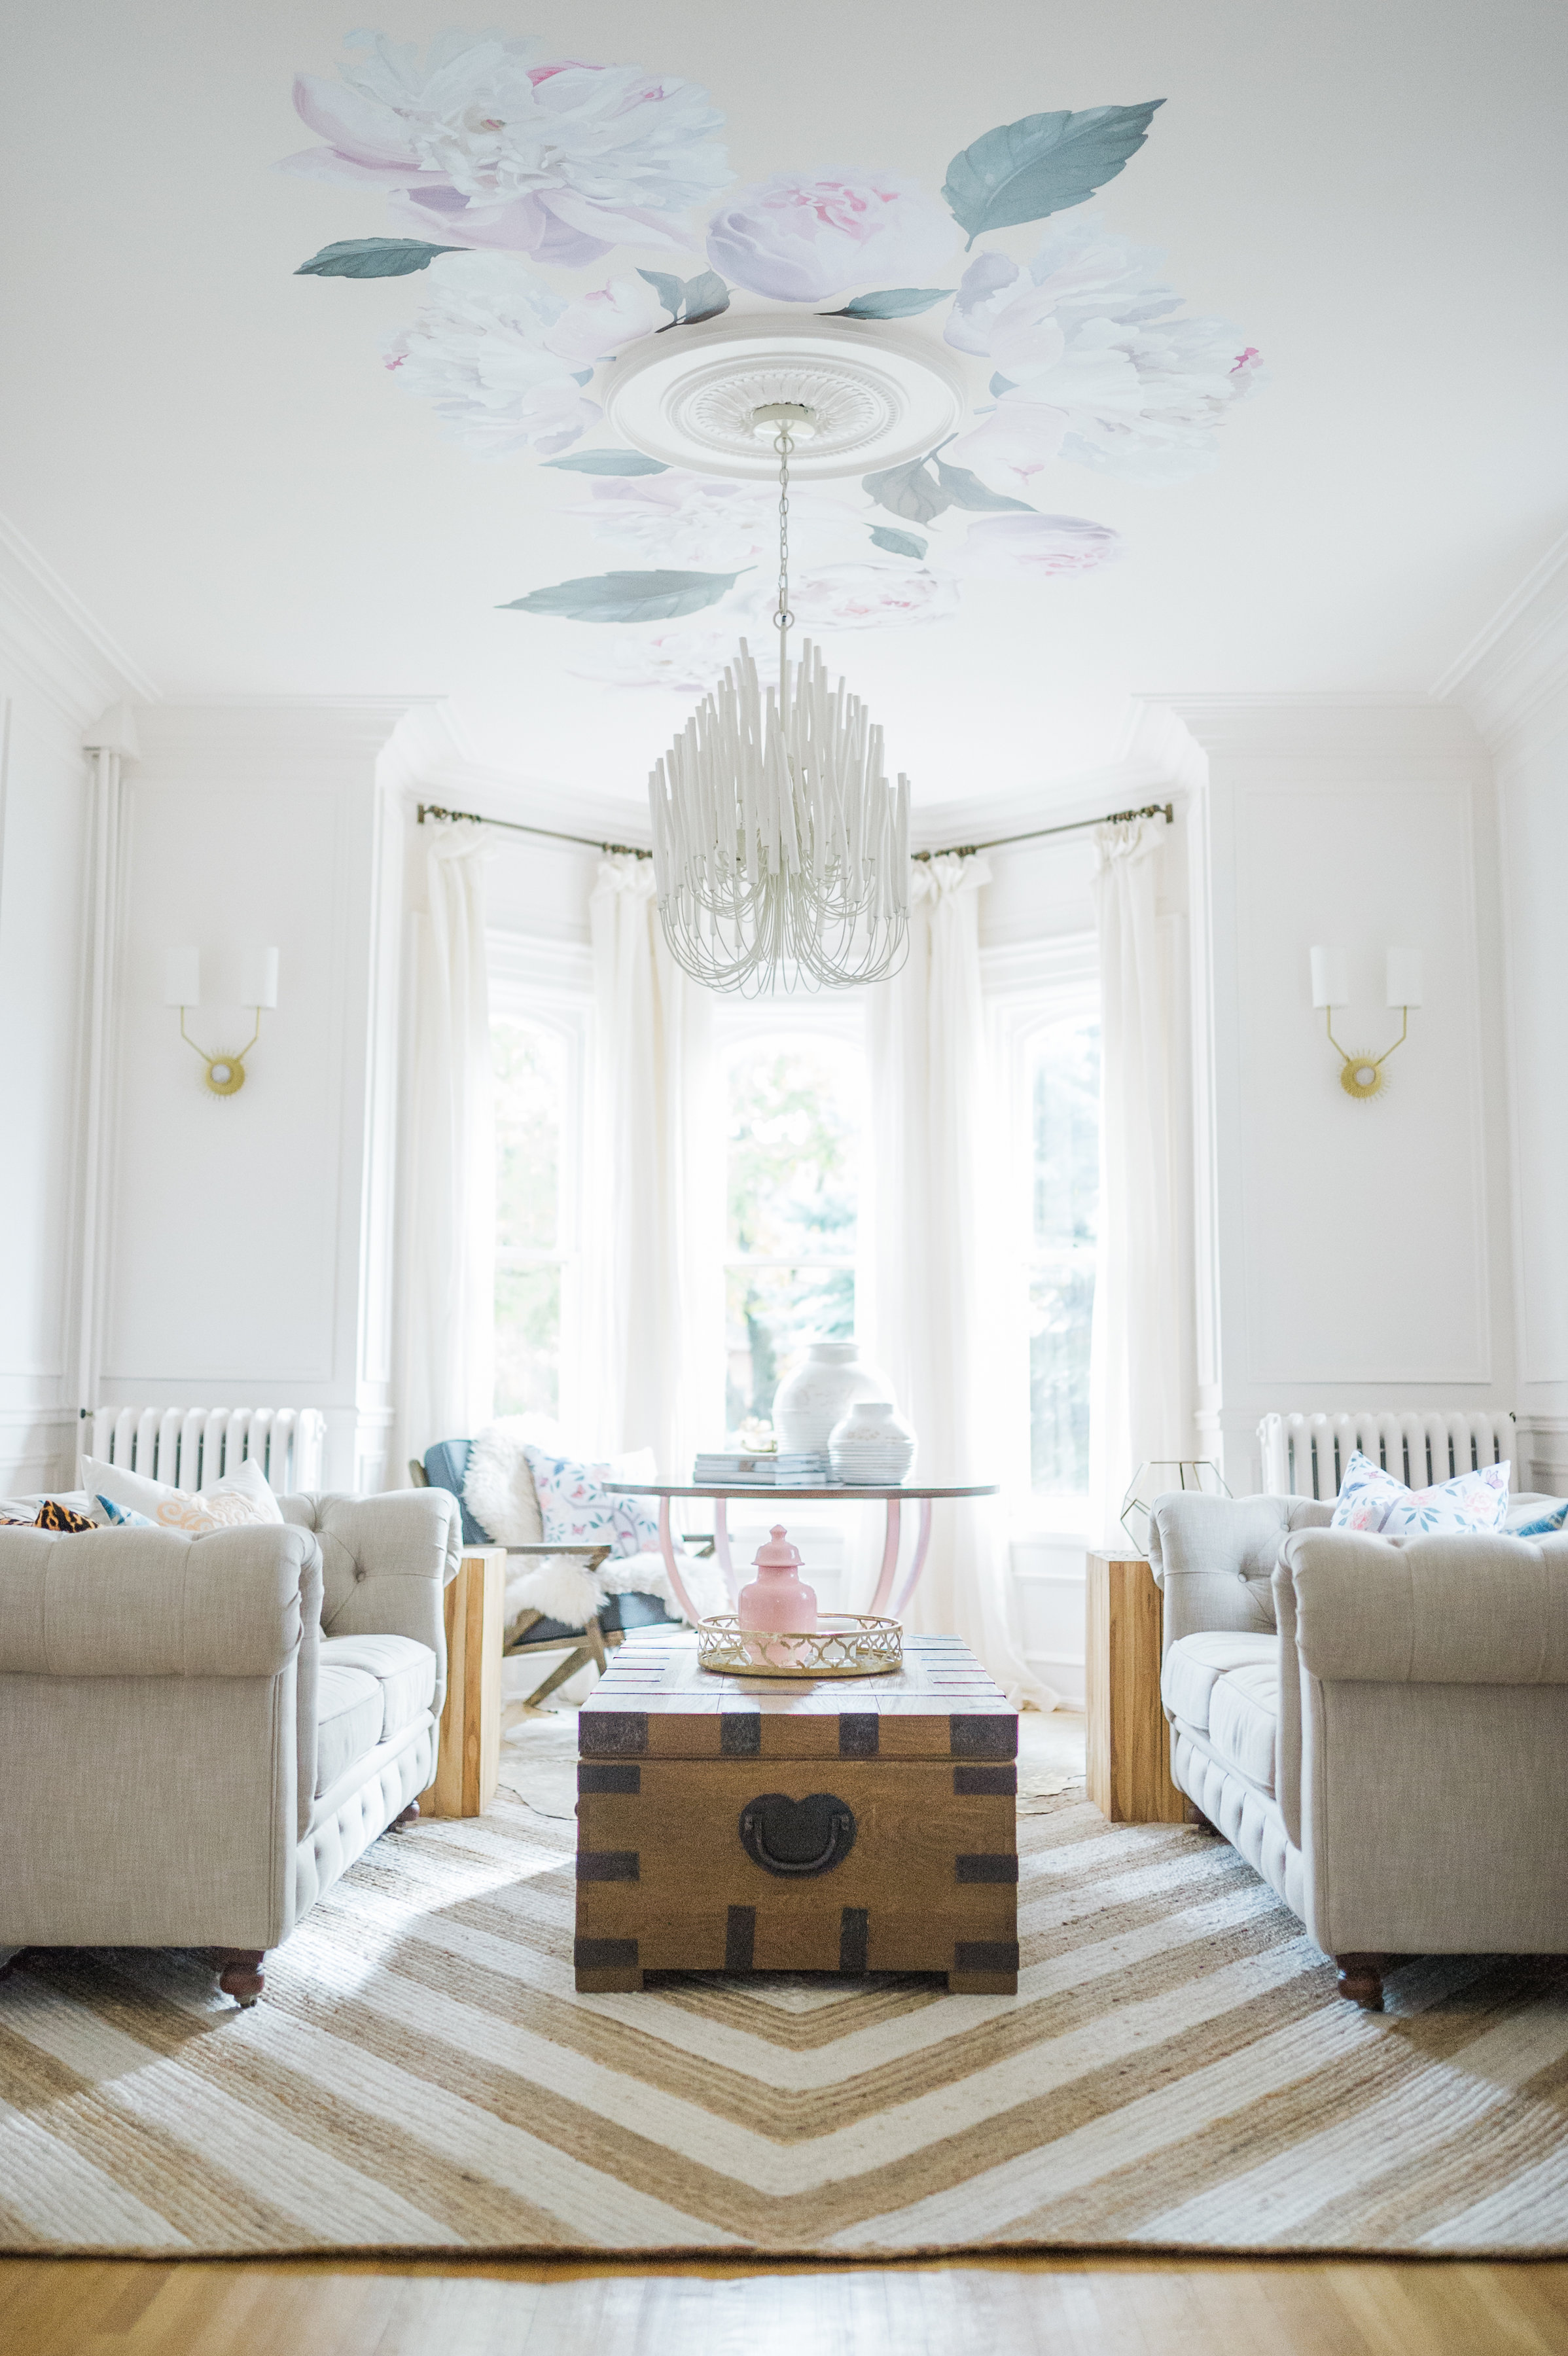
Thank you so much for reading and following along while we renovated this home! Up next I’ll be revealing the kitchen at the end of the week, then the family room next week! Subscribe to stay connected and make sure you share your questions in the comments!
Get the Look
This post contains some sponsored products. All of my opinions and designs are my own. I only partner with companies that I truly love.



You’re amazing Leslie…xox
Lucy! Thank you but you know how I feel about that! You’re amazing! xo
So lovely, Leslie and Matt!!! I love following your design work on Instagram and the blog. Thank you for sharing with your viewers, and enjoy the fruits of your labor!
Hi Kristine! Thank you so much for following along..we’re so lucky to have you and I’ll tell Matt you like it!
Absolutely beautiful !! Enjoy your living room.
Thank you so much! I really appreciate you following our journey!! xo
I love that you mentioned Christine Dovey because her style has such are hard edge where yours leans more to the feminine side. I love that you are inspired by others but clearly have you’re very own signature style.
Gorgeous
Hi Jessica, that’s such a cool comment thank you! Yes I love her but, you’re right she has a super hard edge. I really love her first kitchen though…to be able to design something that amazing…I only wish! thanks for the support!!
Looks absolutely stunning! You guys did an amazing job! So nice to have it done and be able to enjoy it for the upcoming holiday season: )
Thanks so much! Yes for sure…can’t wait to put the tree up in here!
So light, bright and beautiful! I’ve wanted that chandelier for years too – one day I will splurge when I move to the country 🙂 Thank you for sharing the progress throughout the summer and fall.
Hi Carley, it’s so cool because people keep saying they have always wanted that chandelier so I think it’s the perfect iconic light..like an Hermes bag maybe…lol!!! Thanks so much for the sweet comment!
Wow! Just wow!!!
oh thanks!!! so sweet of you!
Beautiful Leslie – great job you all did!!!
Always fun to see your designs !!
💕💕
Melody
thank you Melody!! Still so in love with your kitchen!! so glad to be in our blogging tribe together!! xoxo
Bonjour Leslie! Love 💗 your Blog / Stlye, so so much!! I am currently in the process of purchasing an old Farmhouse , in Hudson, Québec. I love all the posts and you make it so easy to source everything! I have struggled with paint colour and am so going to use Snowy Owl by CT. I am so inspired by you!! Thank you so much!! I appreciate your design talent (so gifted) and patient Husband!( I have one too!) Beautiful Family! Looking forward to following your amazing Reno Journey!!
Lisa Lavender
Hi Lisa! Oh wow that sounds so incredible! You’ll love Snowy Owl…we are so so happy with it! So glad that I can help! Thank you so much for following and for this comment!
Hi!! I just asked another question so I apologize for asking so many…. Could you tell me which particular Metrie trim you used for your living room. It is perfection!!
Hi Heather, the profiles are linked in the blog post right above the images of them with the words chair rail etc. but here are the links too in case you don’t see them for chair rail, panel mould, and crown 😉 They are super awesome, you’ll love them!
https://metrie.com/products/toronto/MFP83901/
https://metrie.com/products/toronto/MP2189-16/
https://metrie.com/products/CFC1W1PMD/
Hi! I was wondering what finish of paint did you choose for painting over wainscoting/paneling? I typically choose an eggshell or satin finish for interior walls but am wondering if a semi-gloss might be fun to really showcase the trim. I’d love to hear your thoughts. The room is beautiful!! Nice work!
In this room we did satin because the entire room was trim from floor to ceiling but normally I agree I always do semigloss over trim for contrast for sure!
Hi Leslie,
Just discovered your talented work!
Can you tell me the ceiling height of the 1886 Gothic Revival restoration?
Thank you,
Hi, thanks so much! Yes the ceiling height is 10ft on the main floor and 9.5 on the second floor.
thanks again,
Leslie